Project Gallery
A look at some of the boats and yachts we've had the pleasure of working on in San Diego.
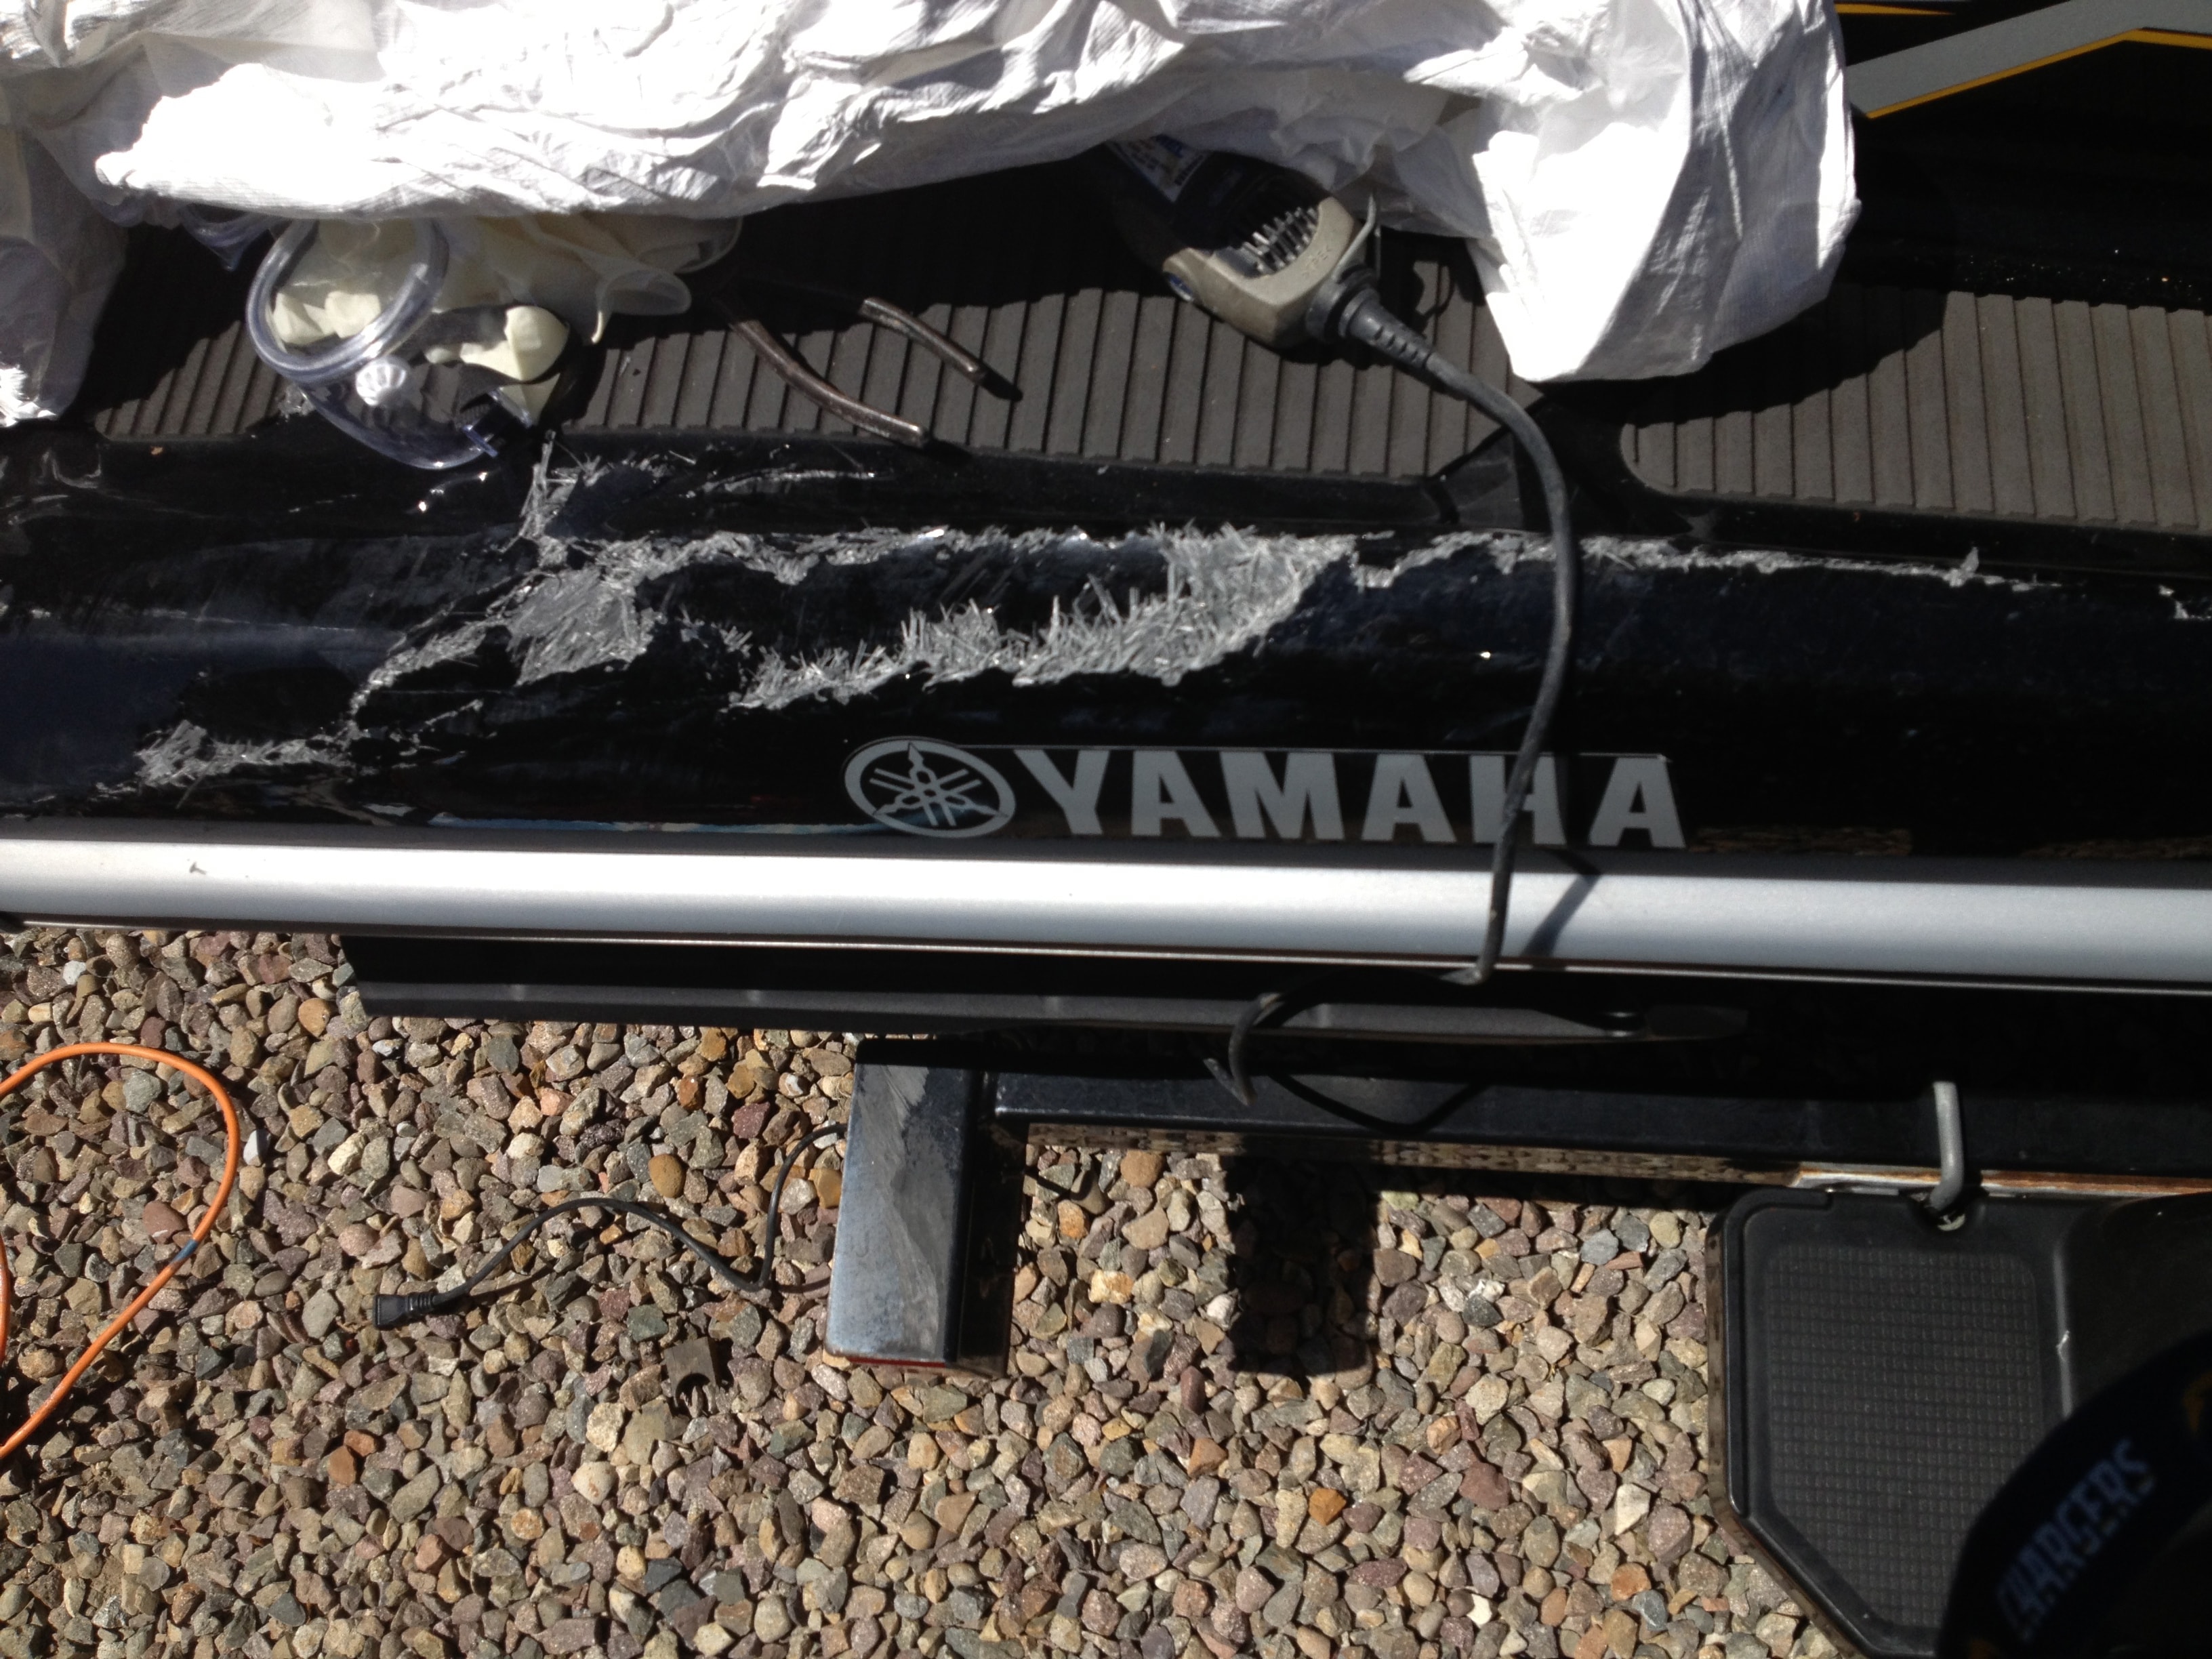
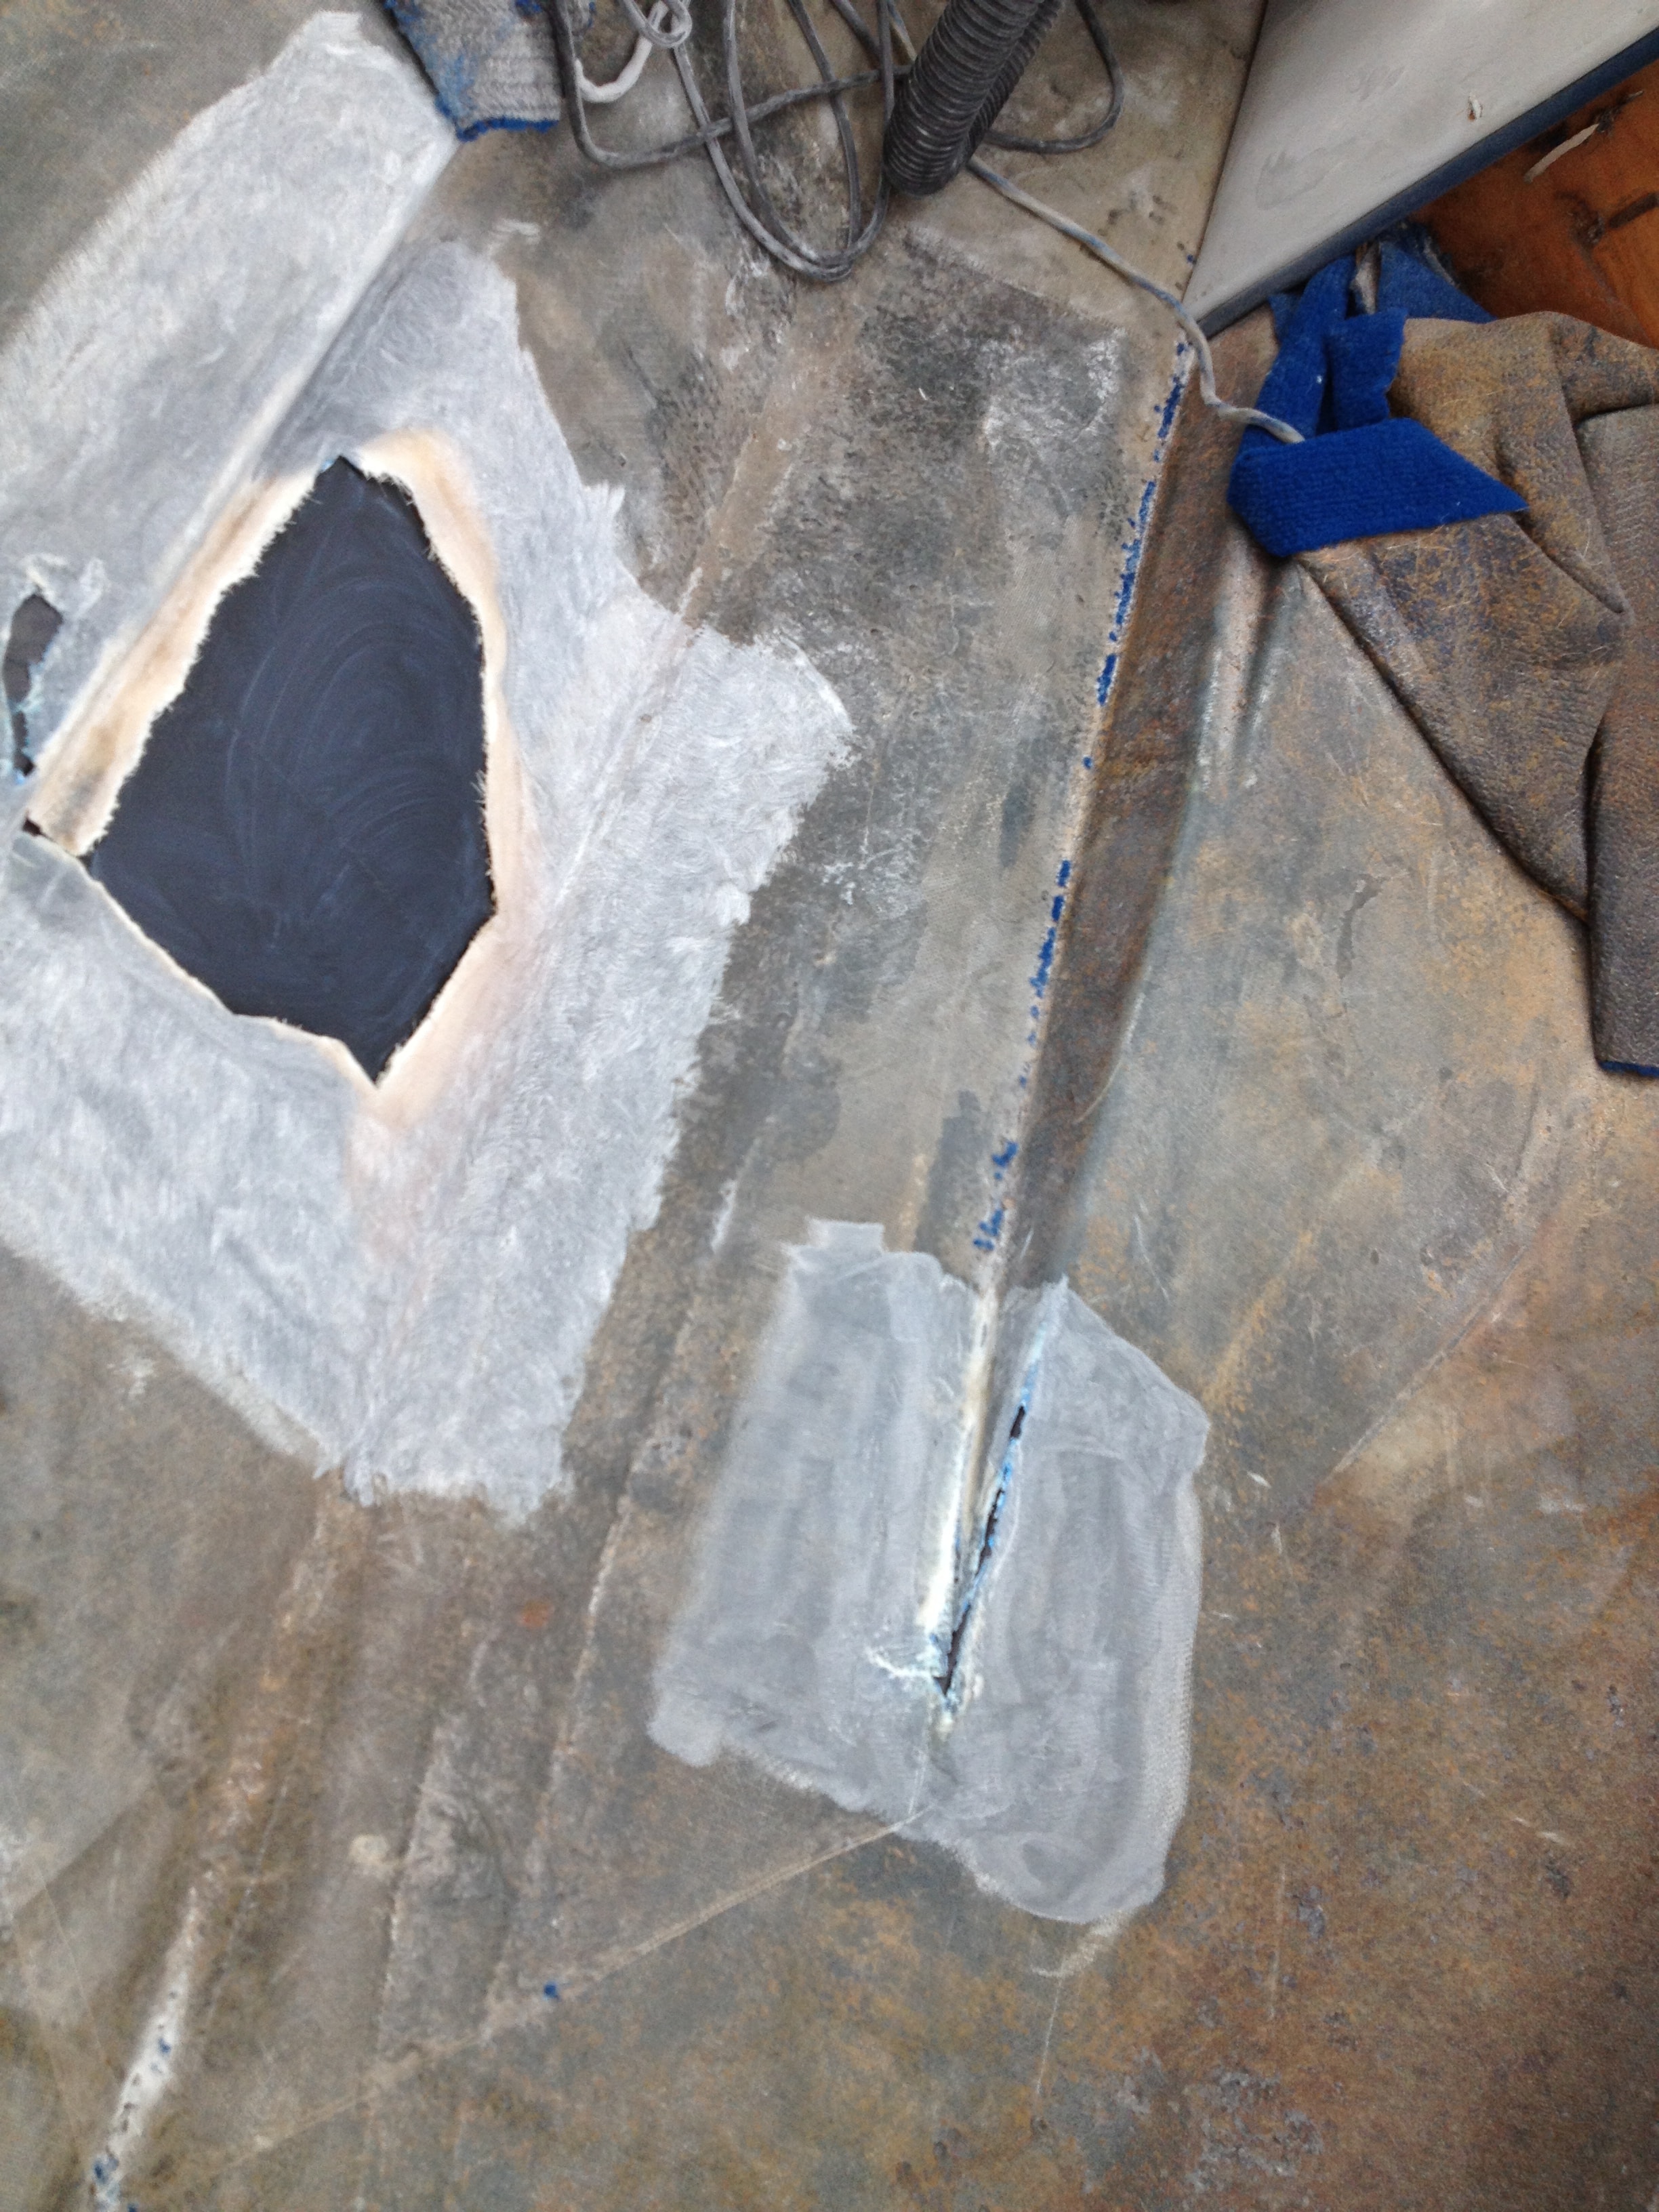
Step 1: Fiberglass damage ground out and exposed.
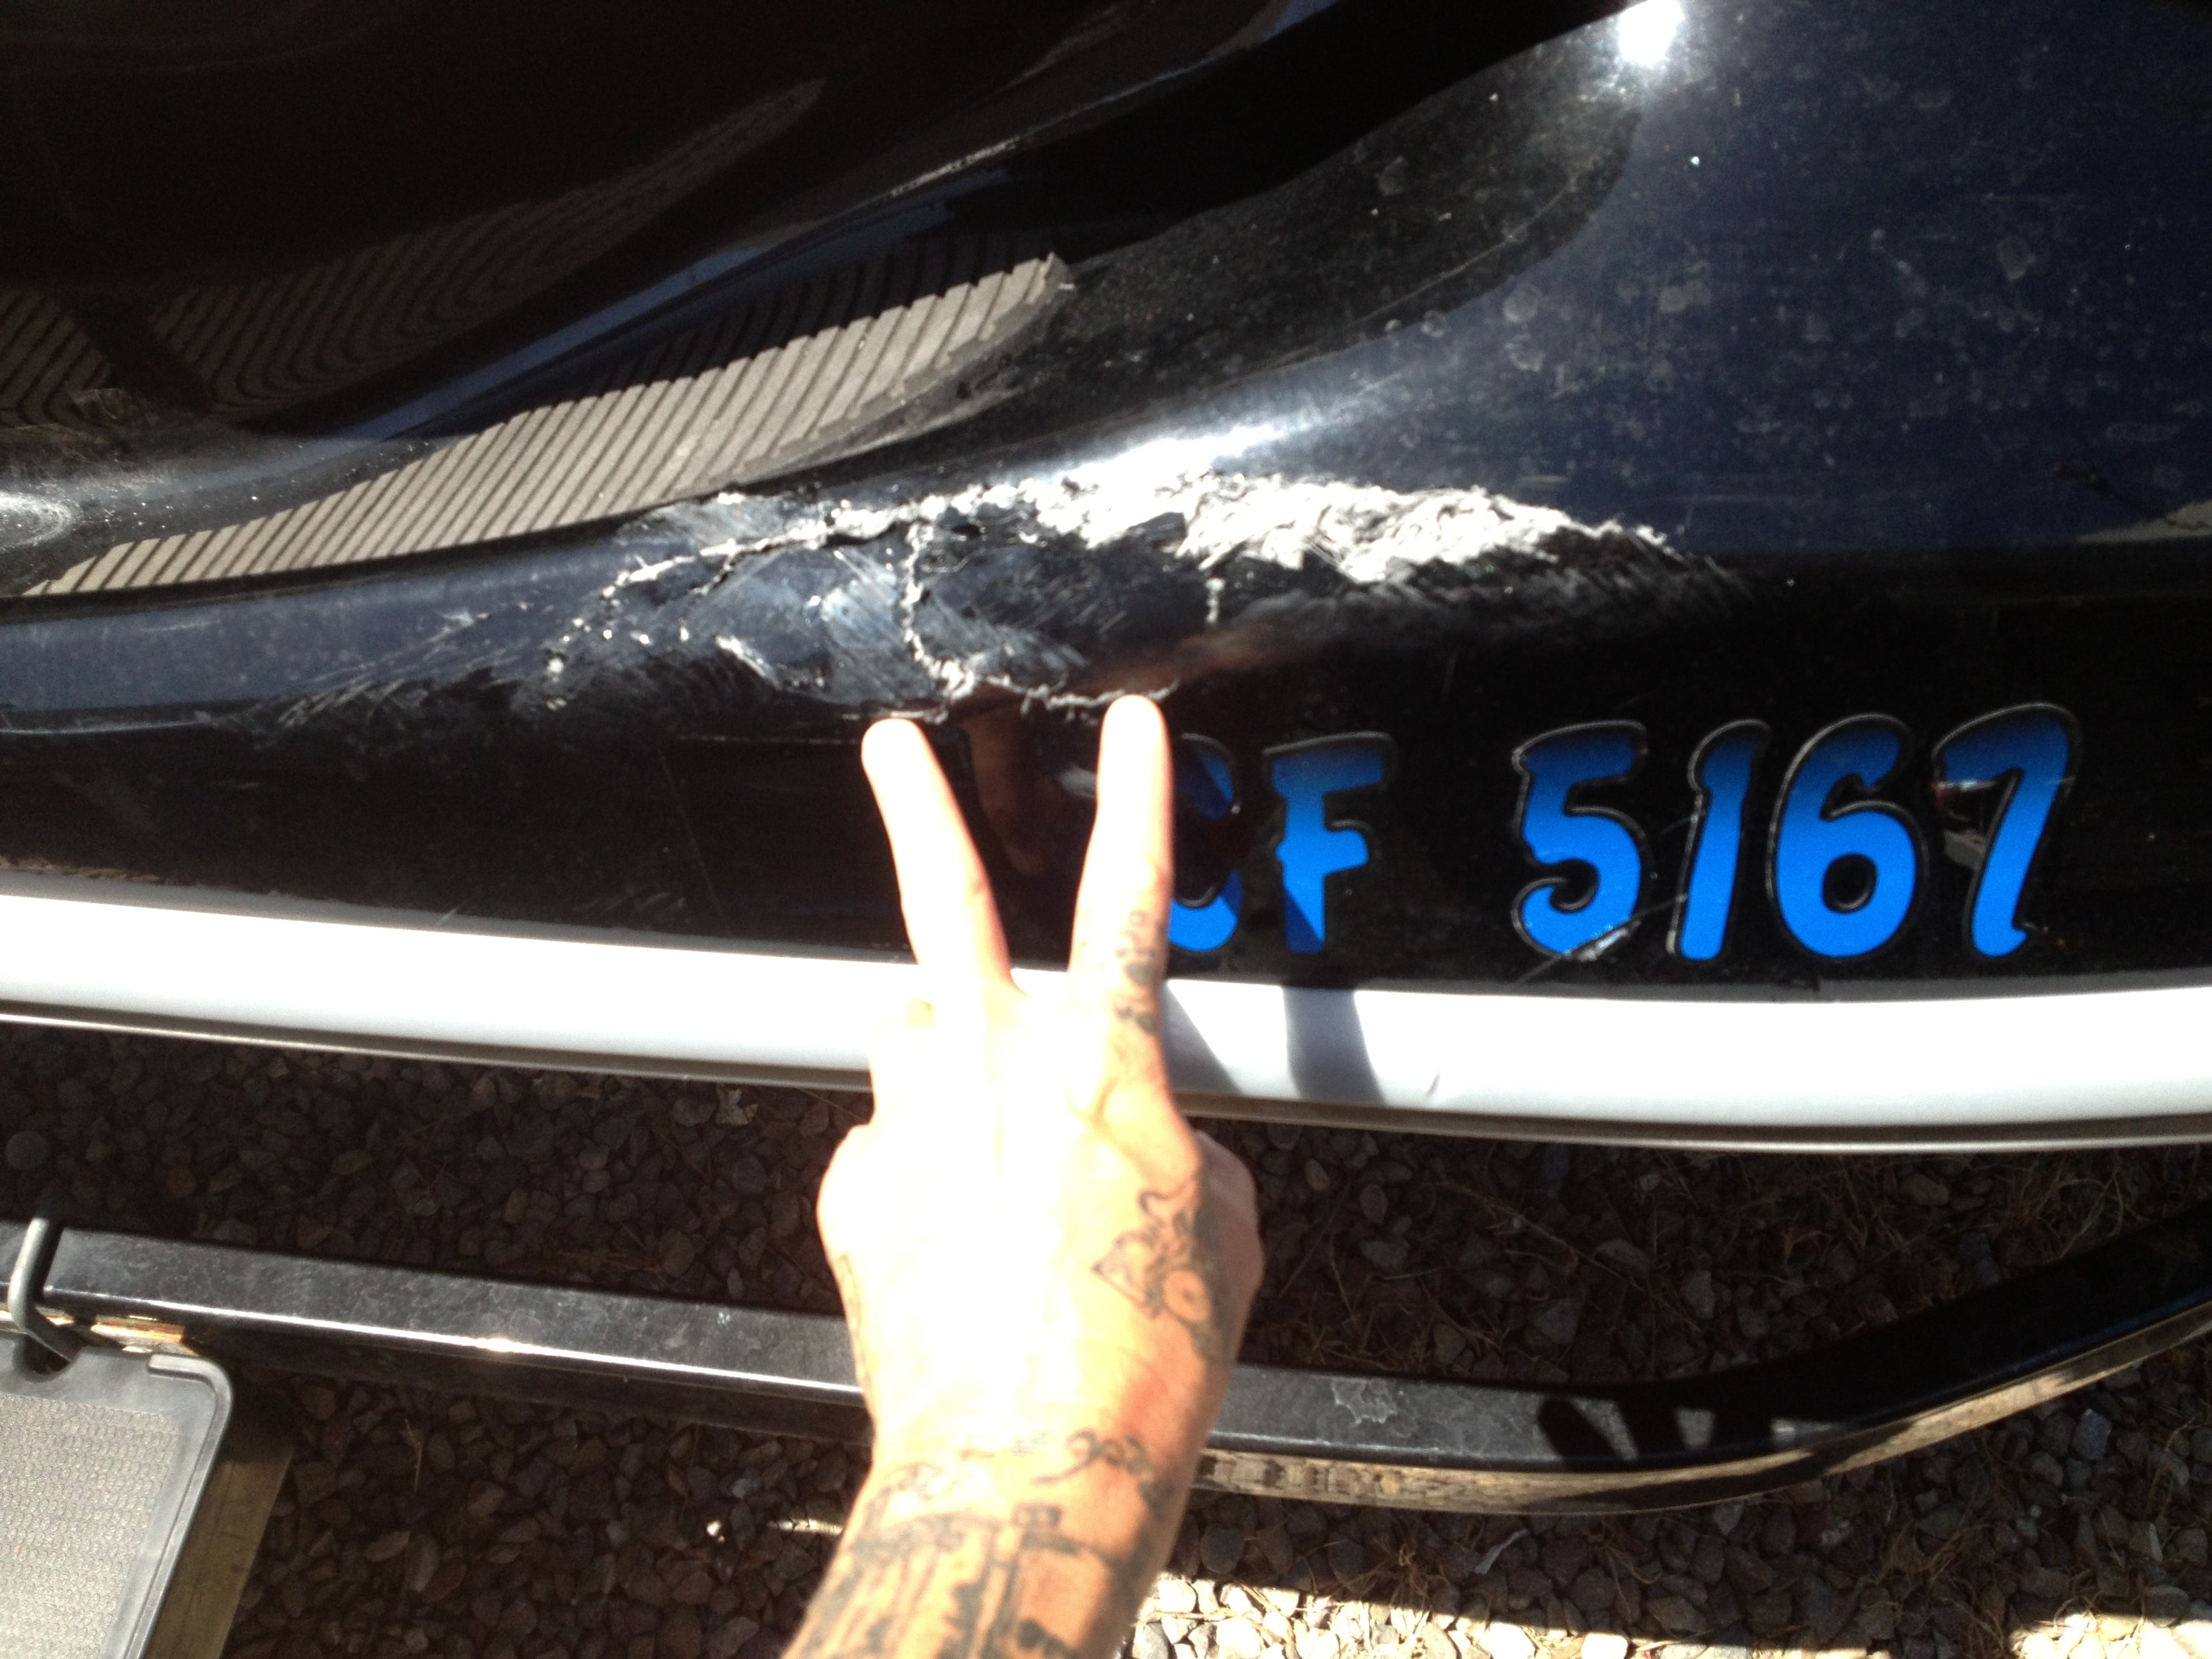
Step 2: Damage fully ground out, ready for fiberglass layup.
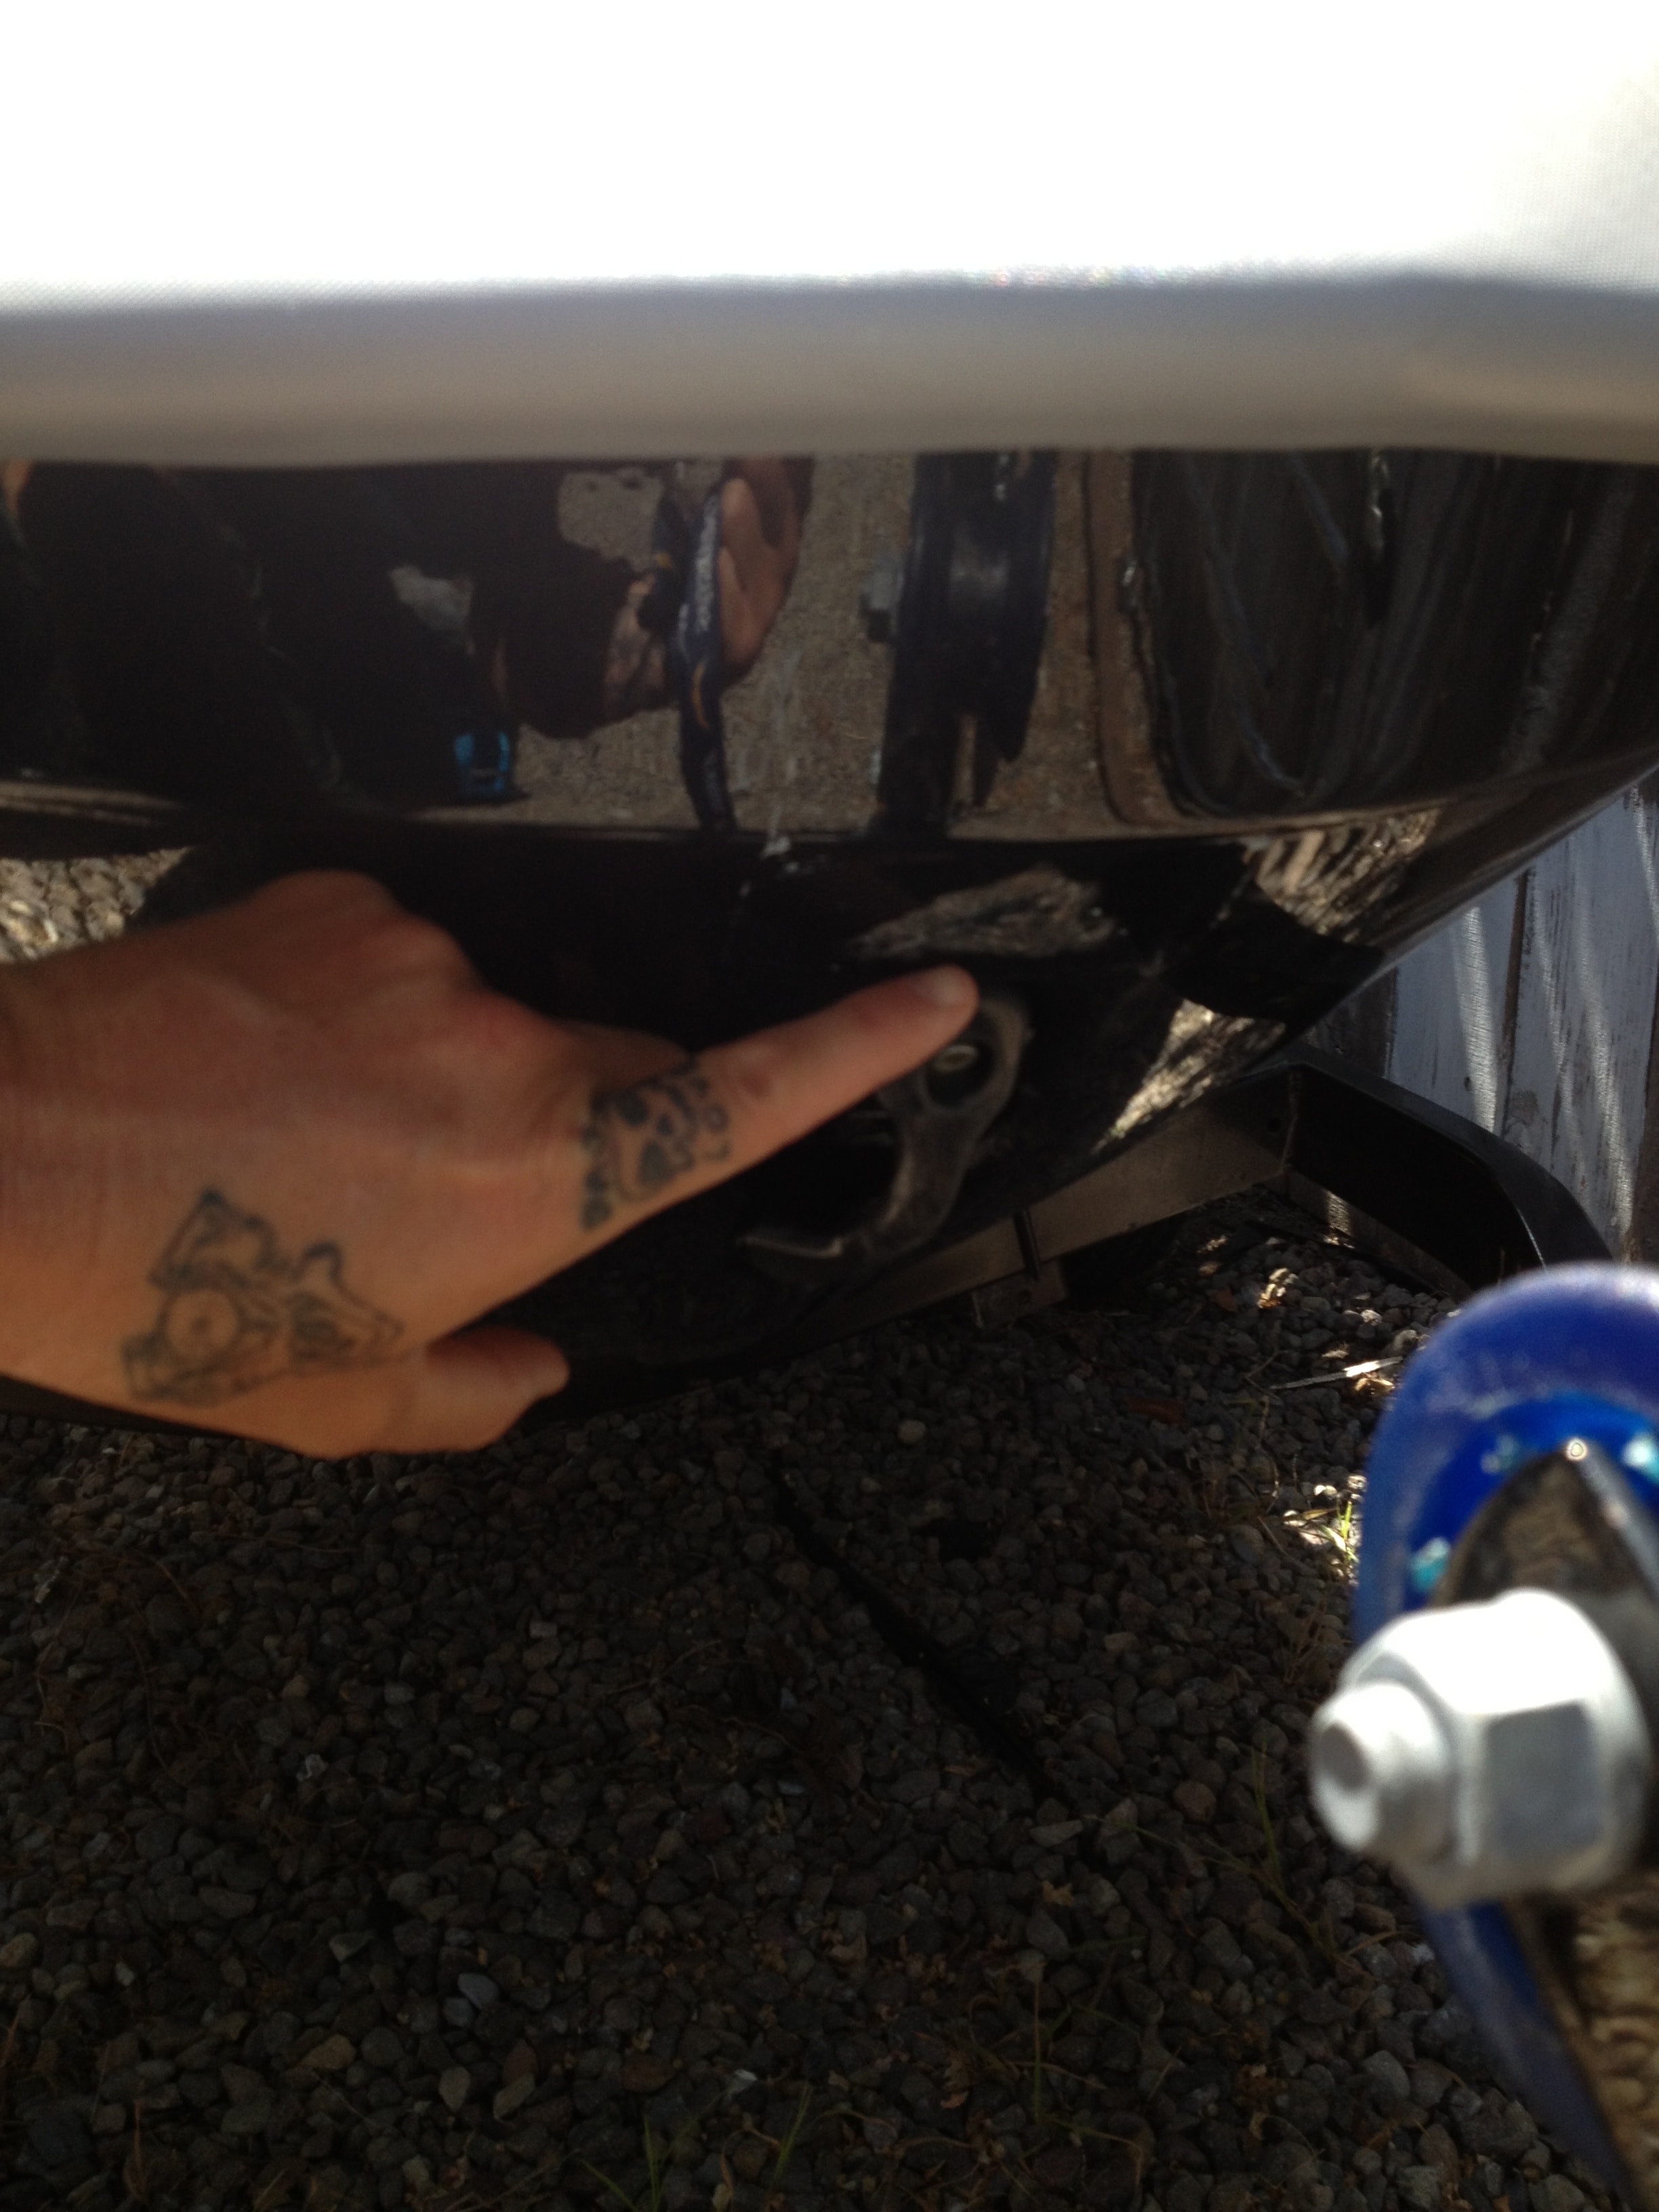
Step 3: Secondary damage area identified and prepped.
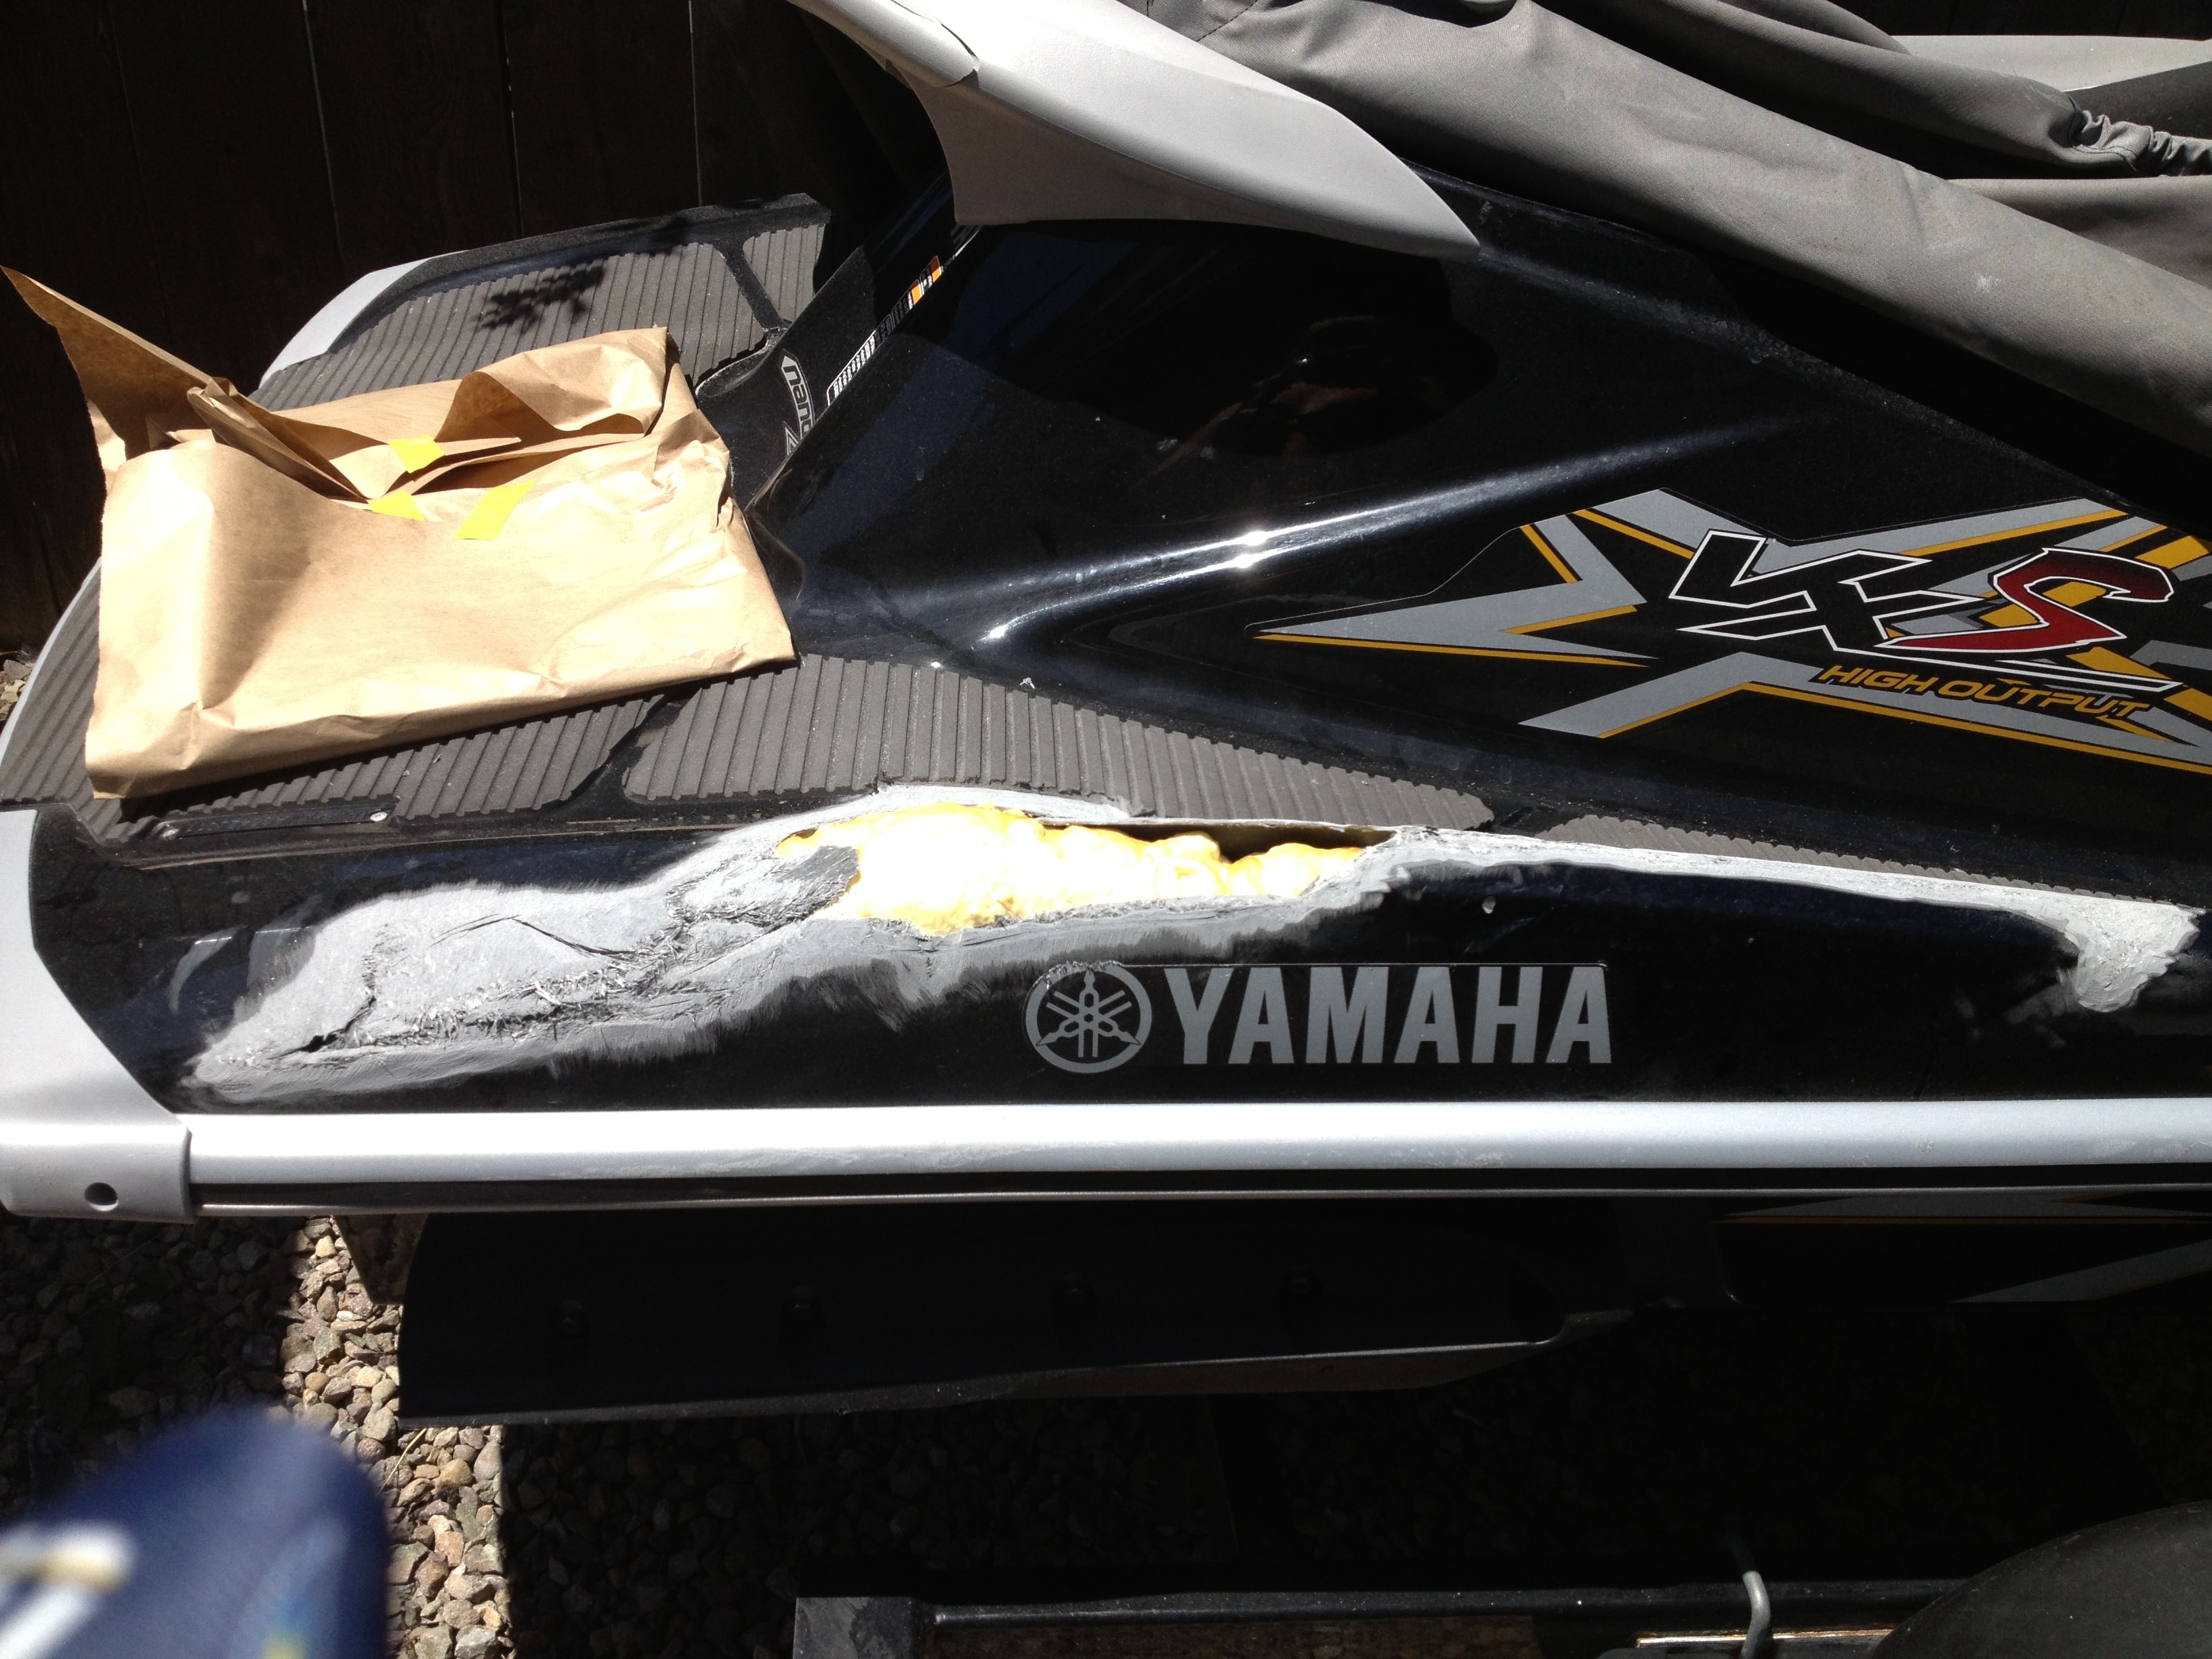
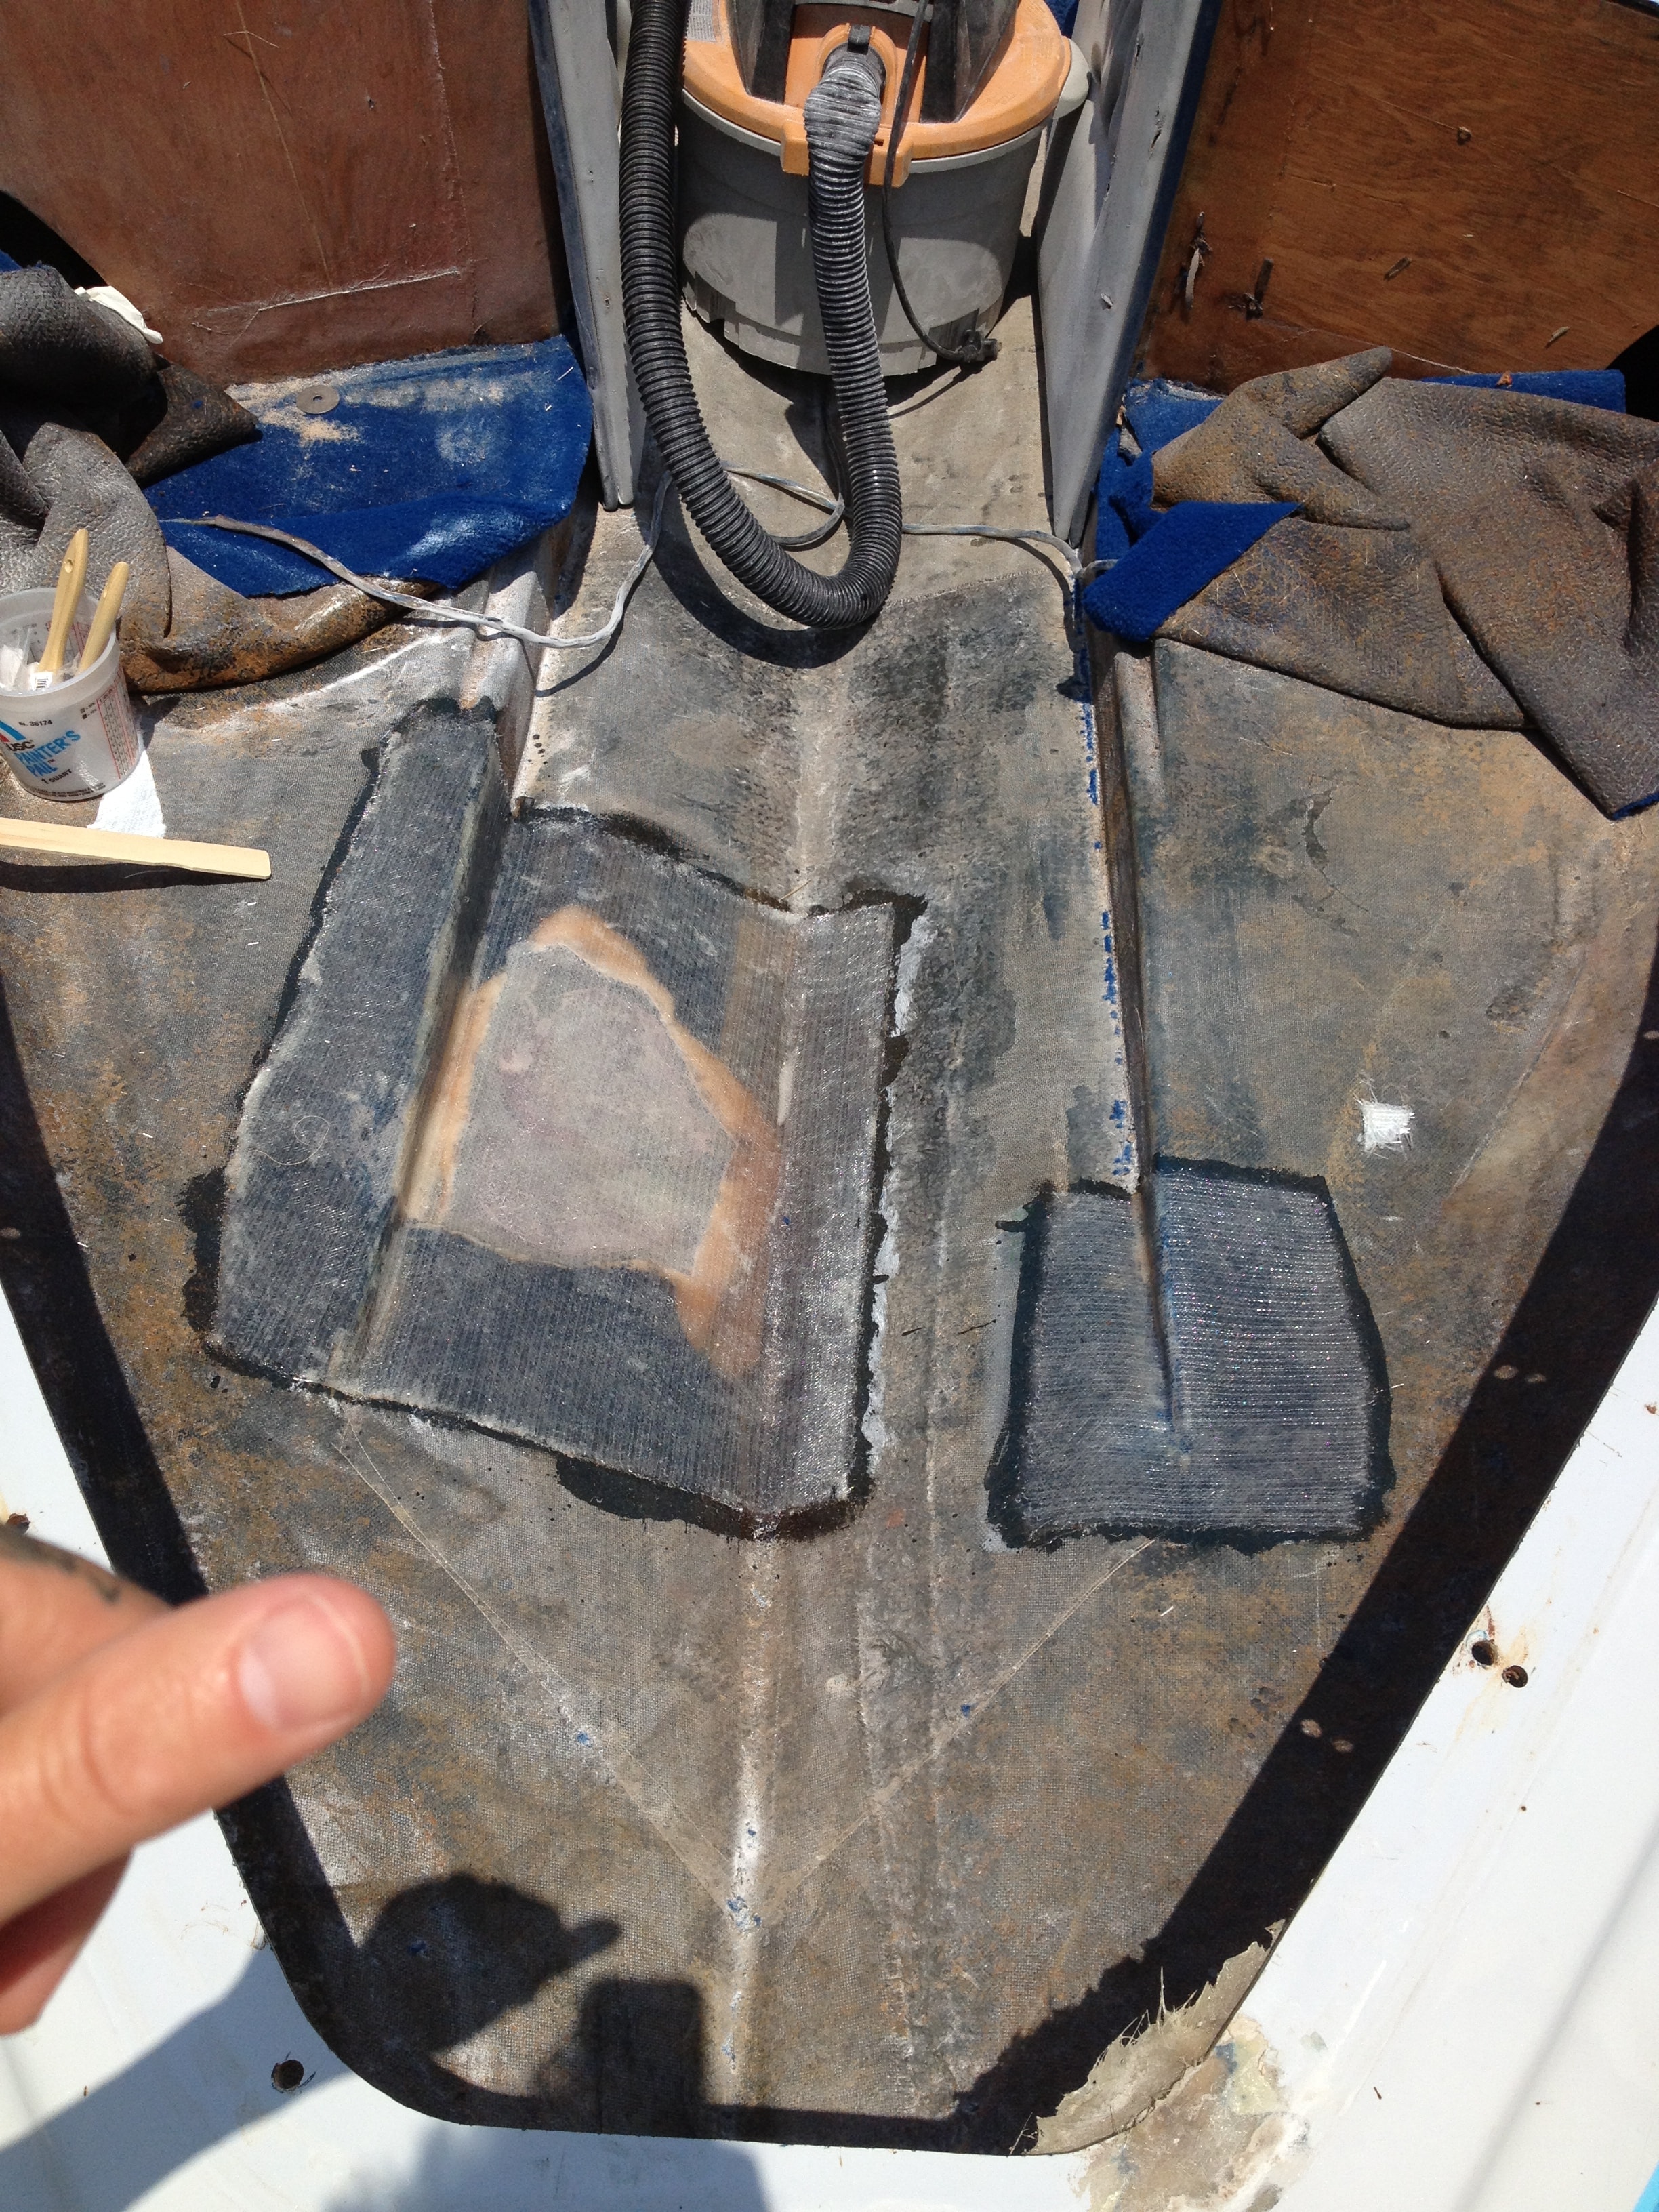
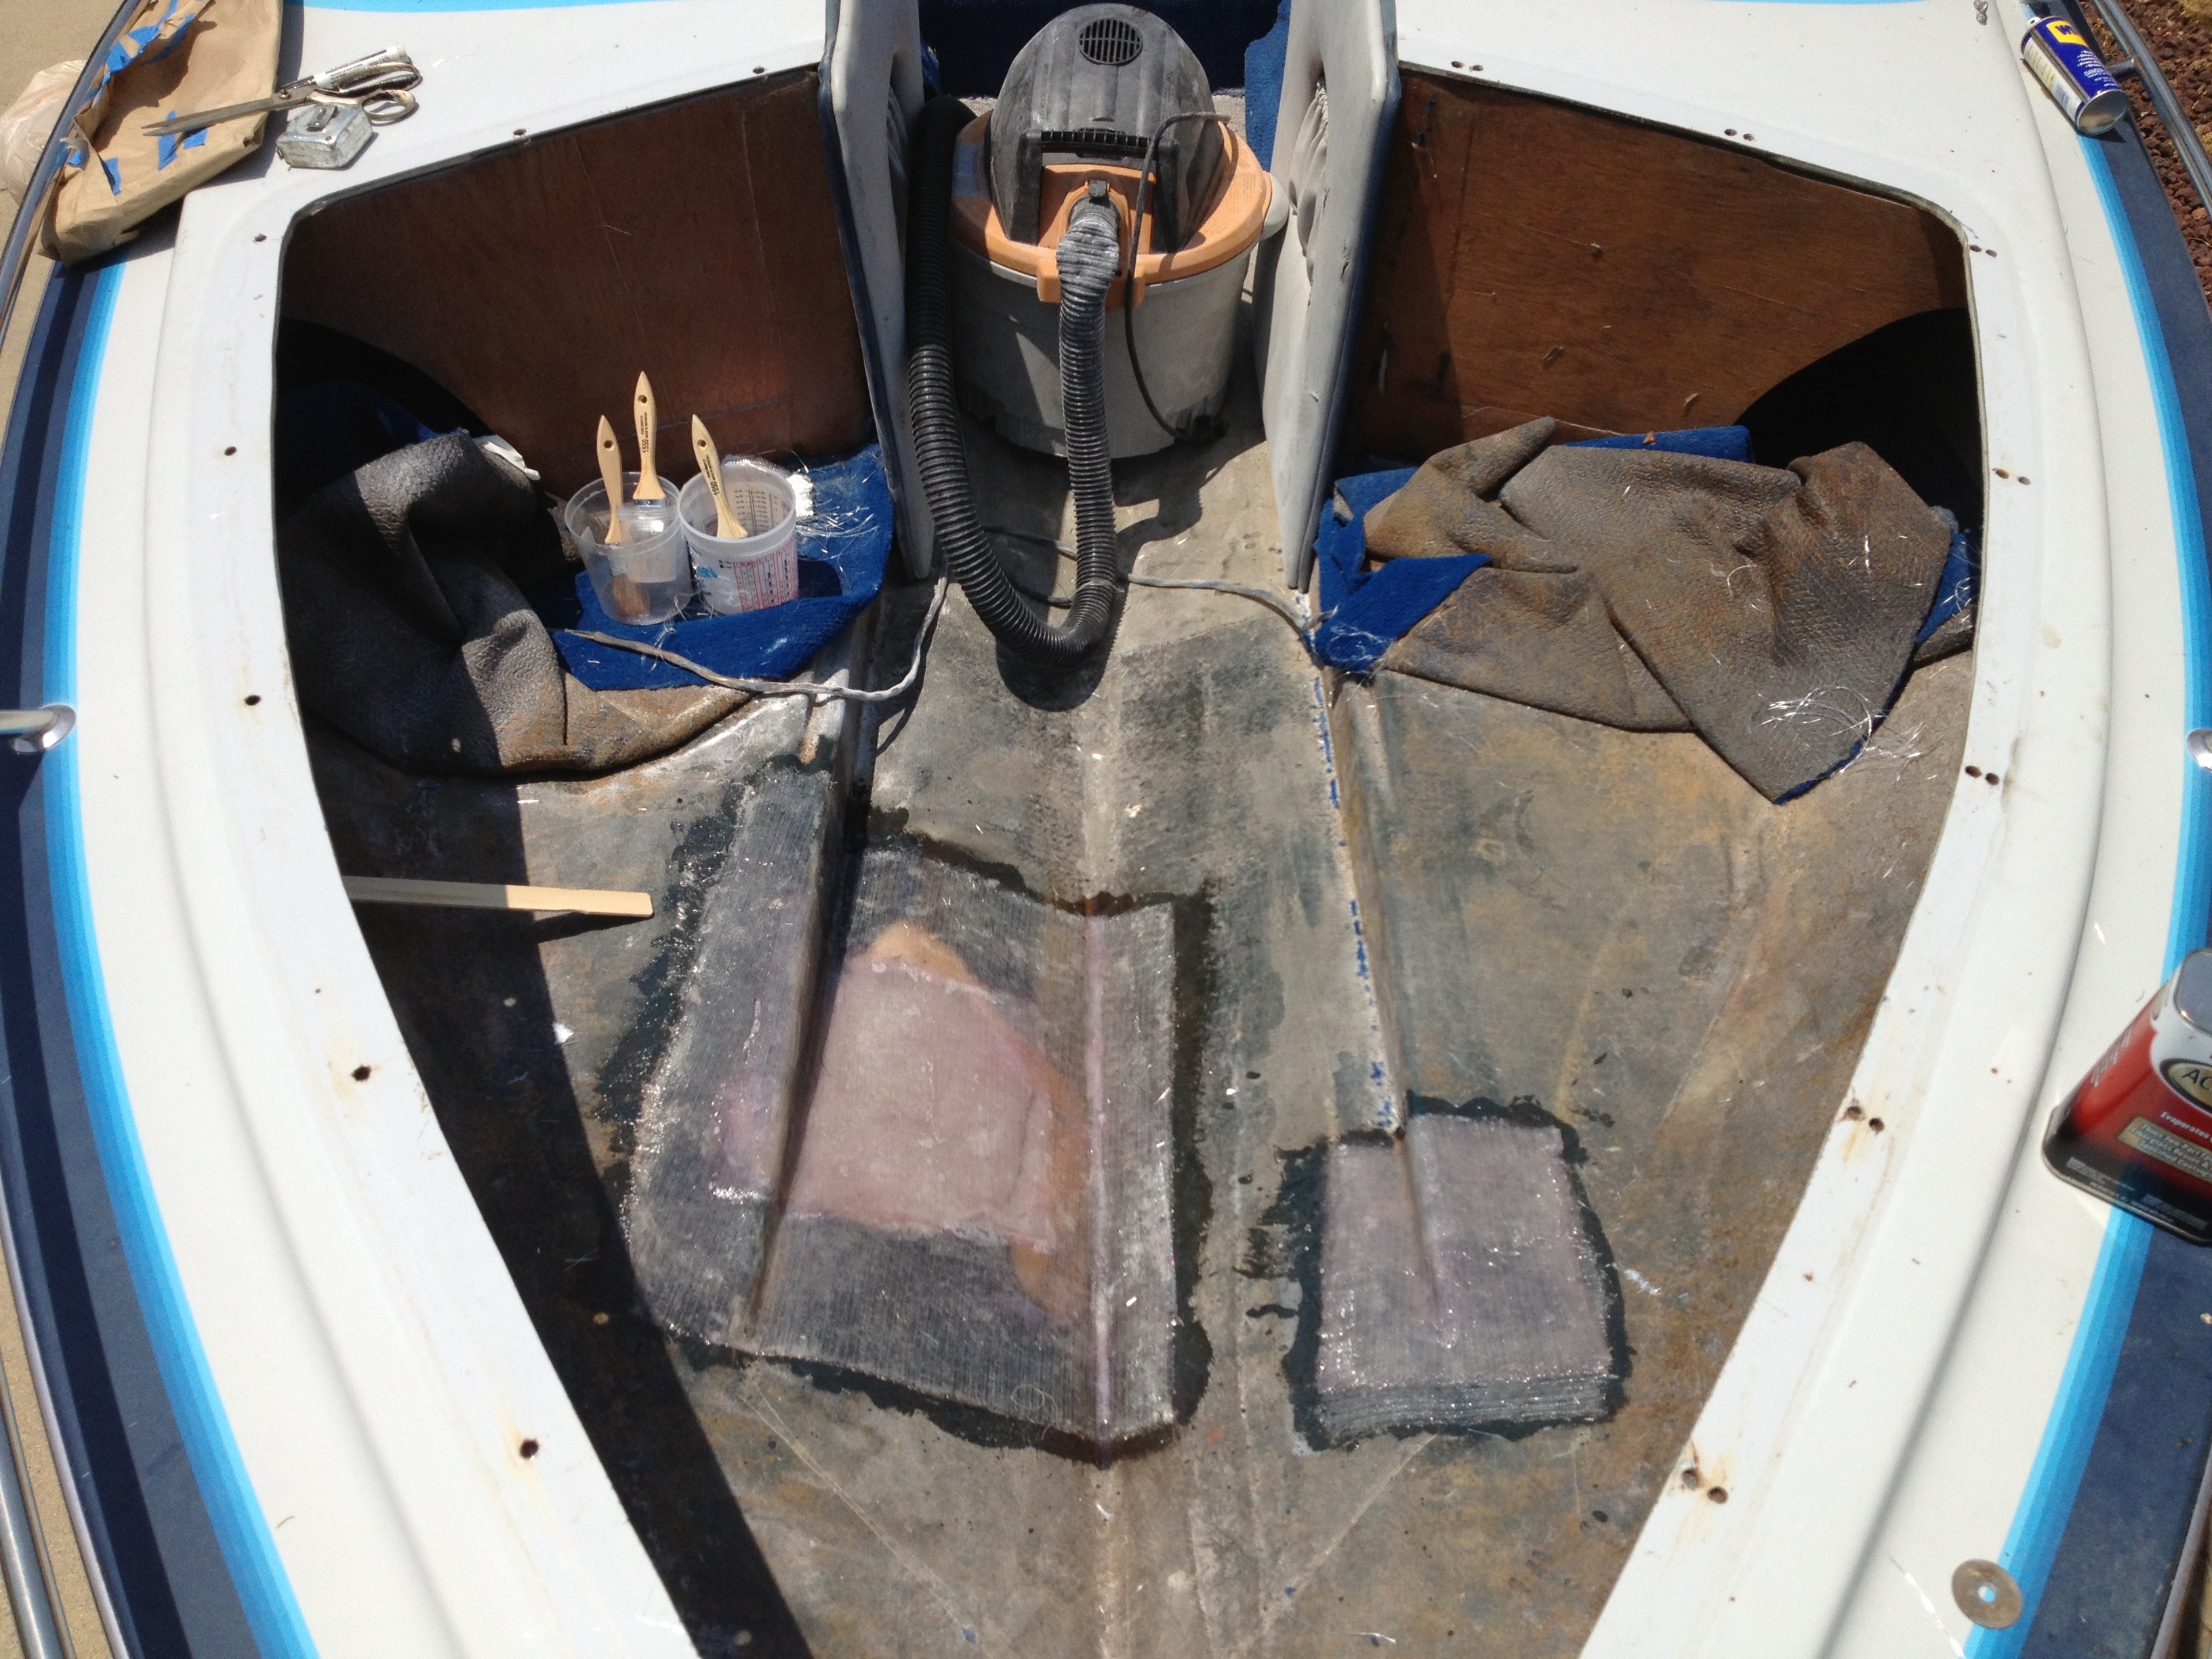
Step 4: Fiberglass cloth and resin applied to repair area.
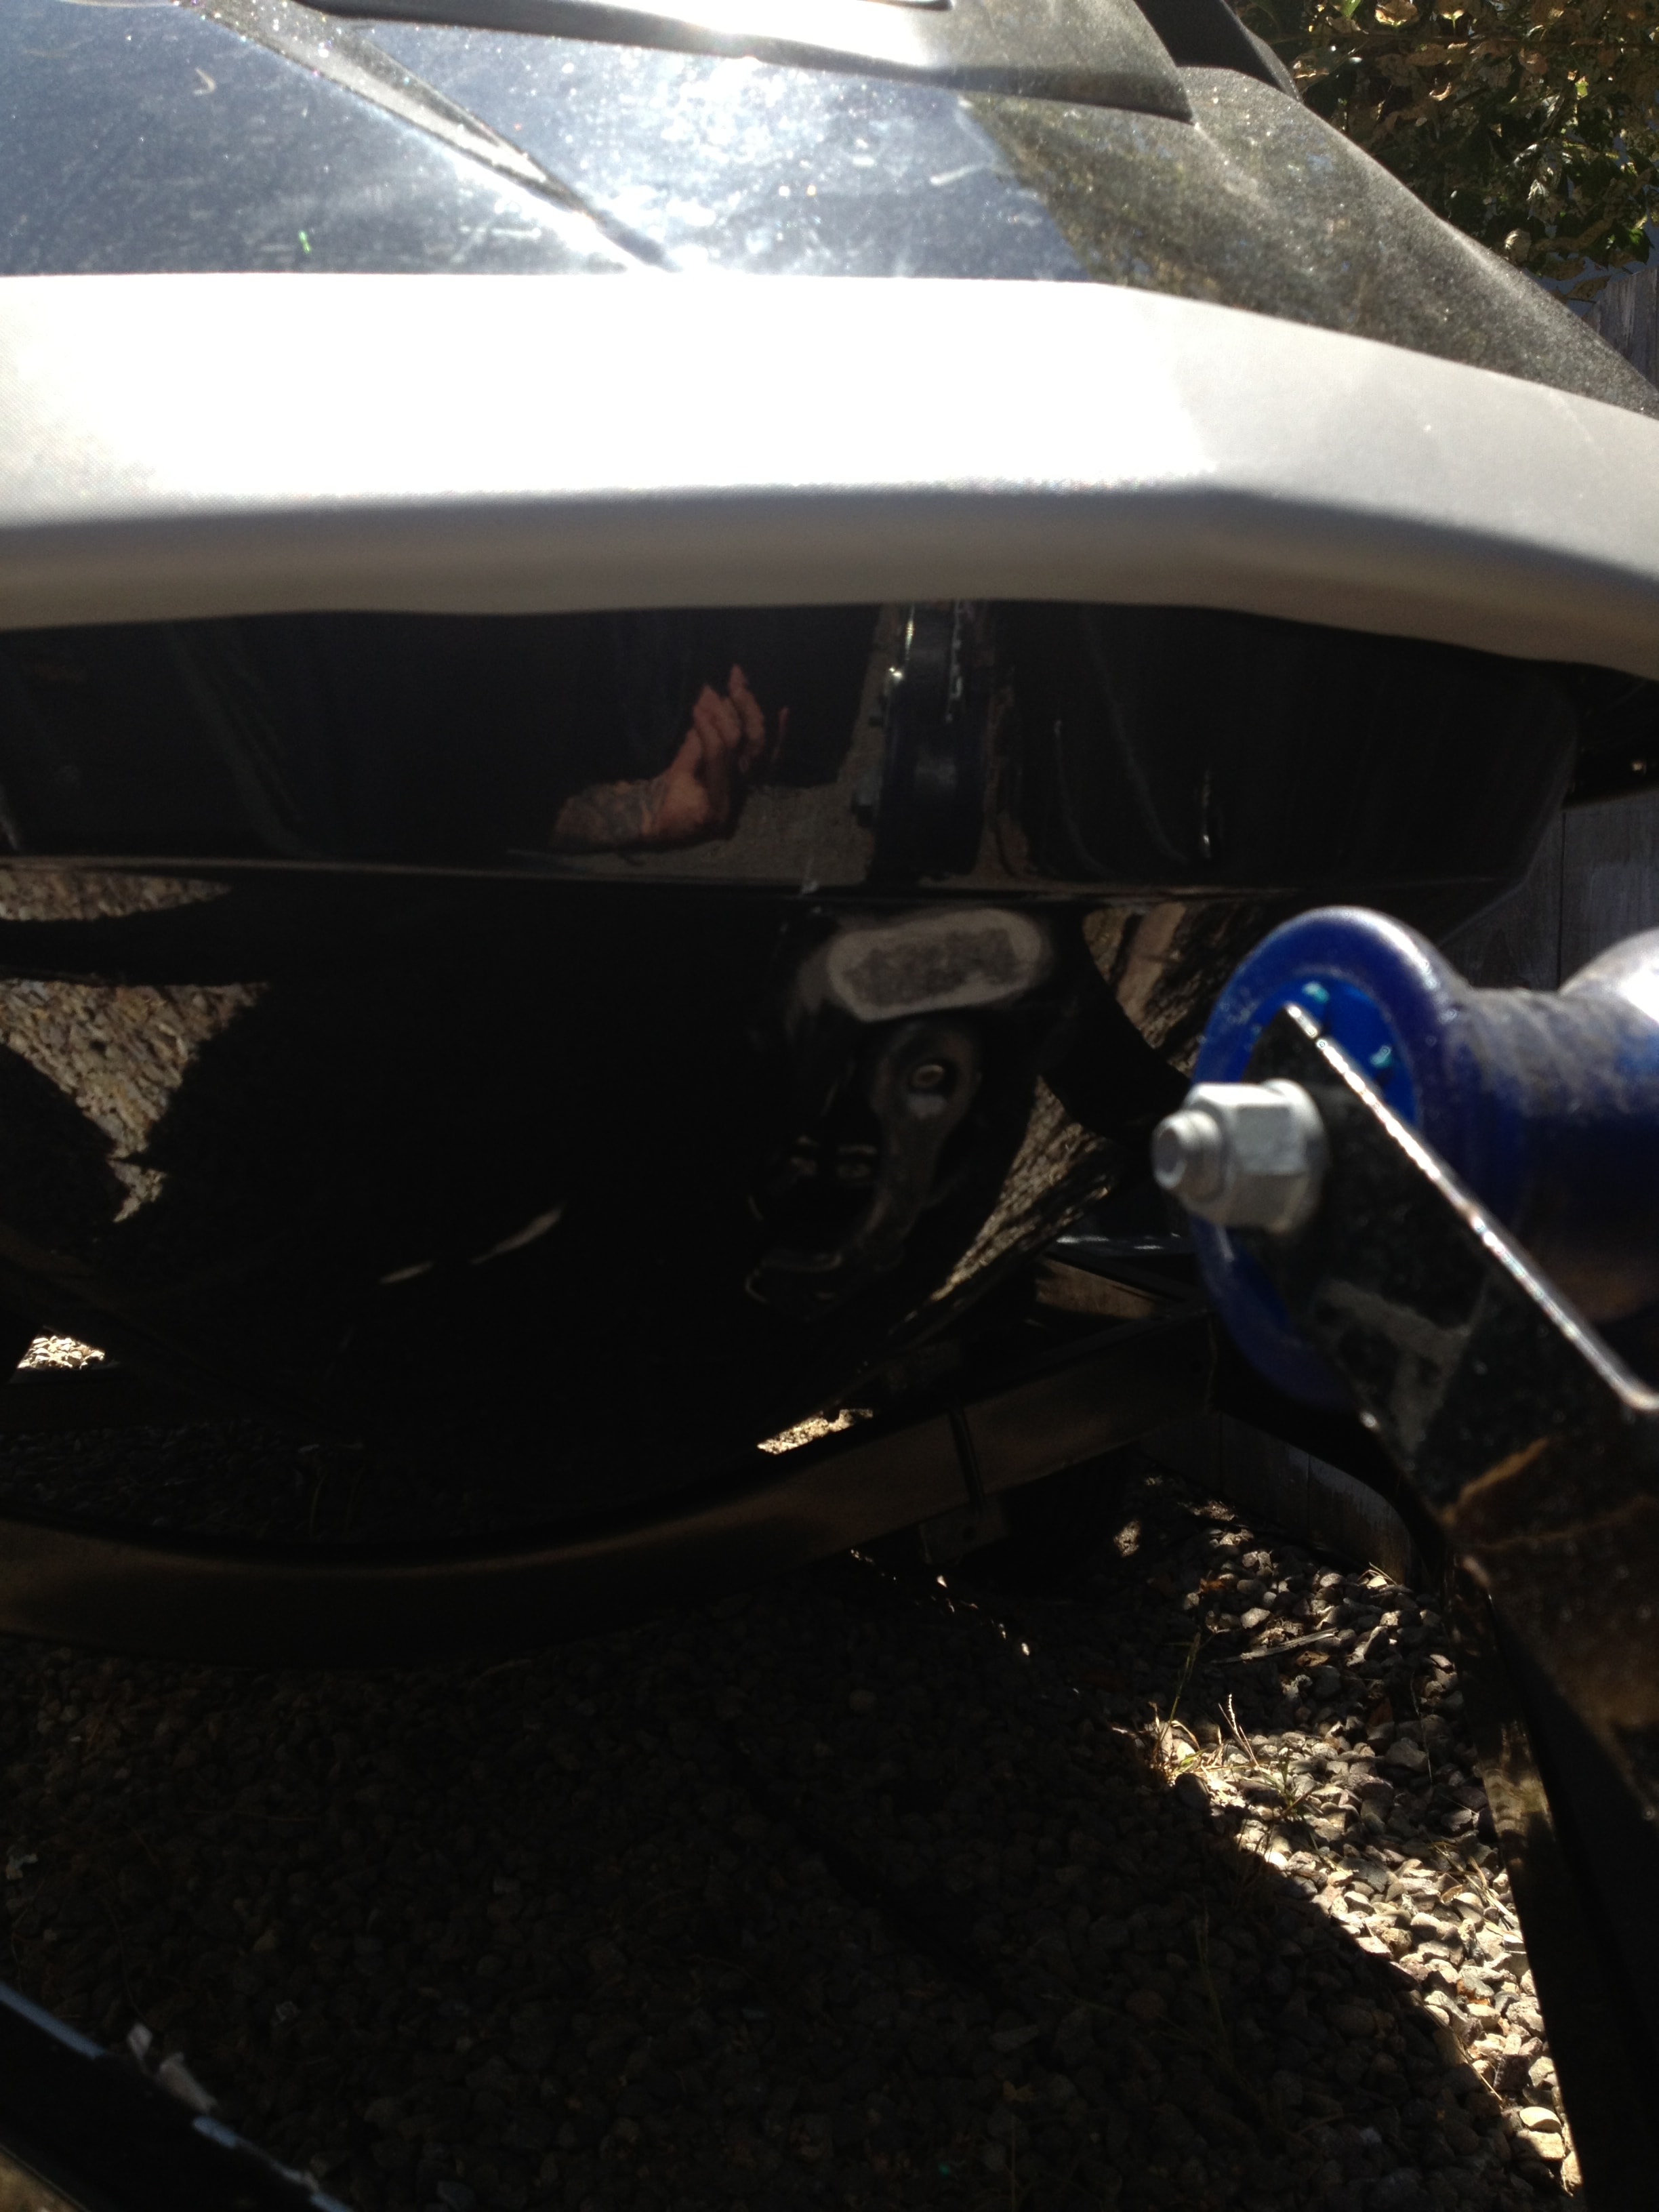
Step 5: Fiberglass layup complete with plastic sheeting mask.
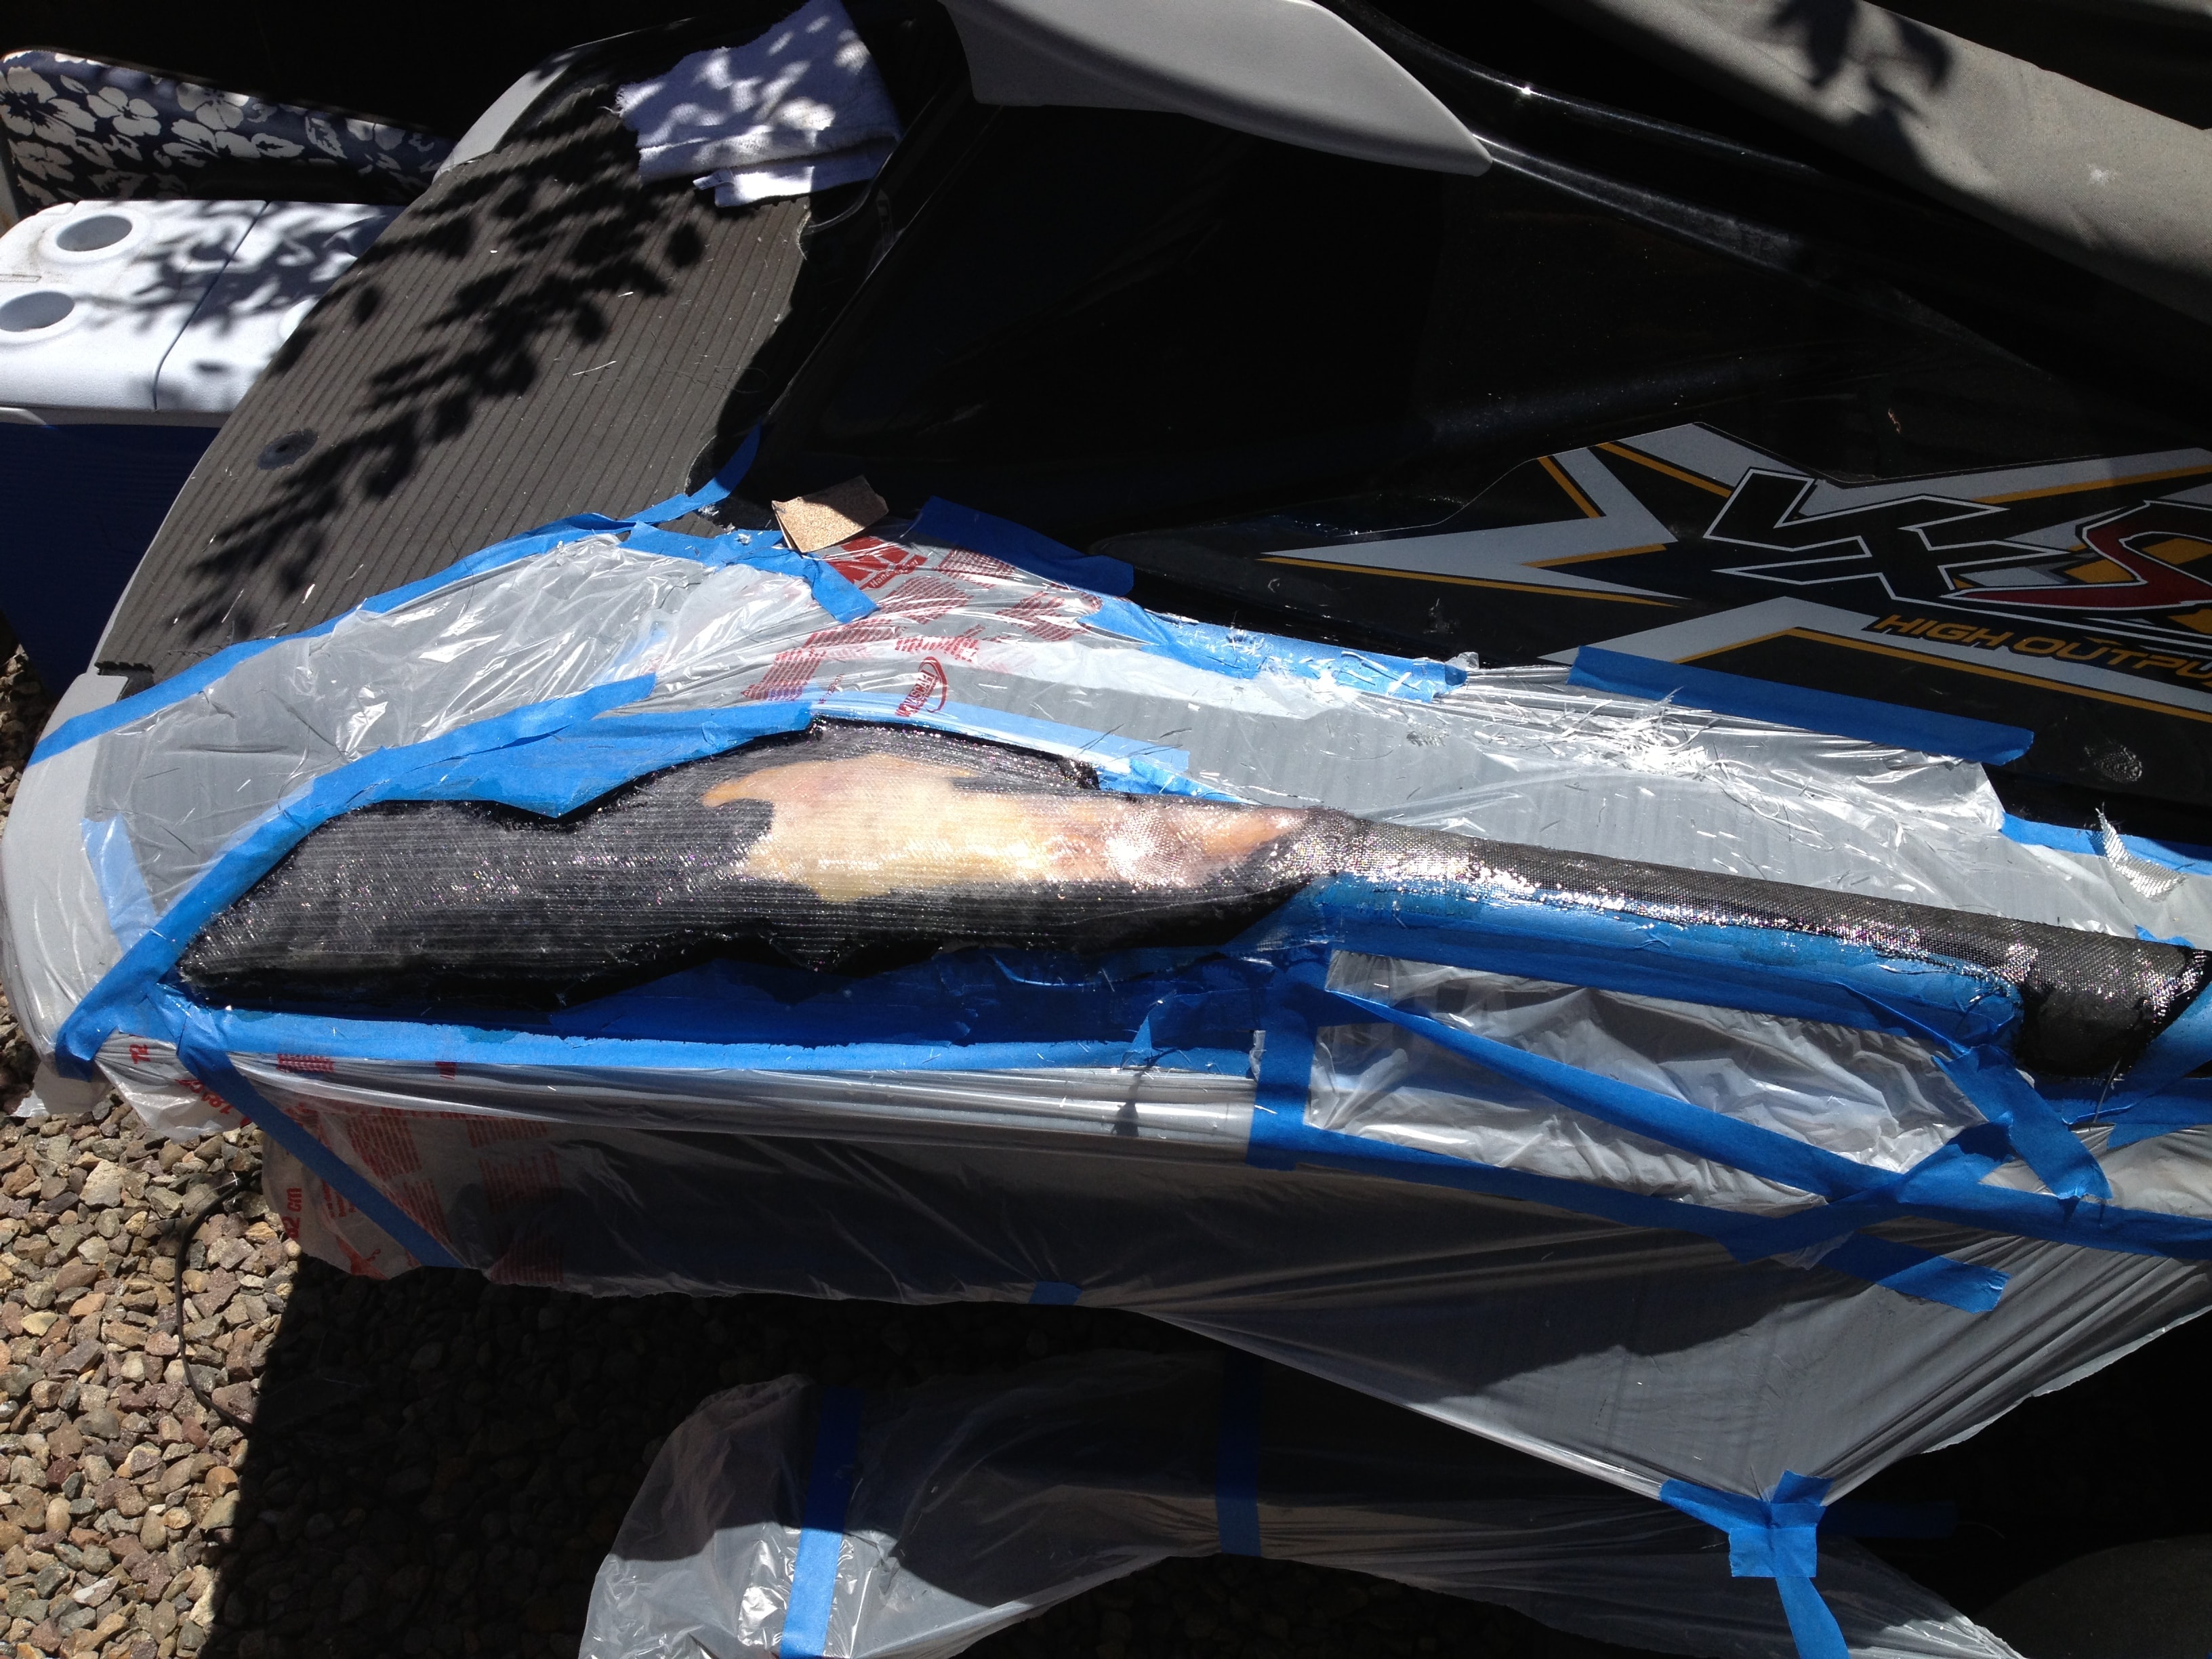
Step 6: Repair area masked and fiberglass curing.
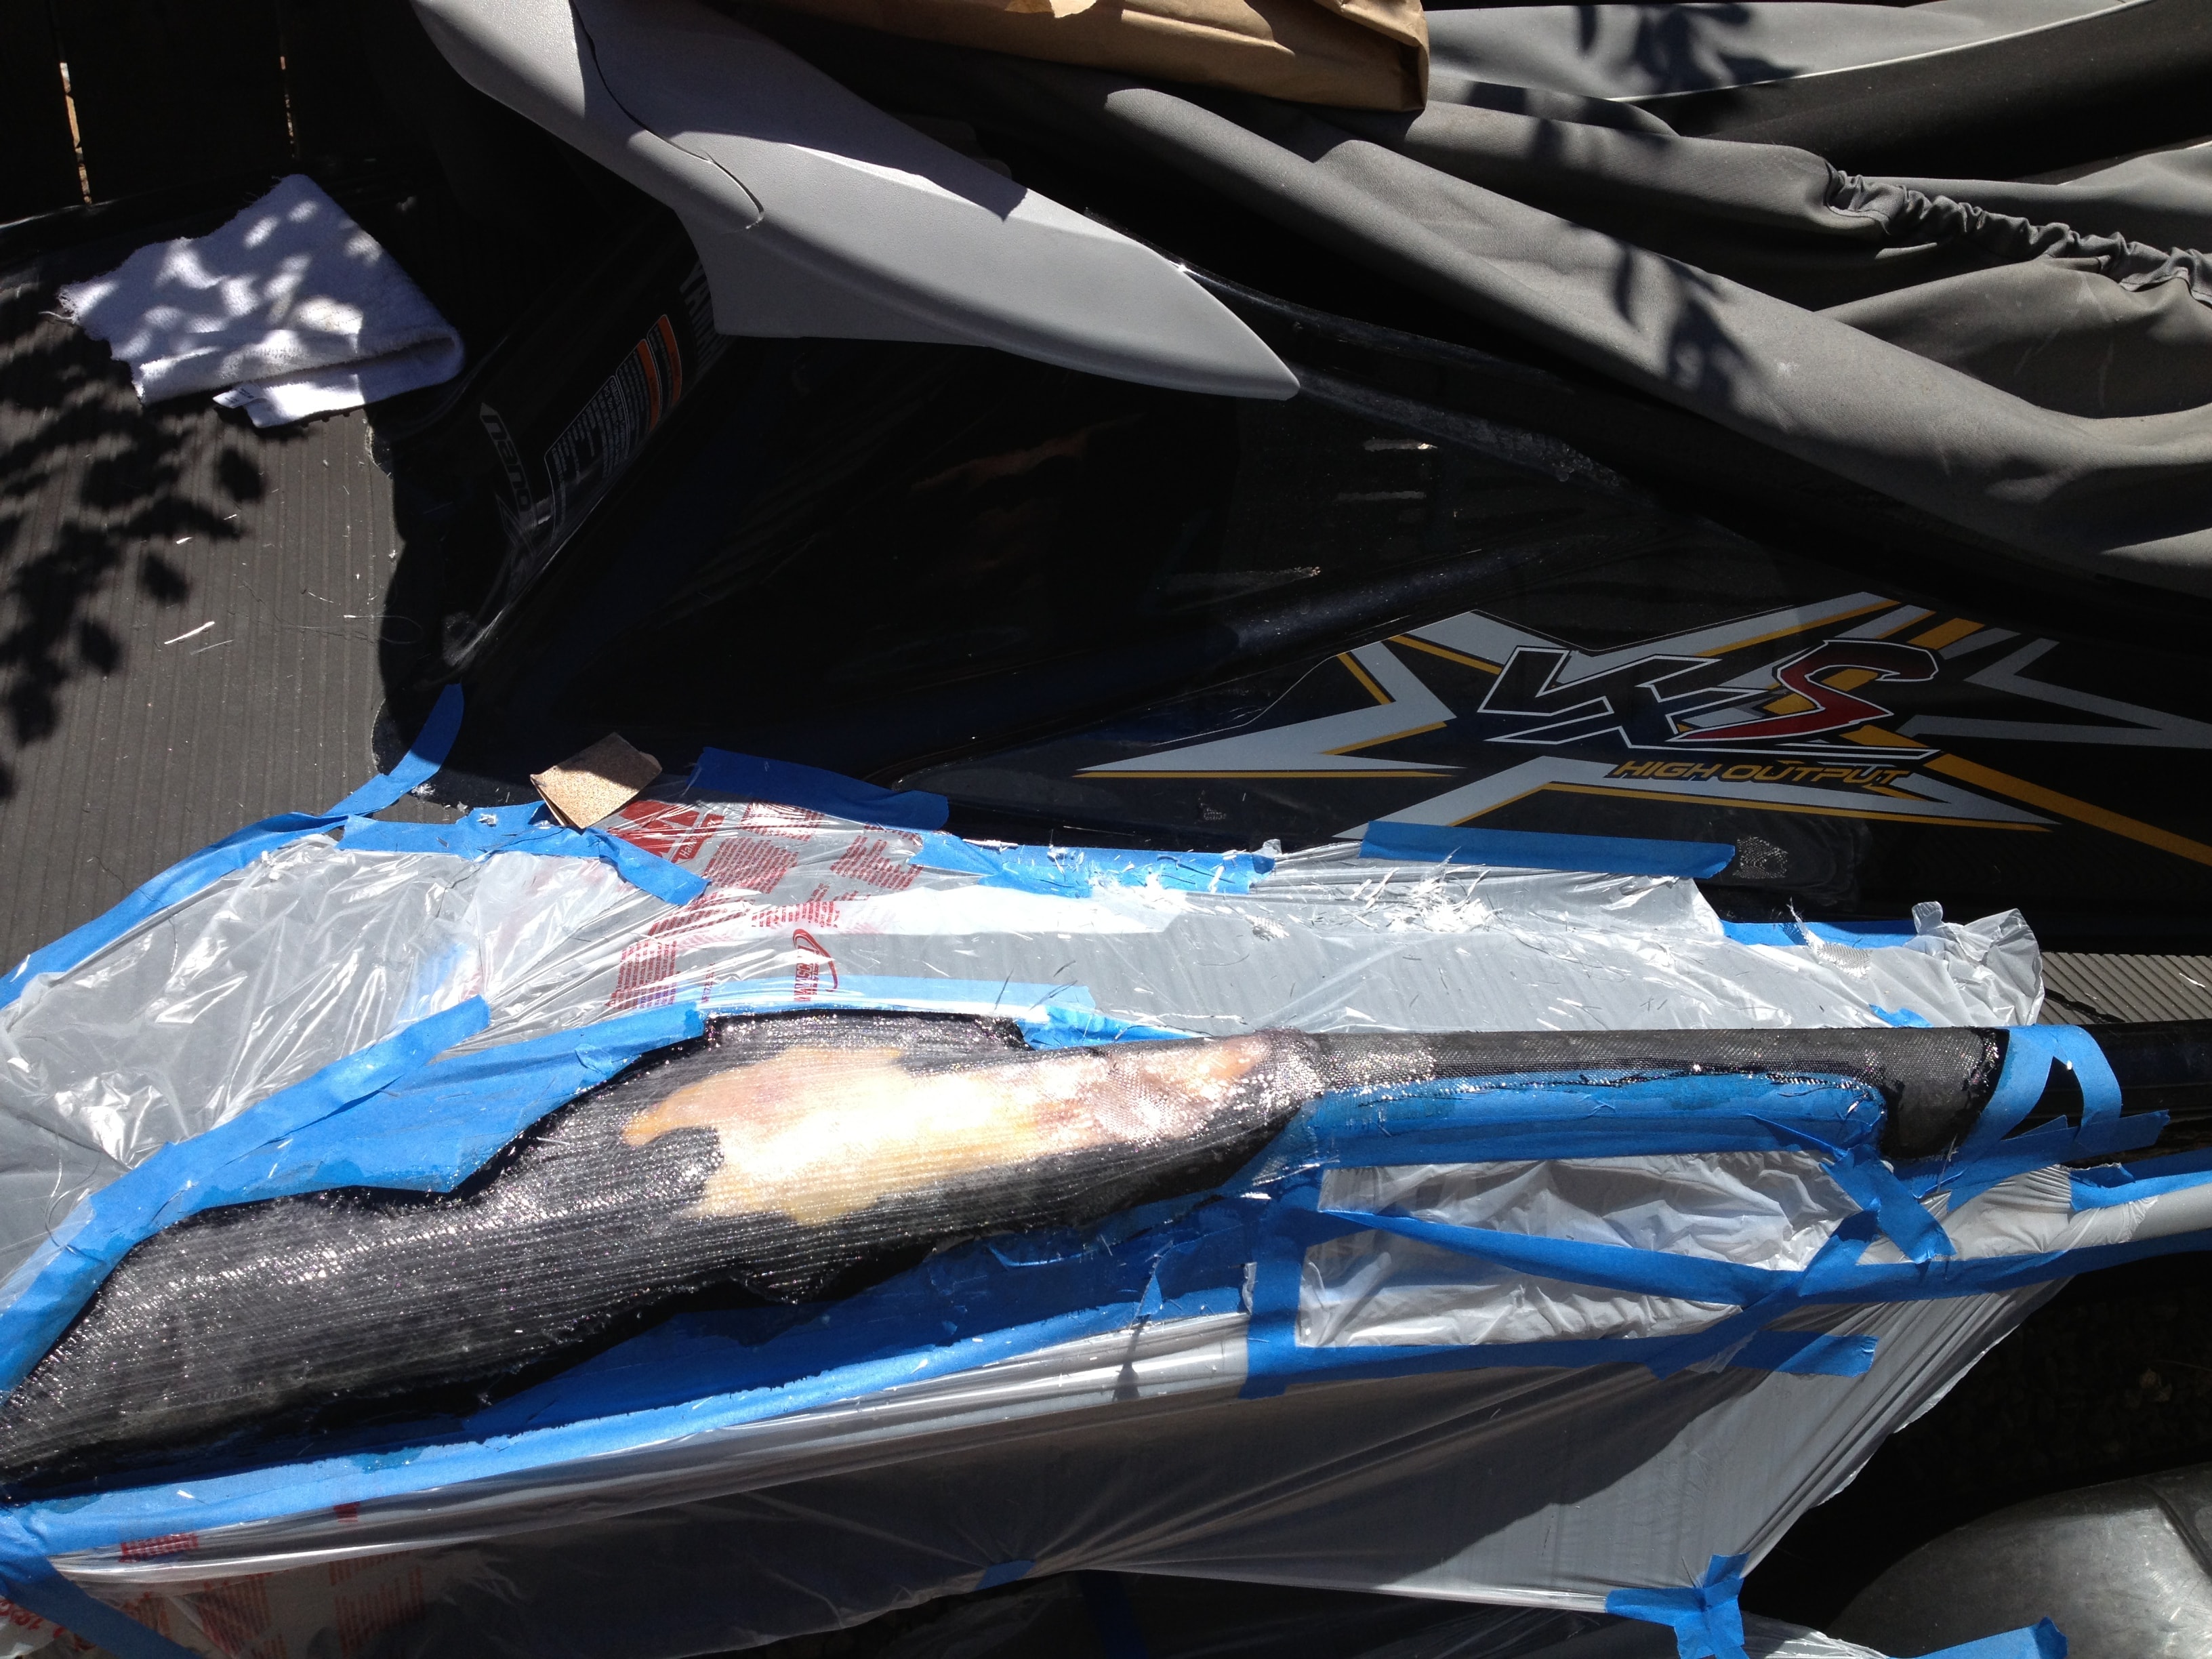
Step 7: Fiberglass repair curing — close-up of layup.
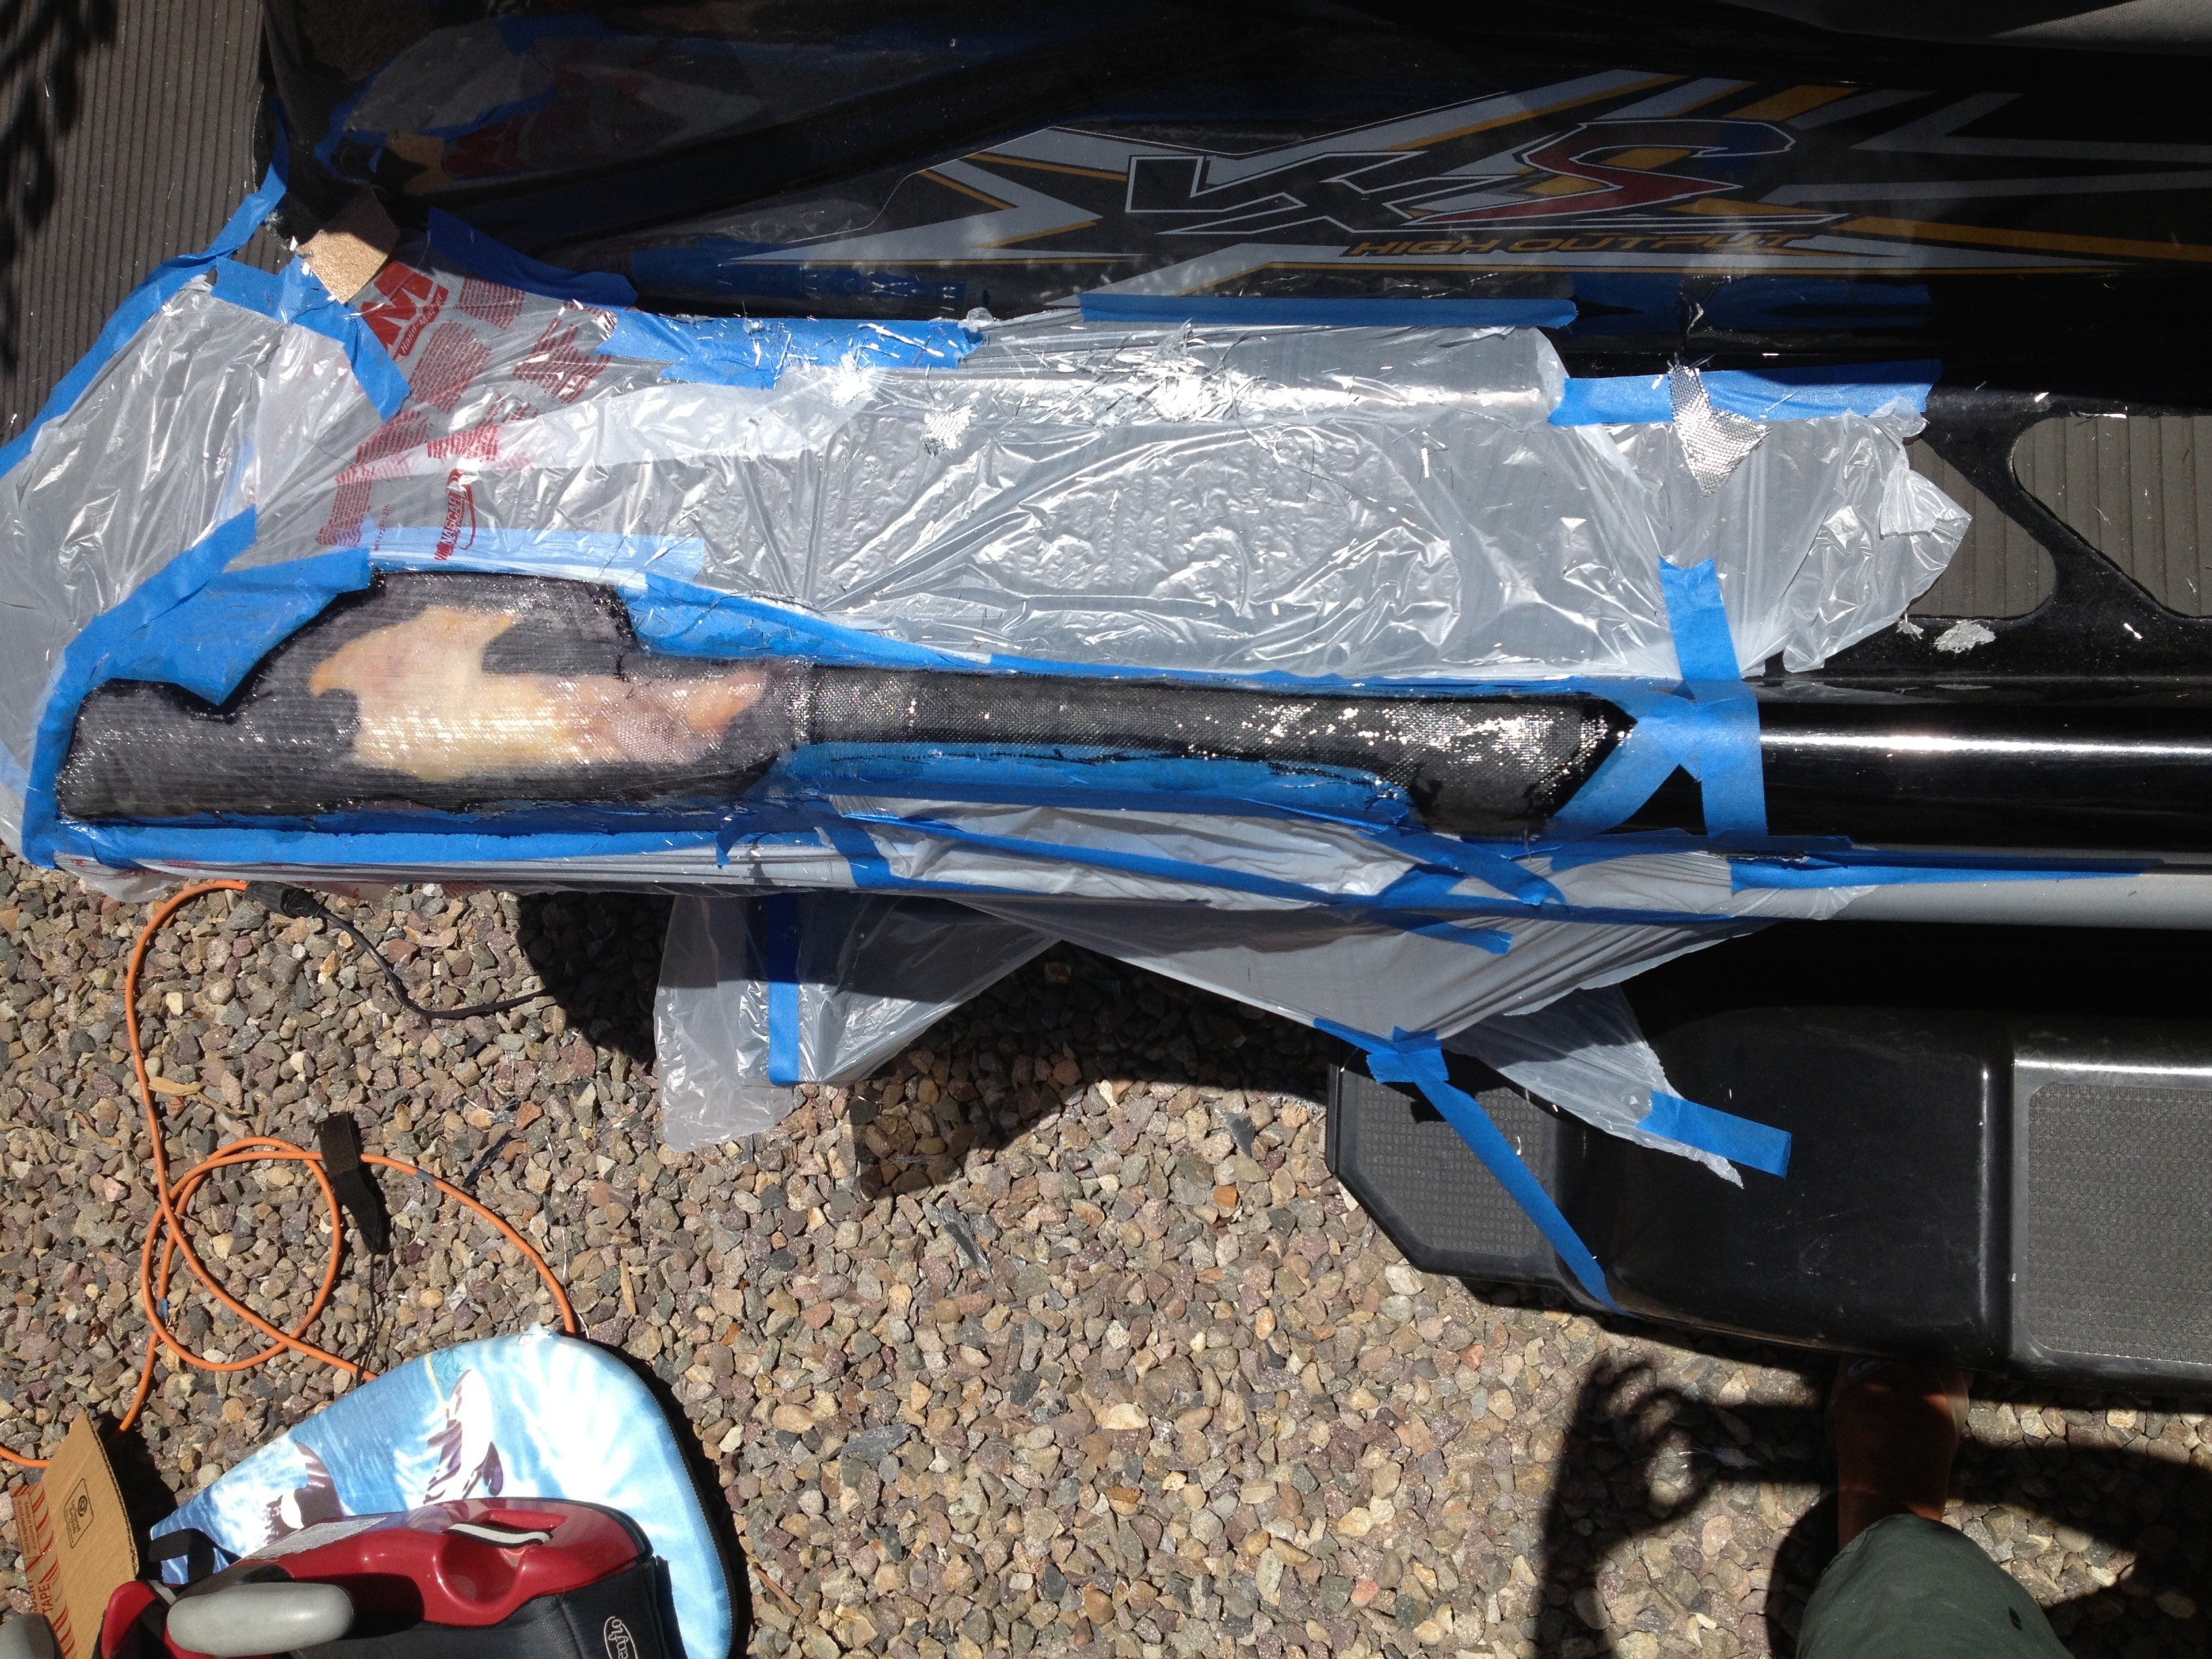
Step 8: Repair sanded flush and faired smooth.
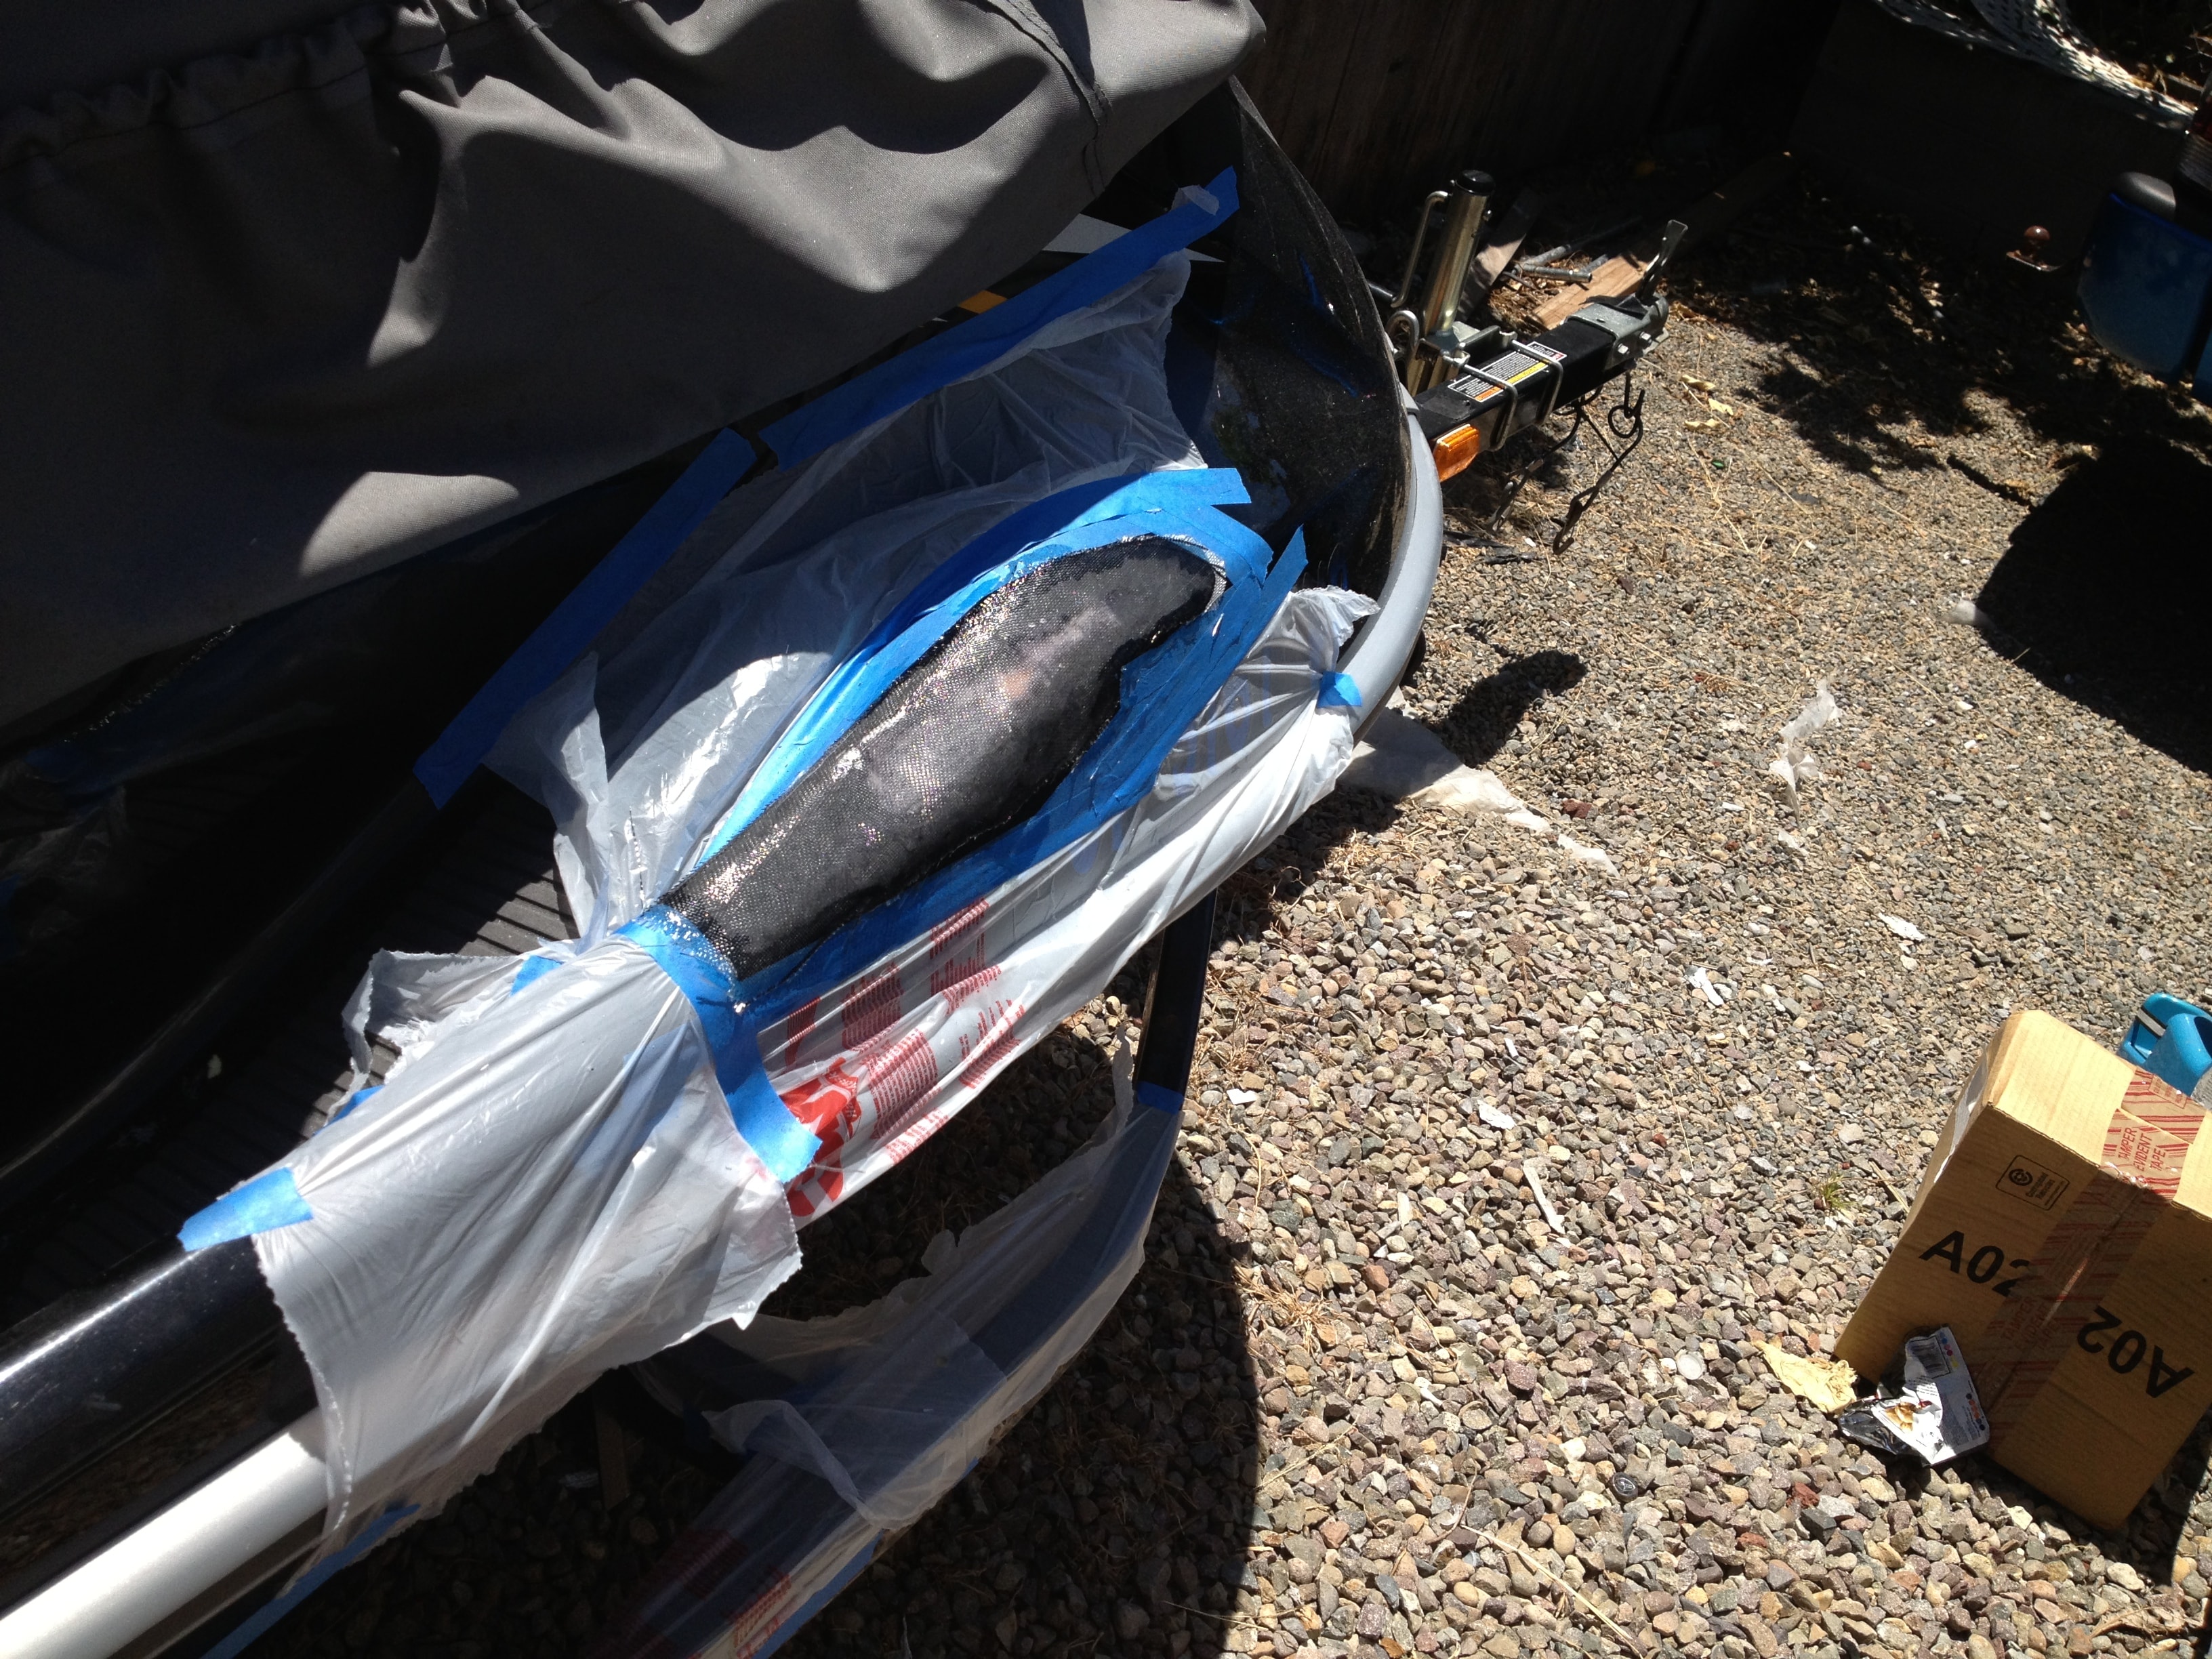
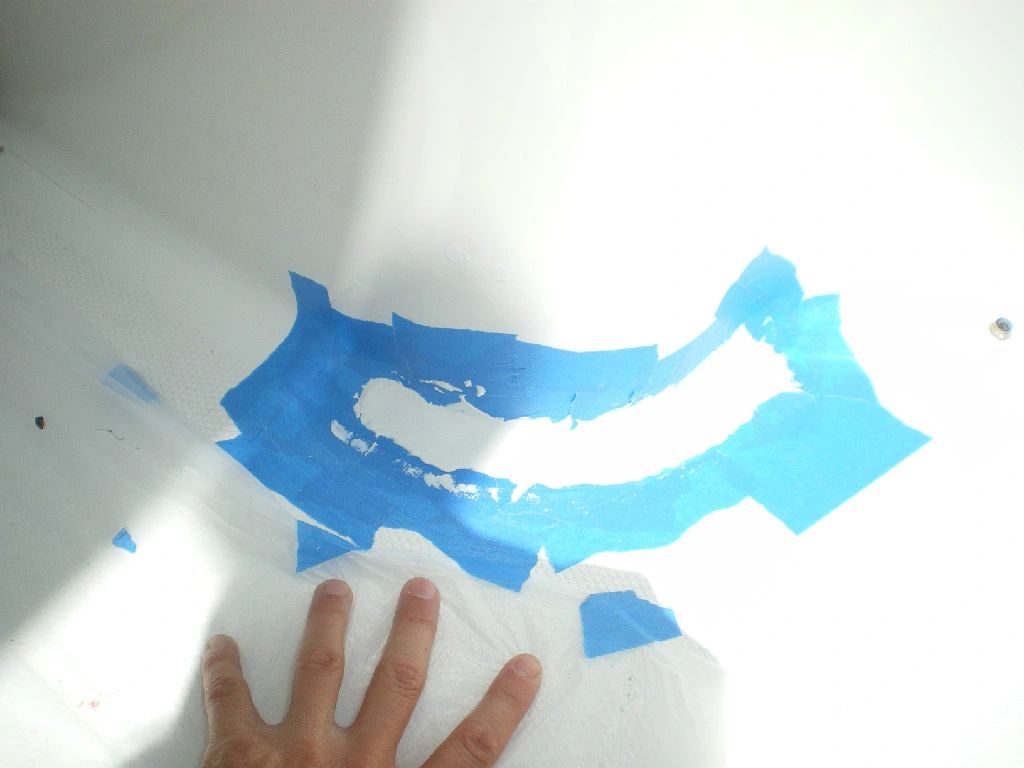
Step 9: Secondary repair area masked for gelcoat application.
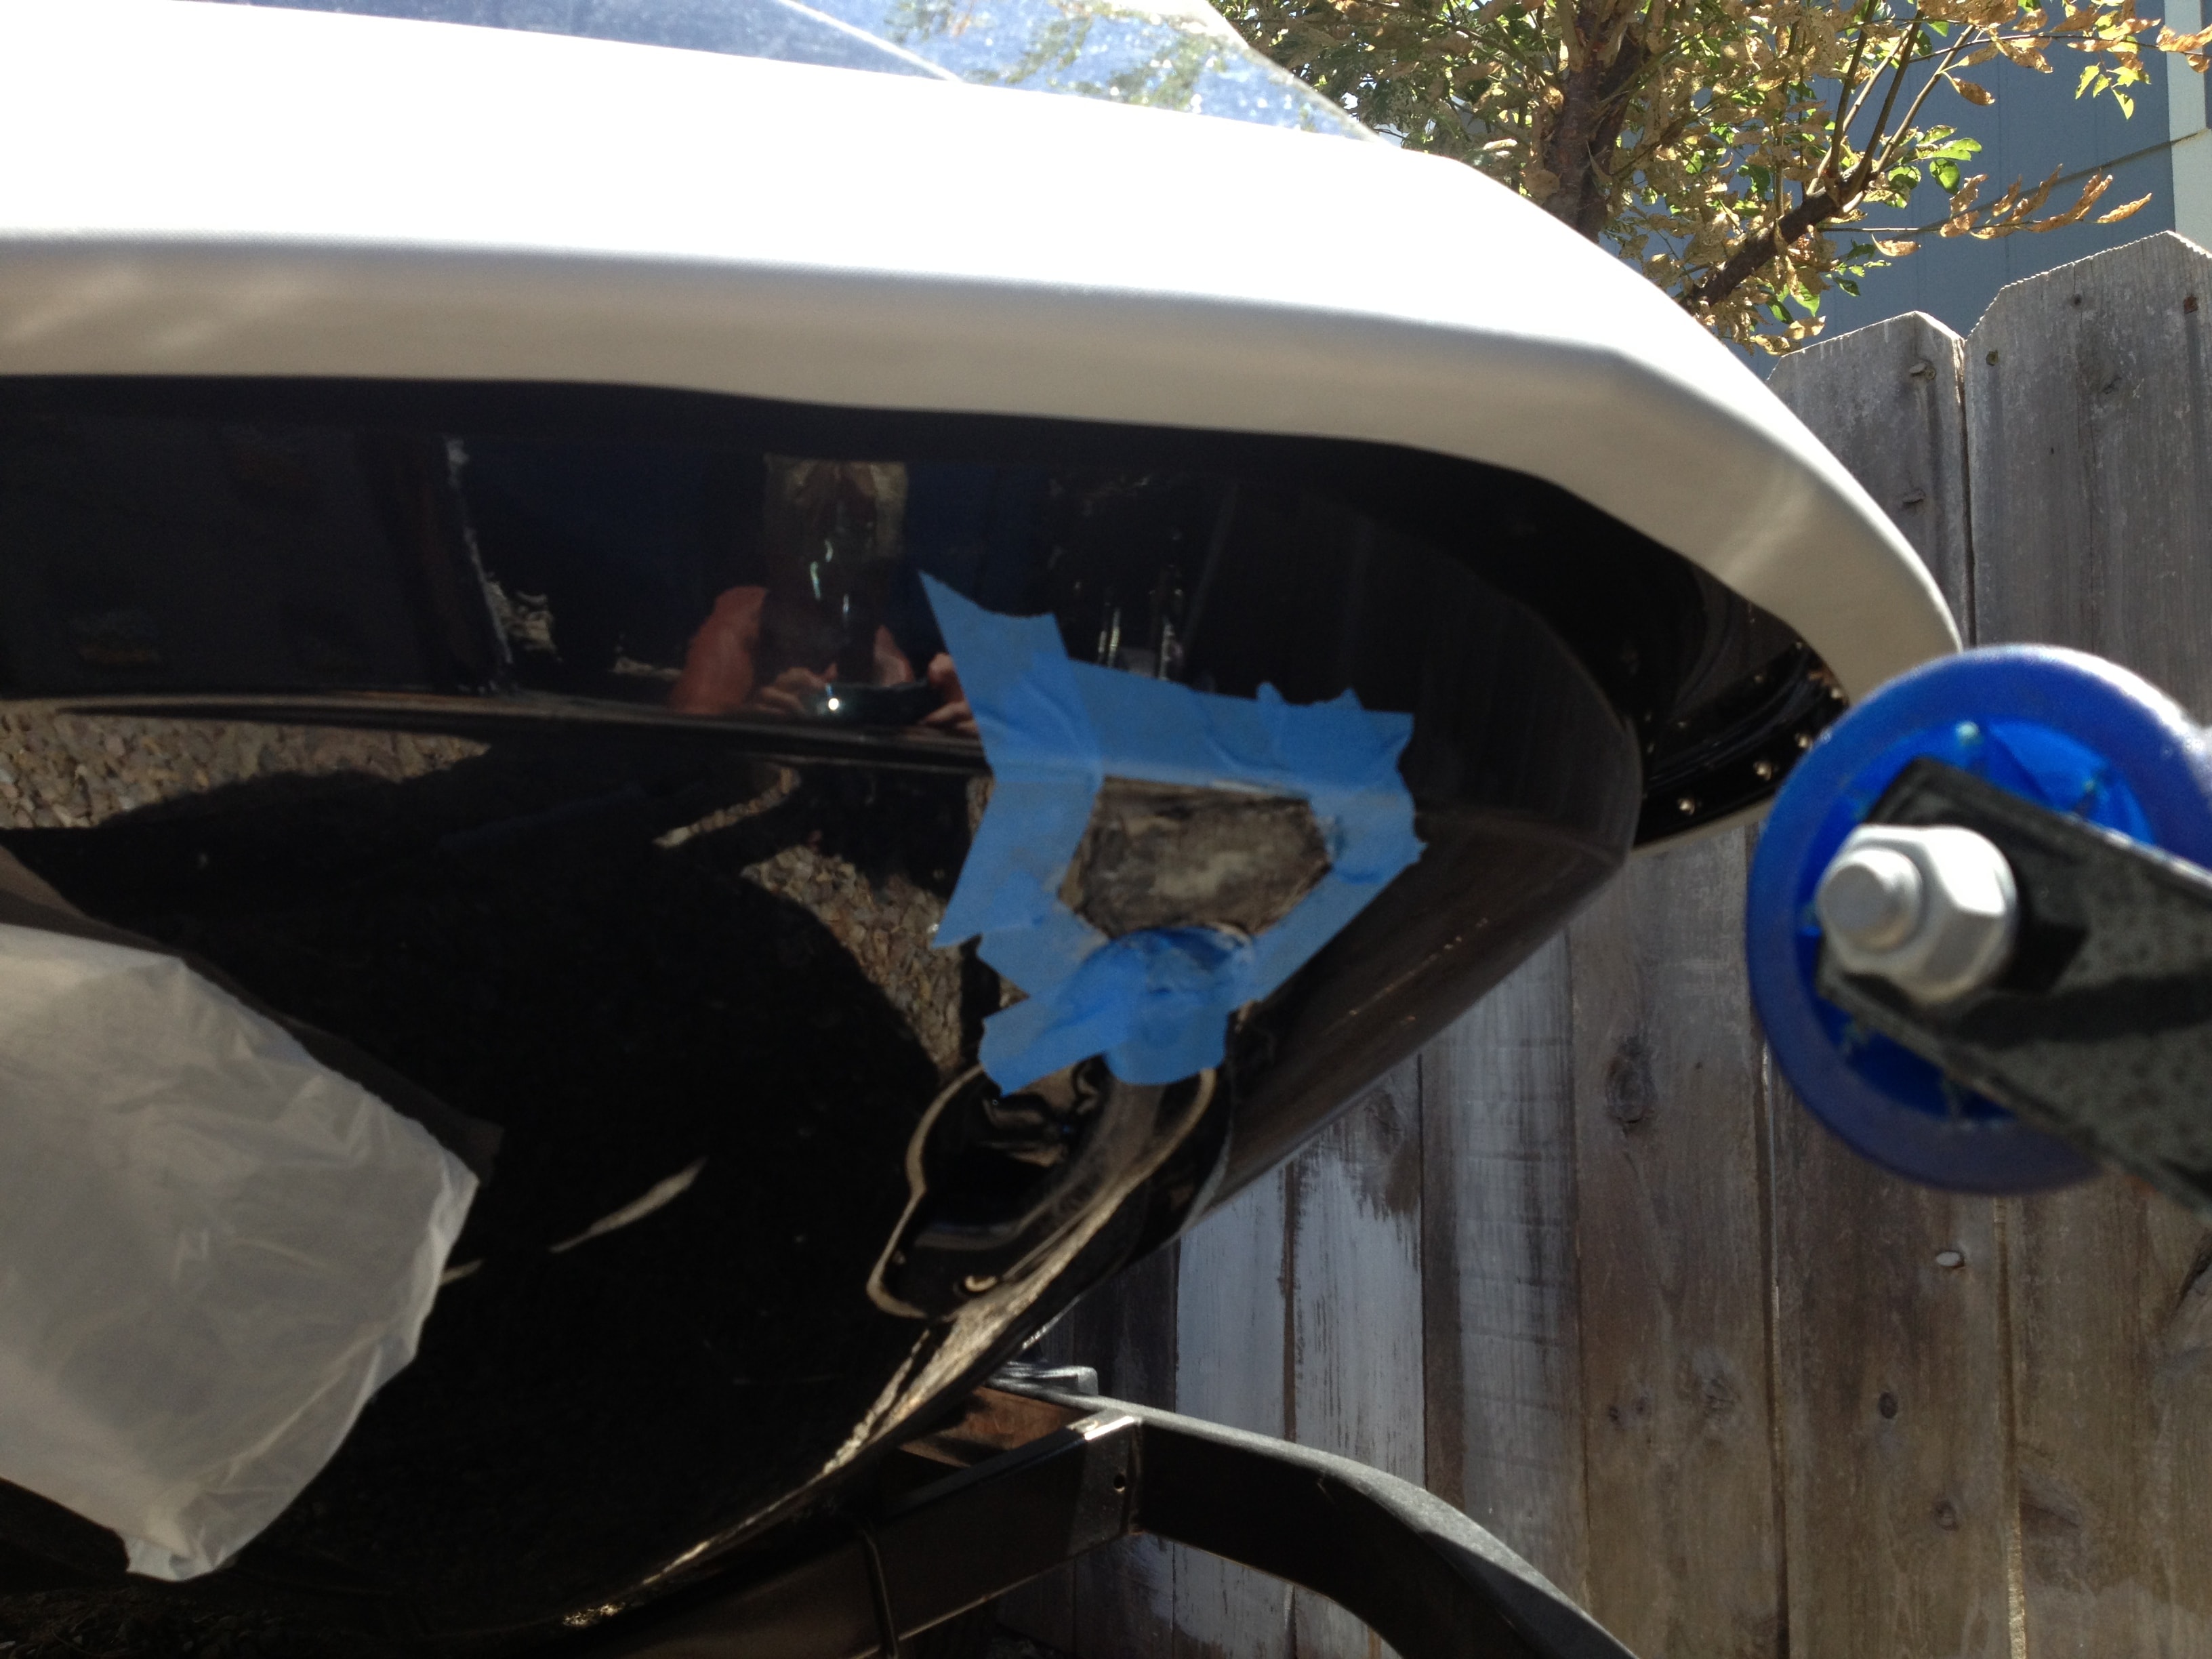
Step 10: Gelcoat color-matched and applied — finishing stages.
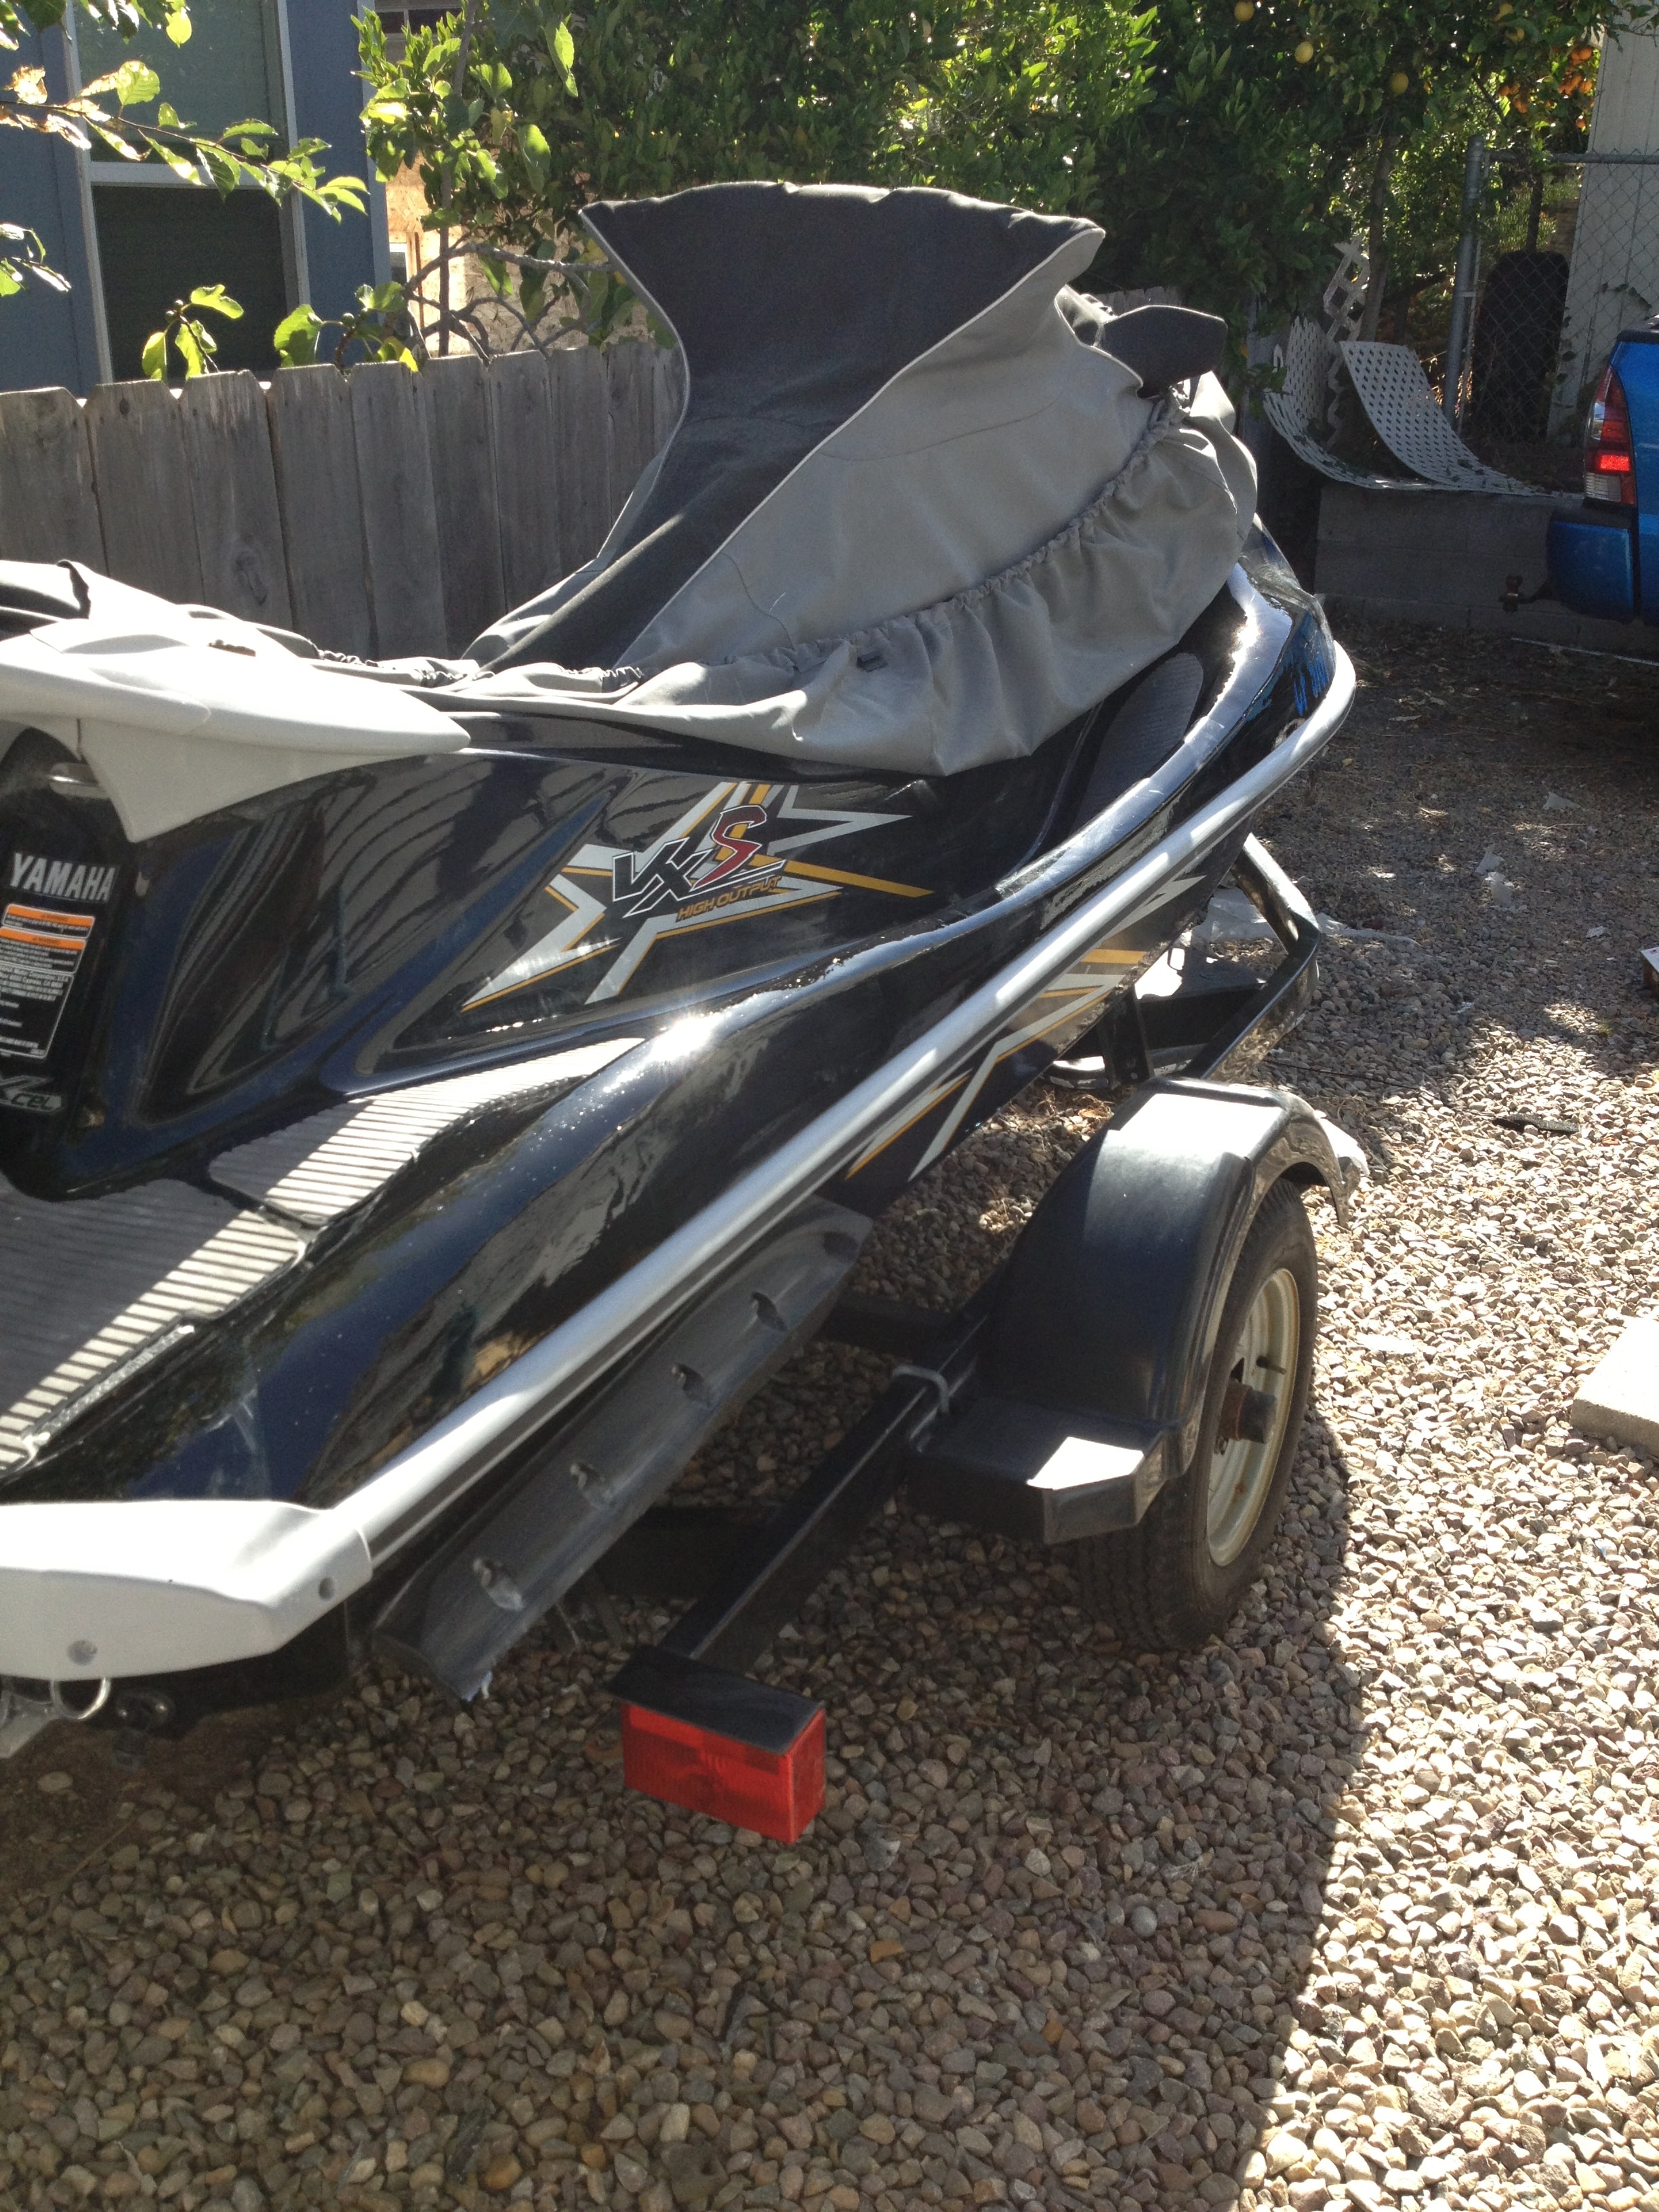
Step 11: Yamaha PWC on trailer — full view before repair.
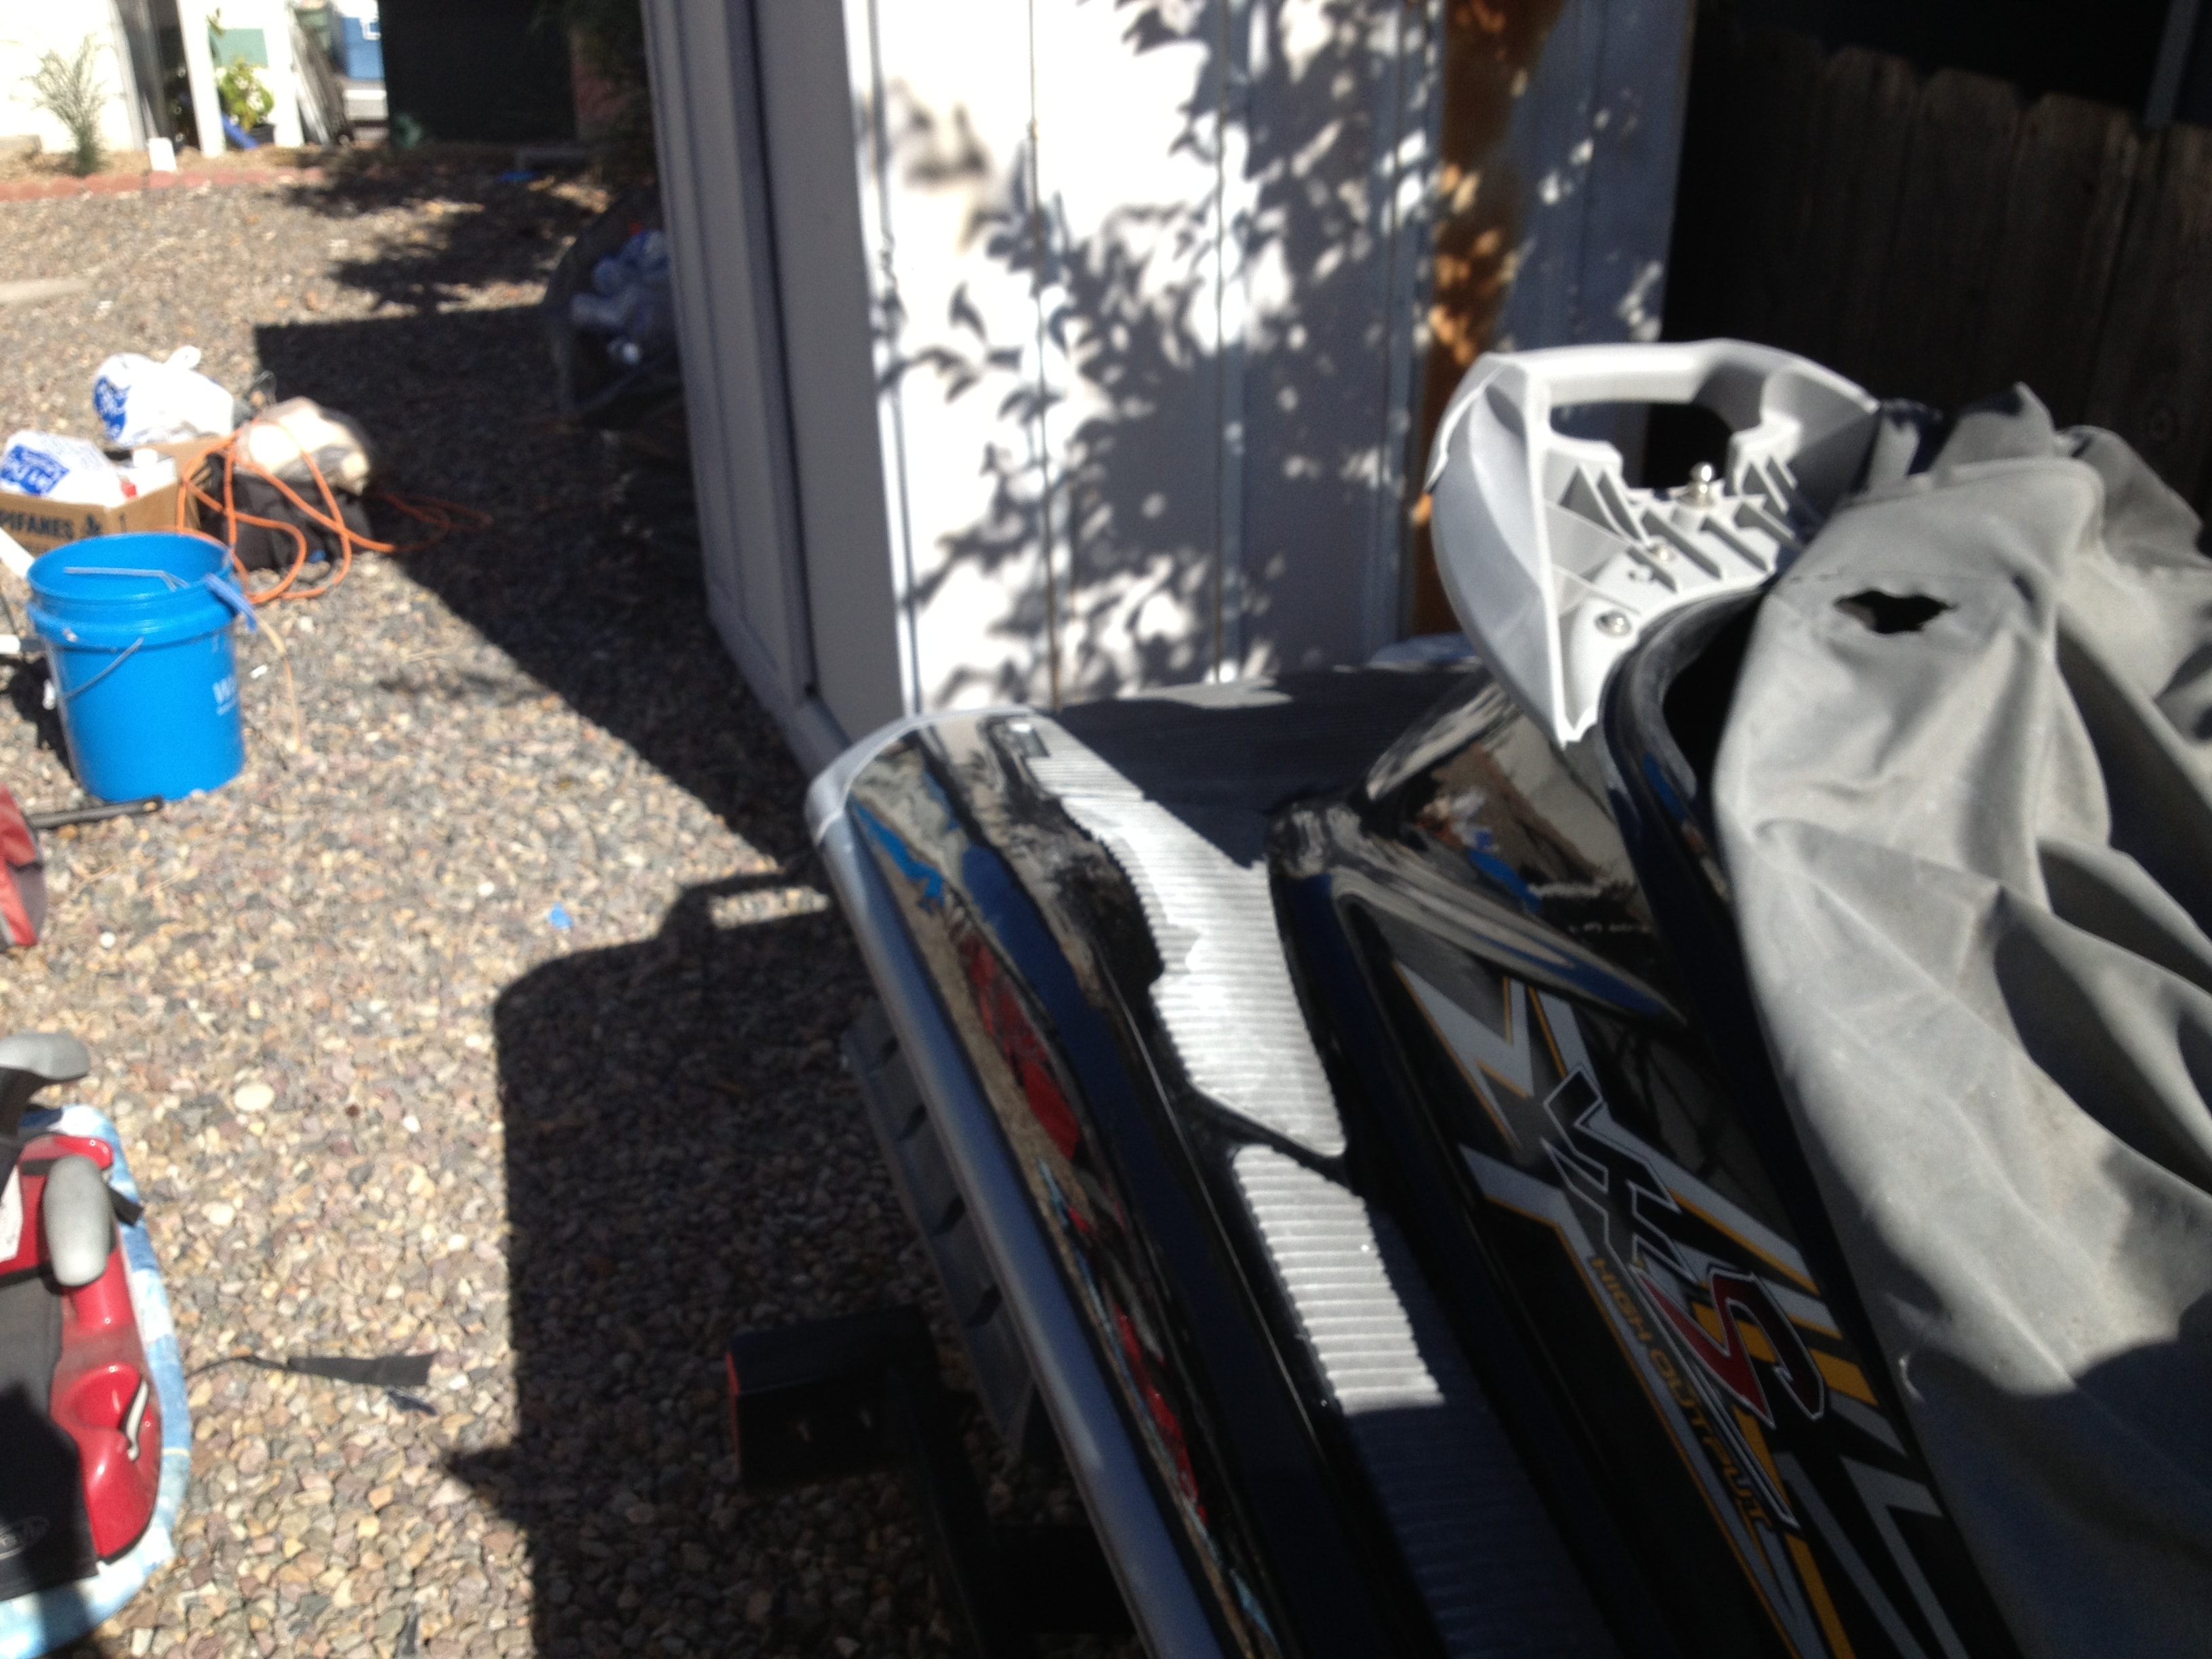
Step 12: Close-up of hull damage area identified for repair.
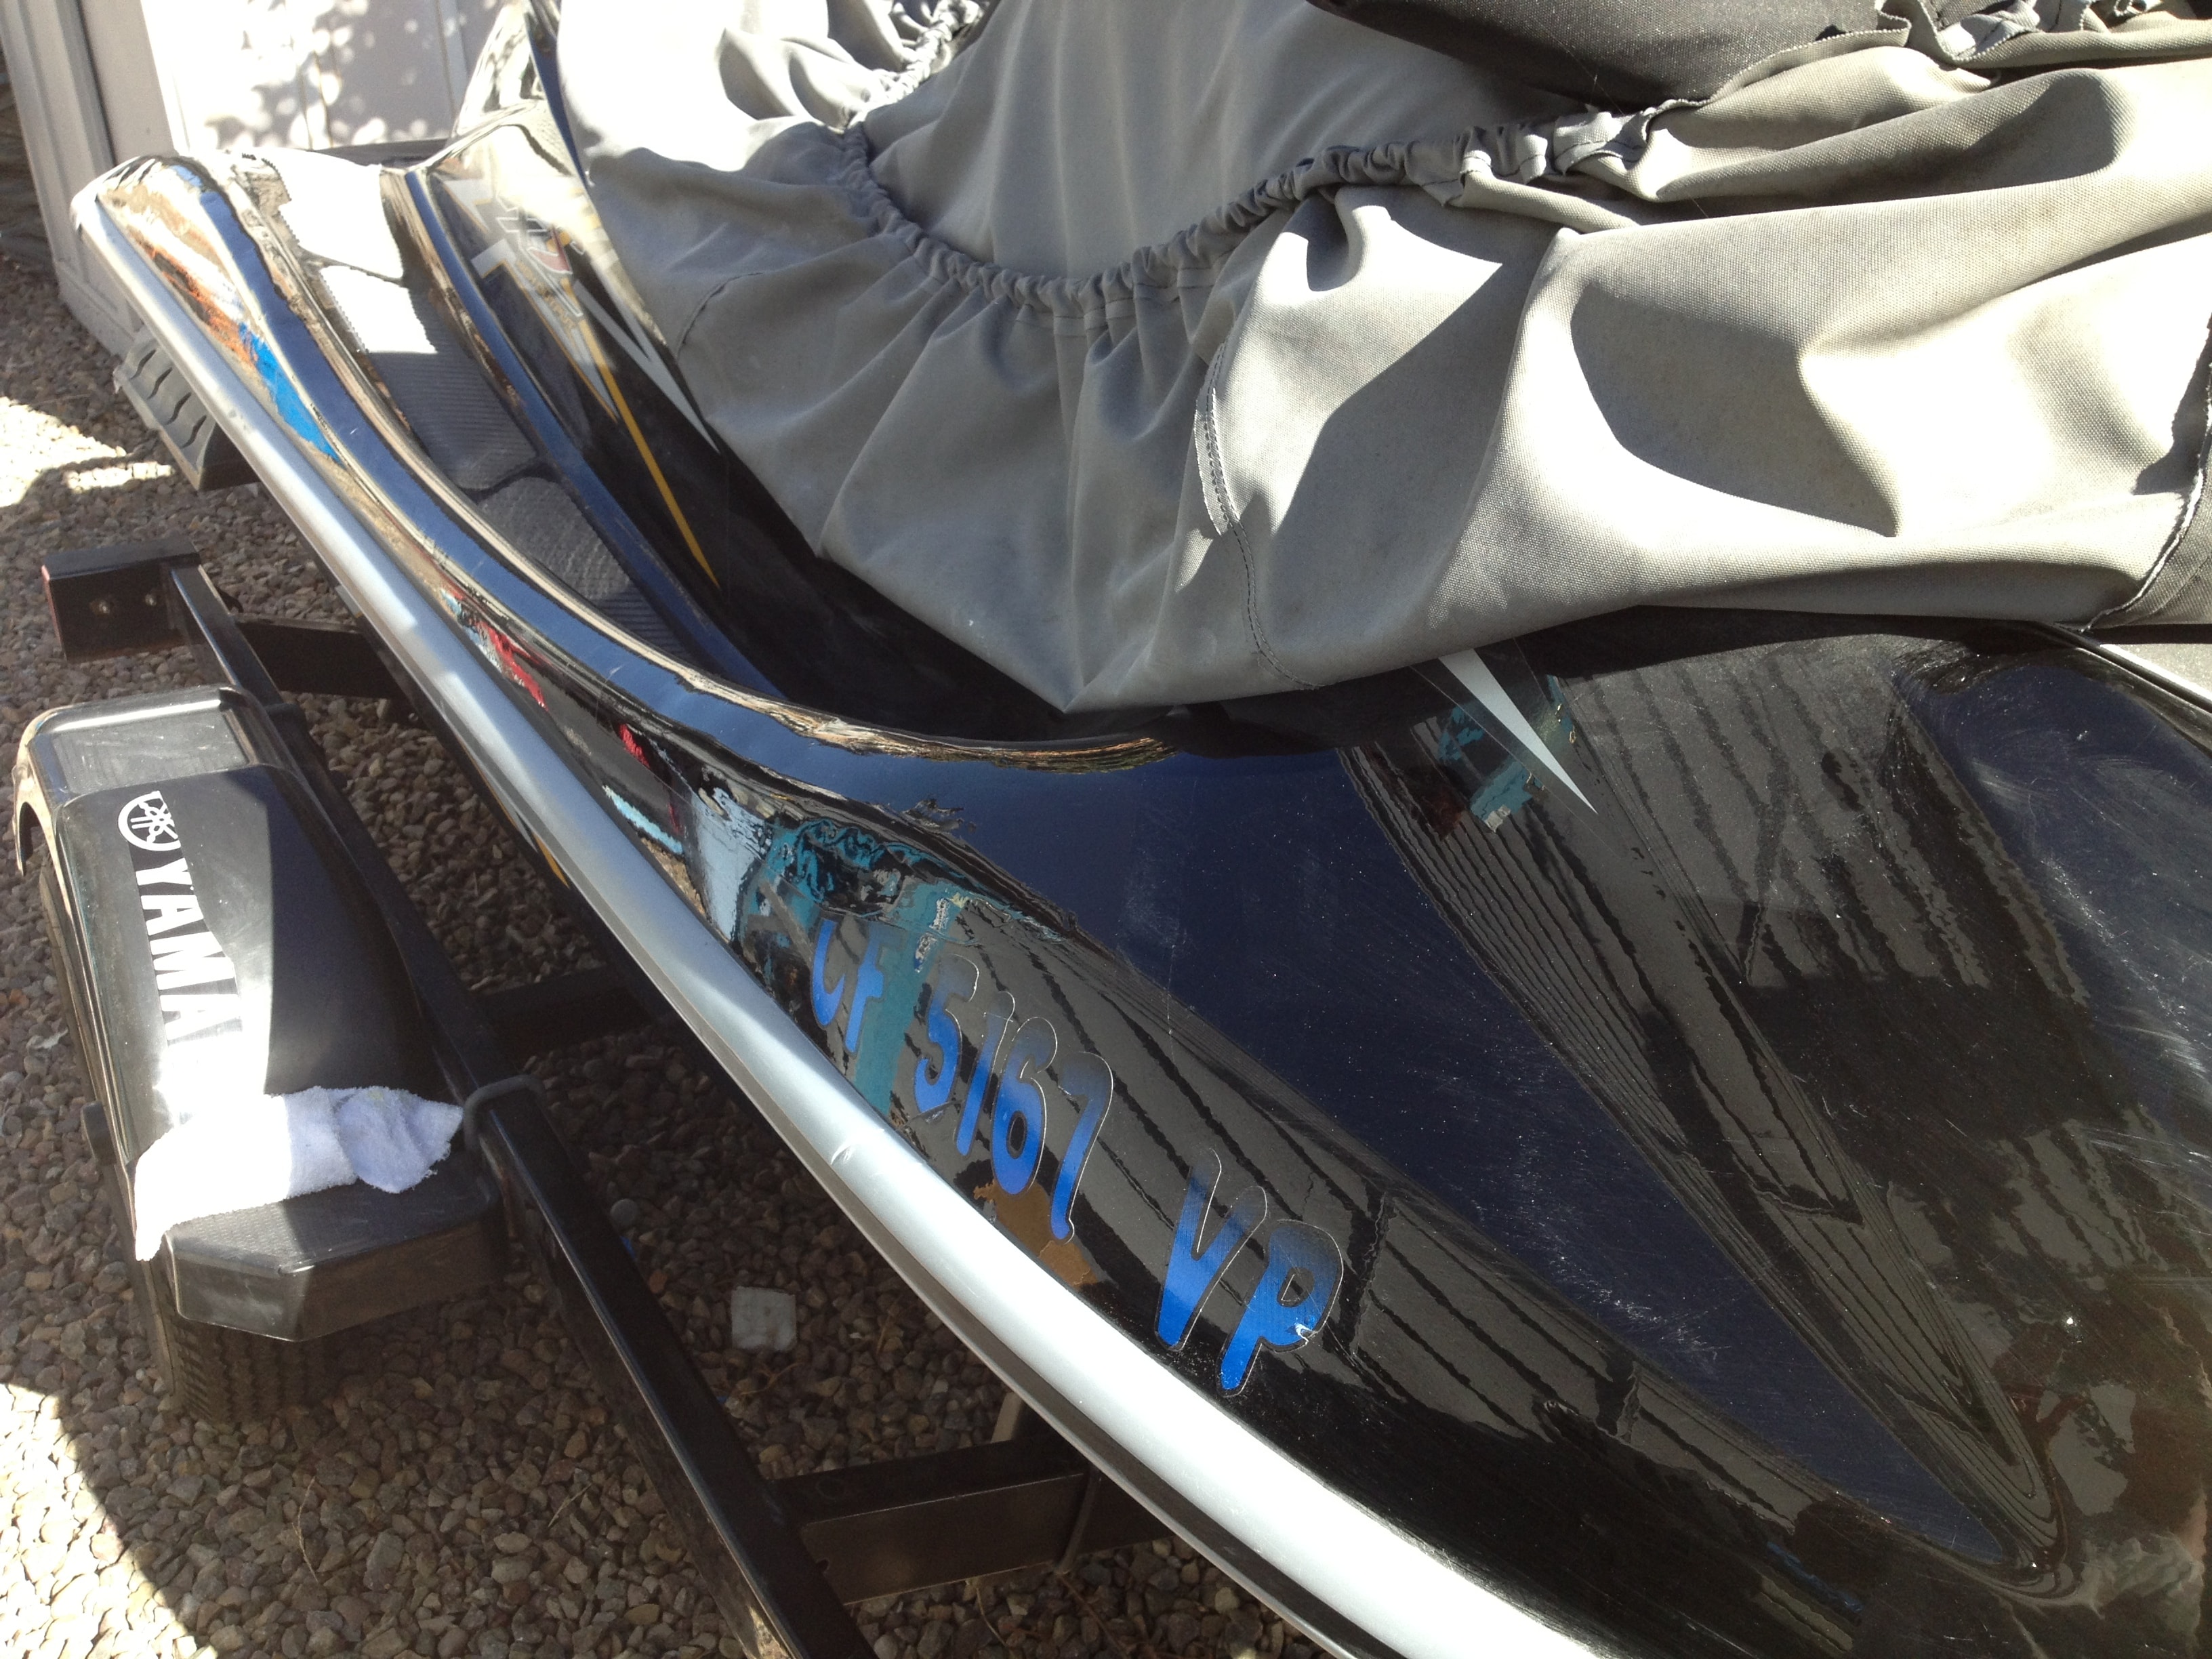
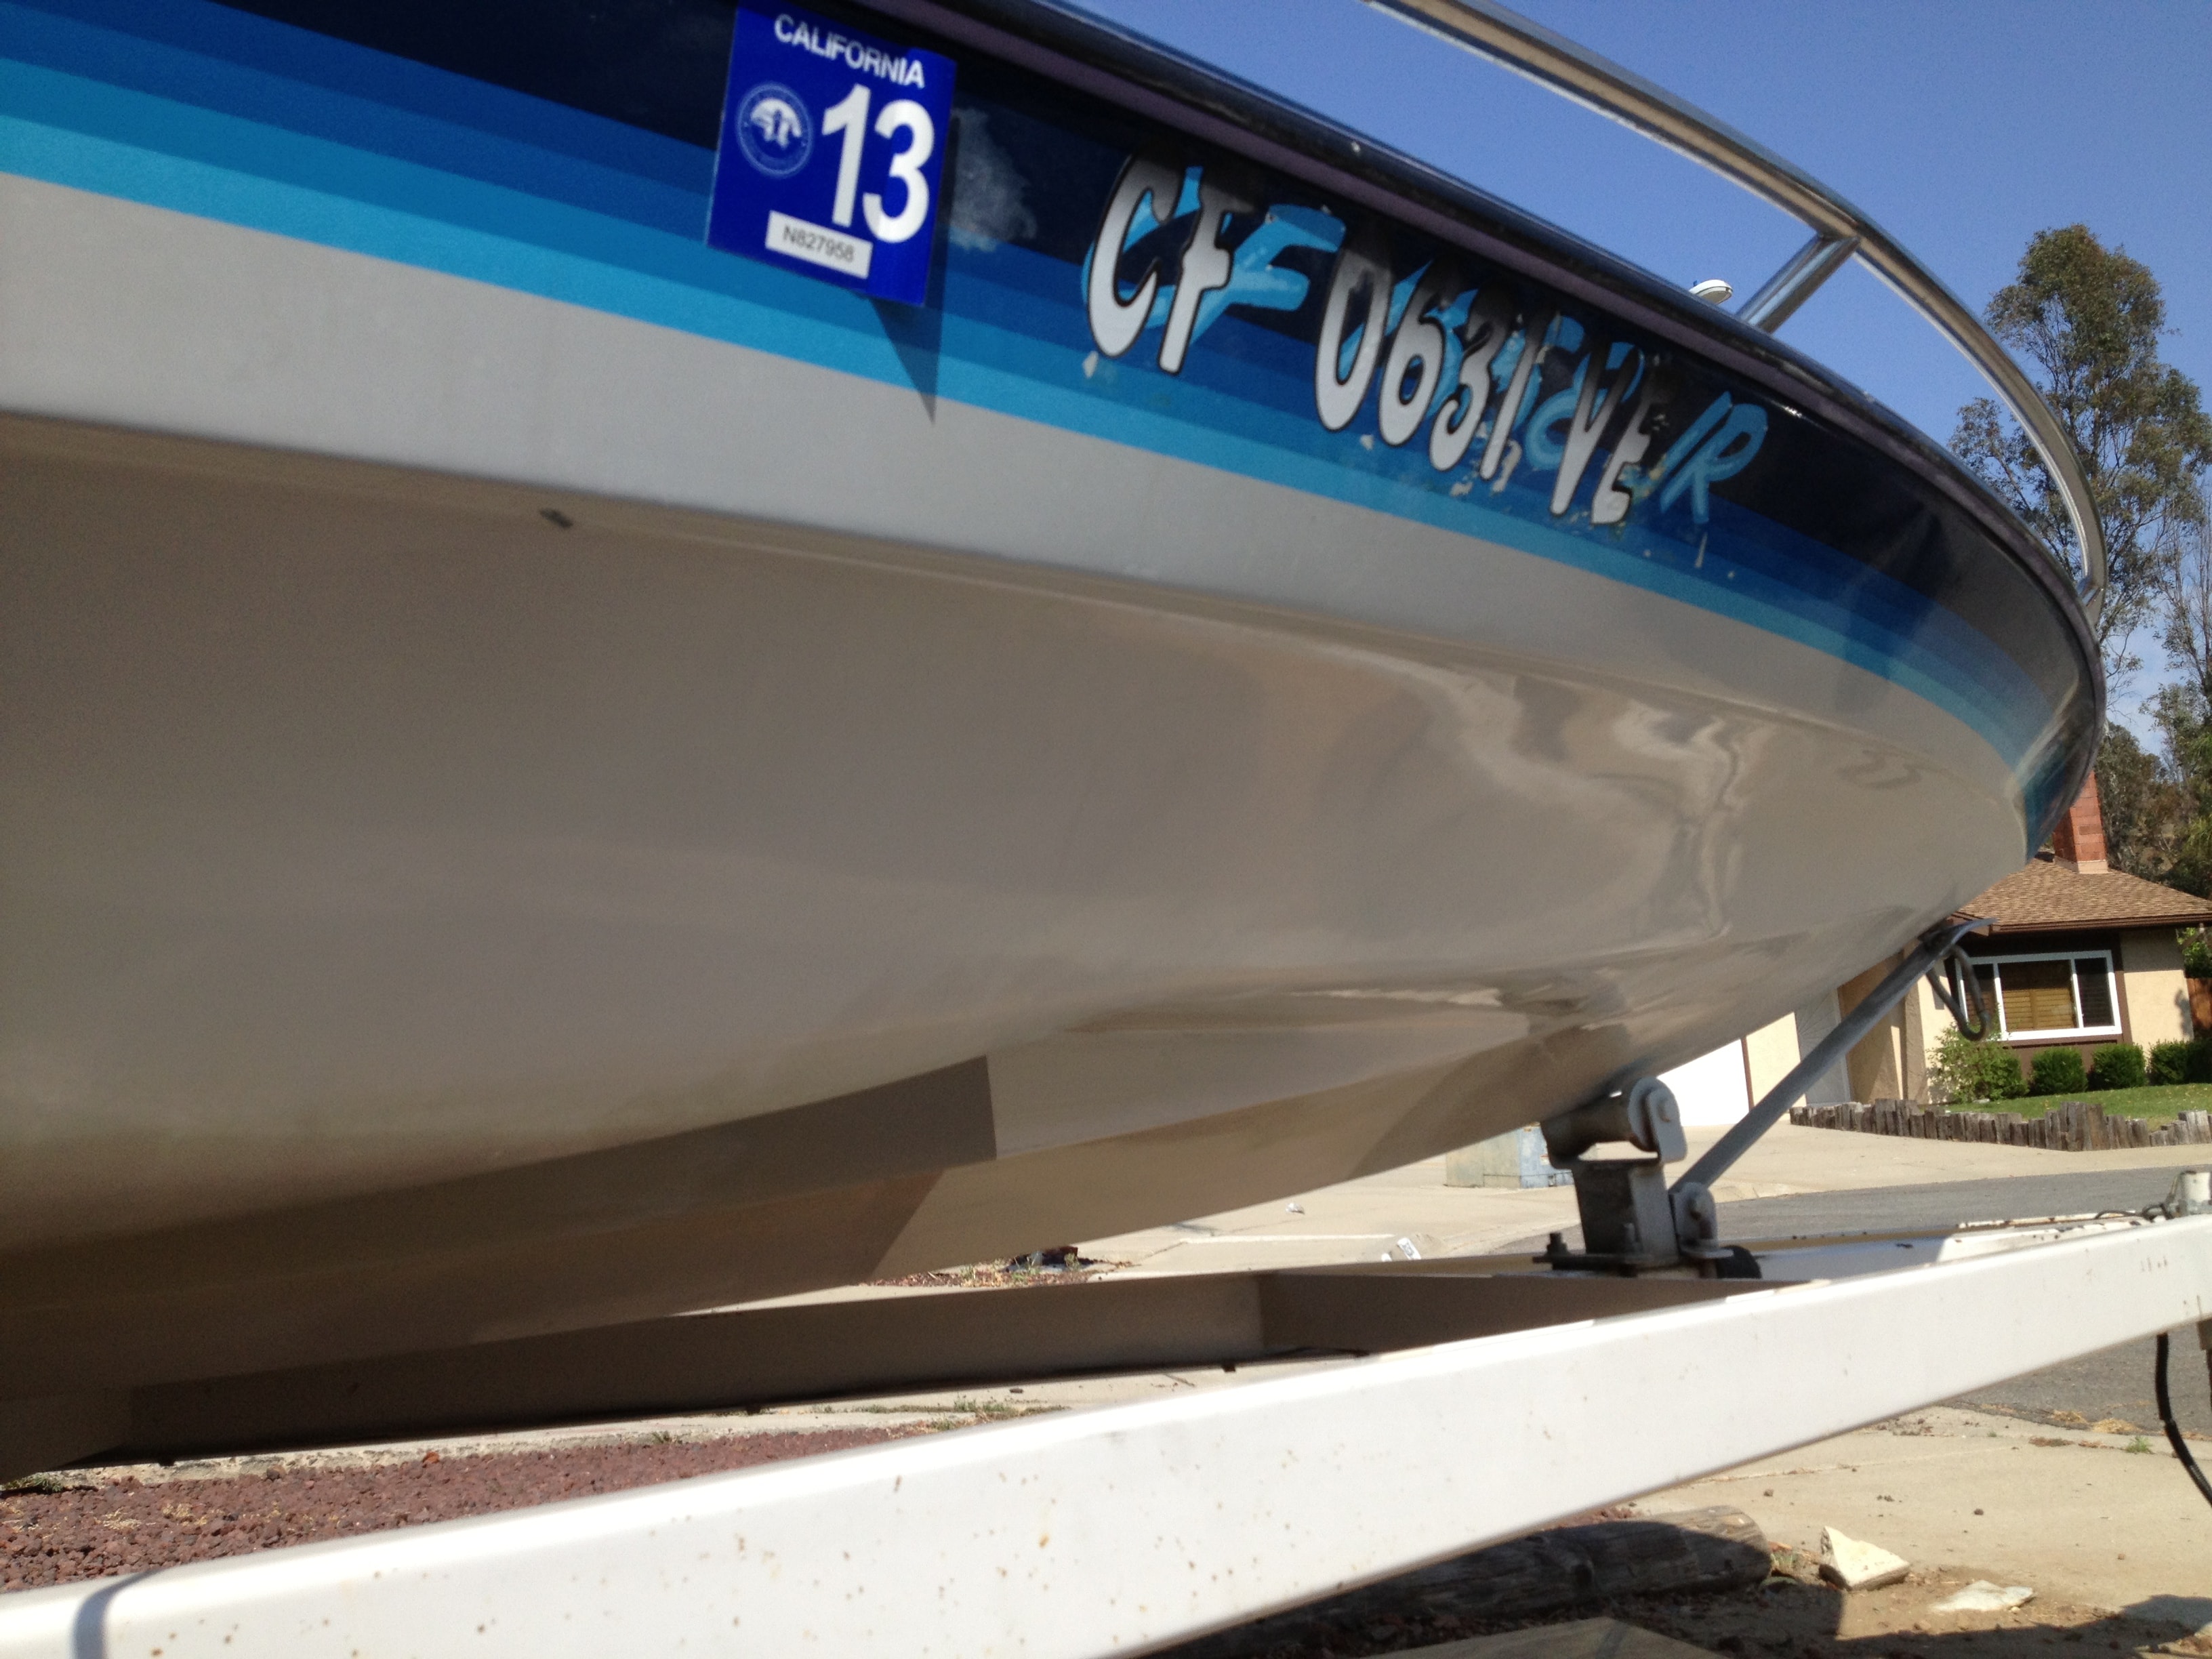
Step 13: Hull damage documented alongside registration markings.
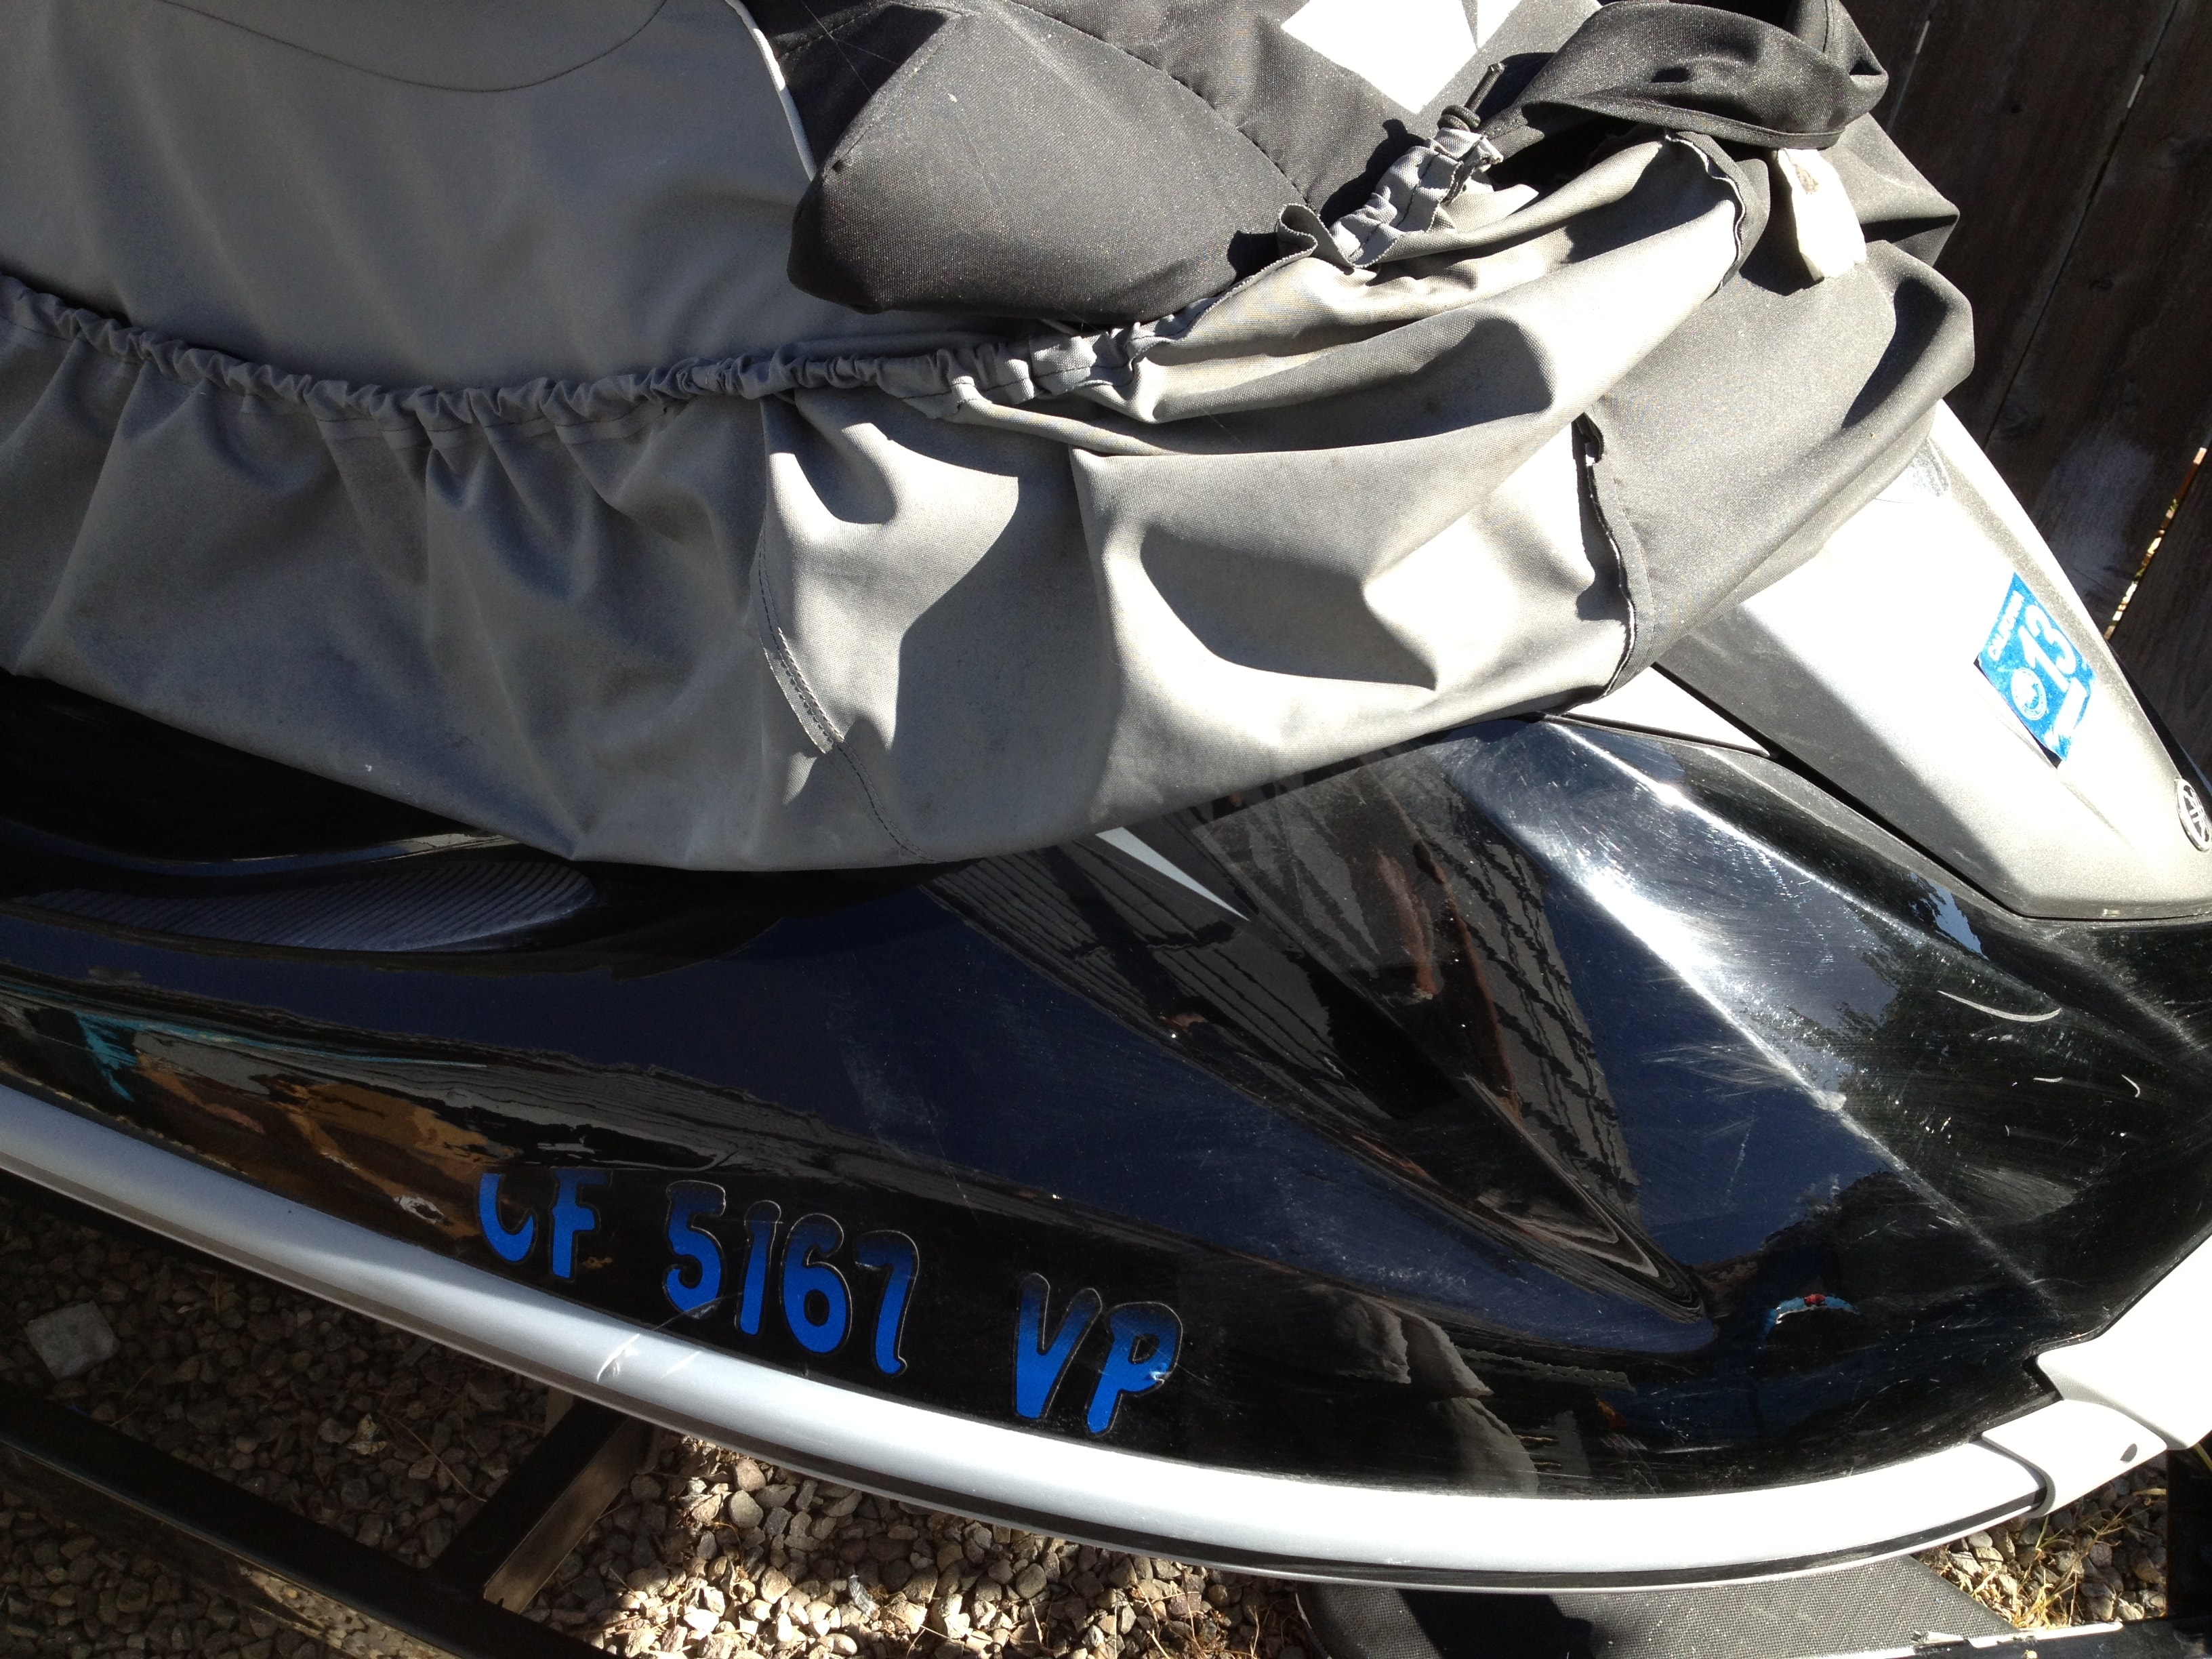
Step 14: Bow section damage assessed — full extent of impact area.
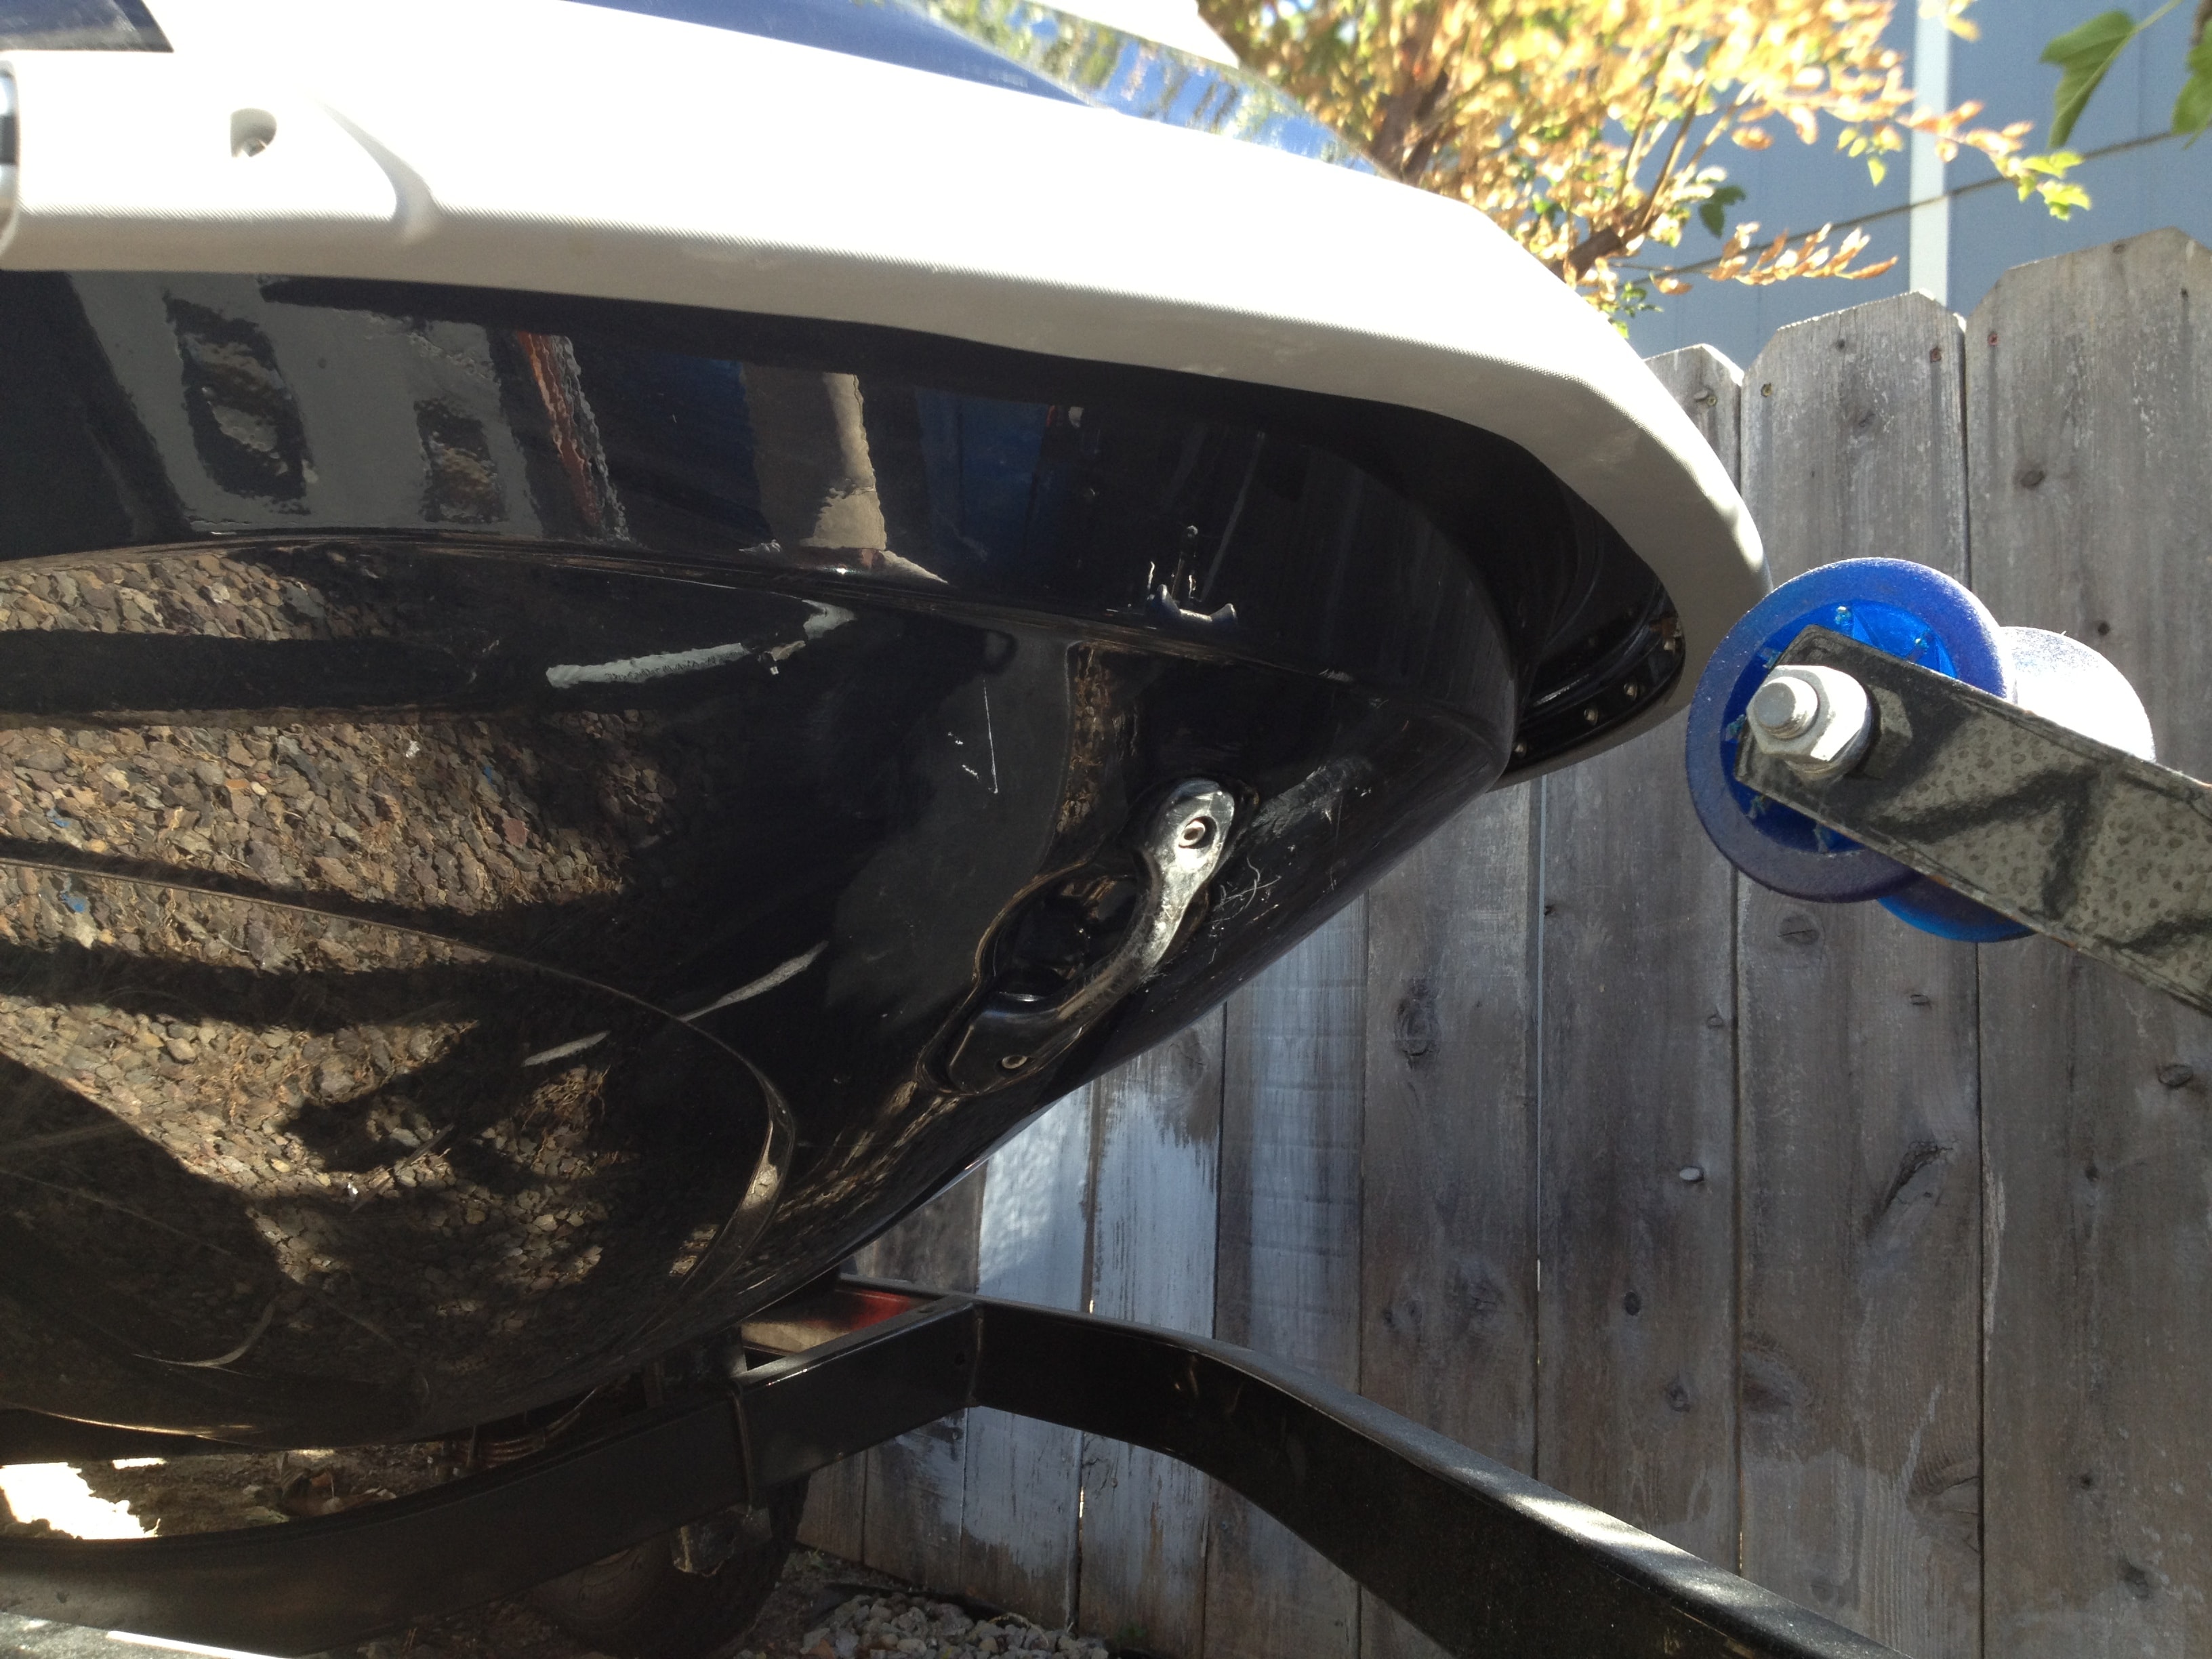
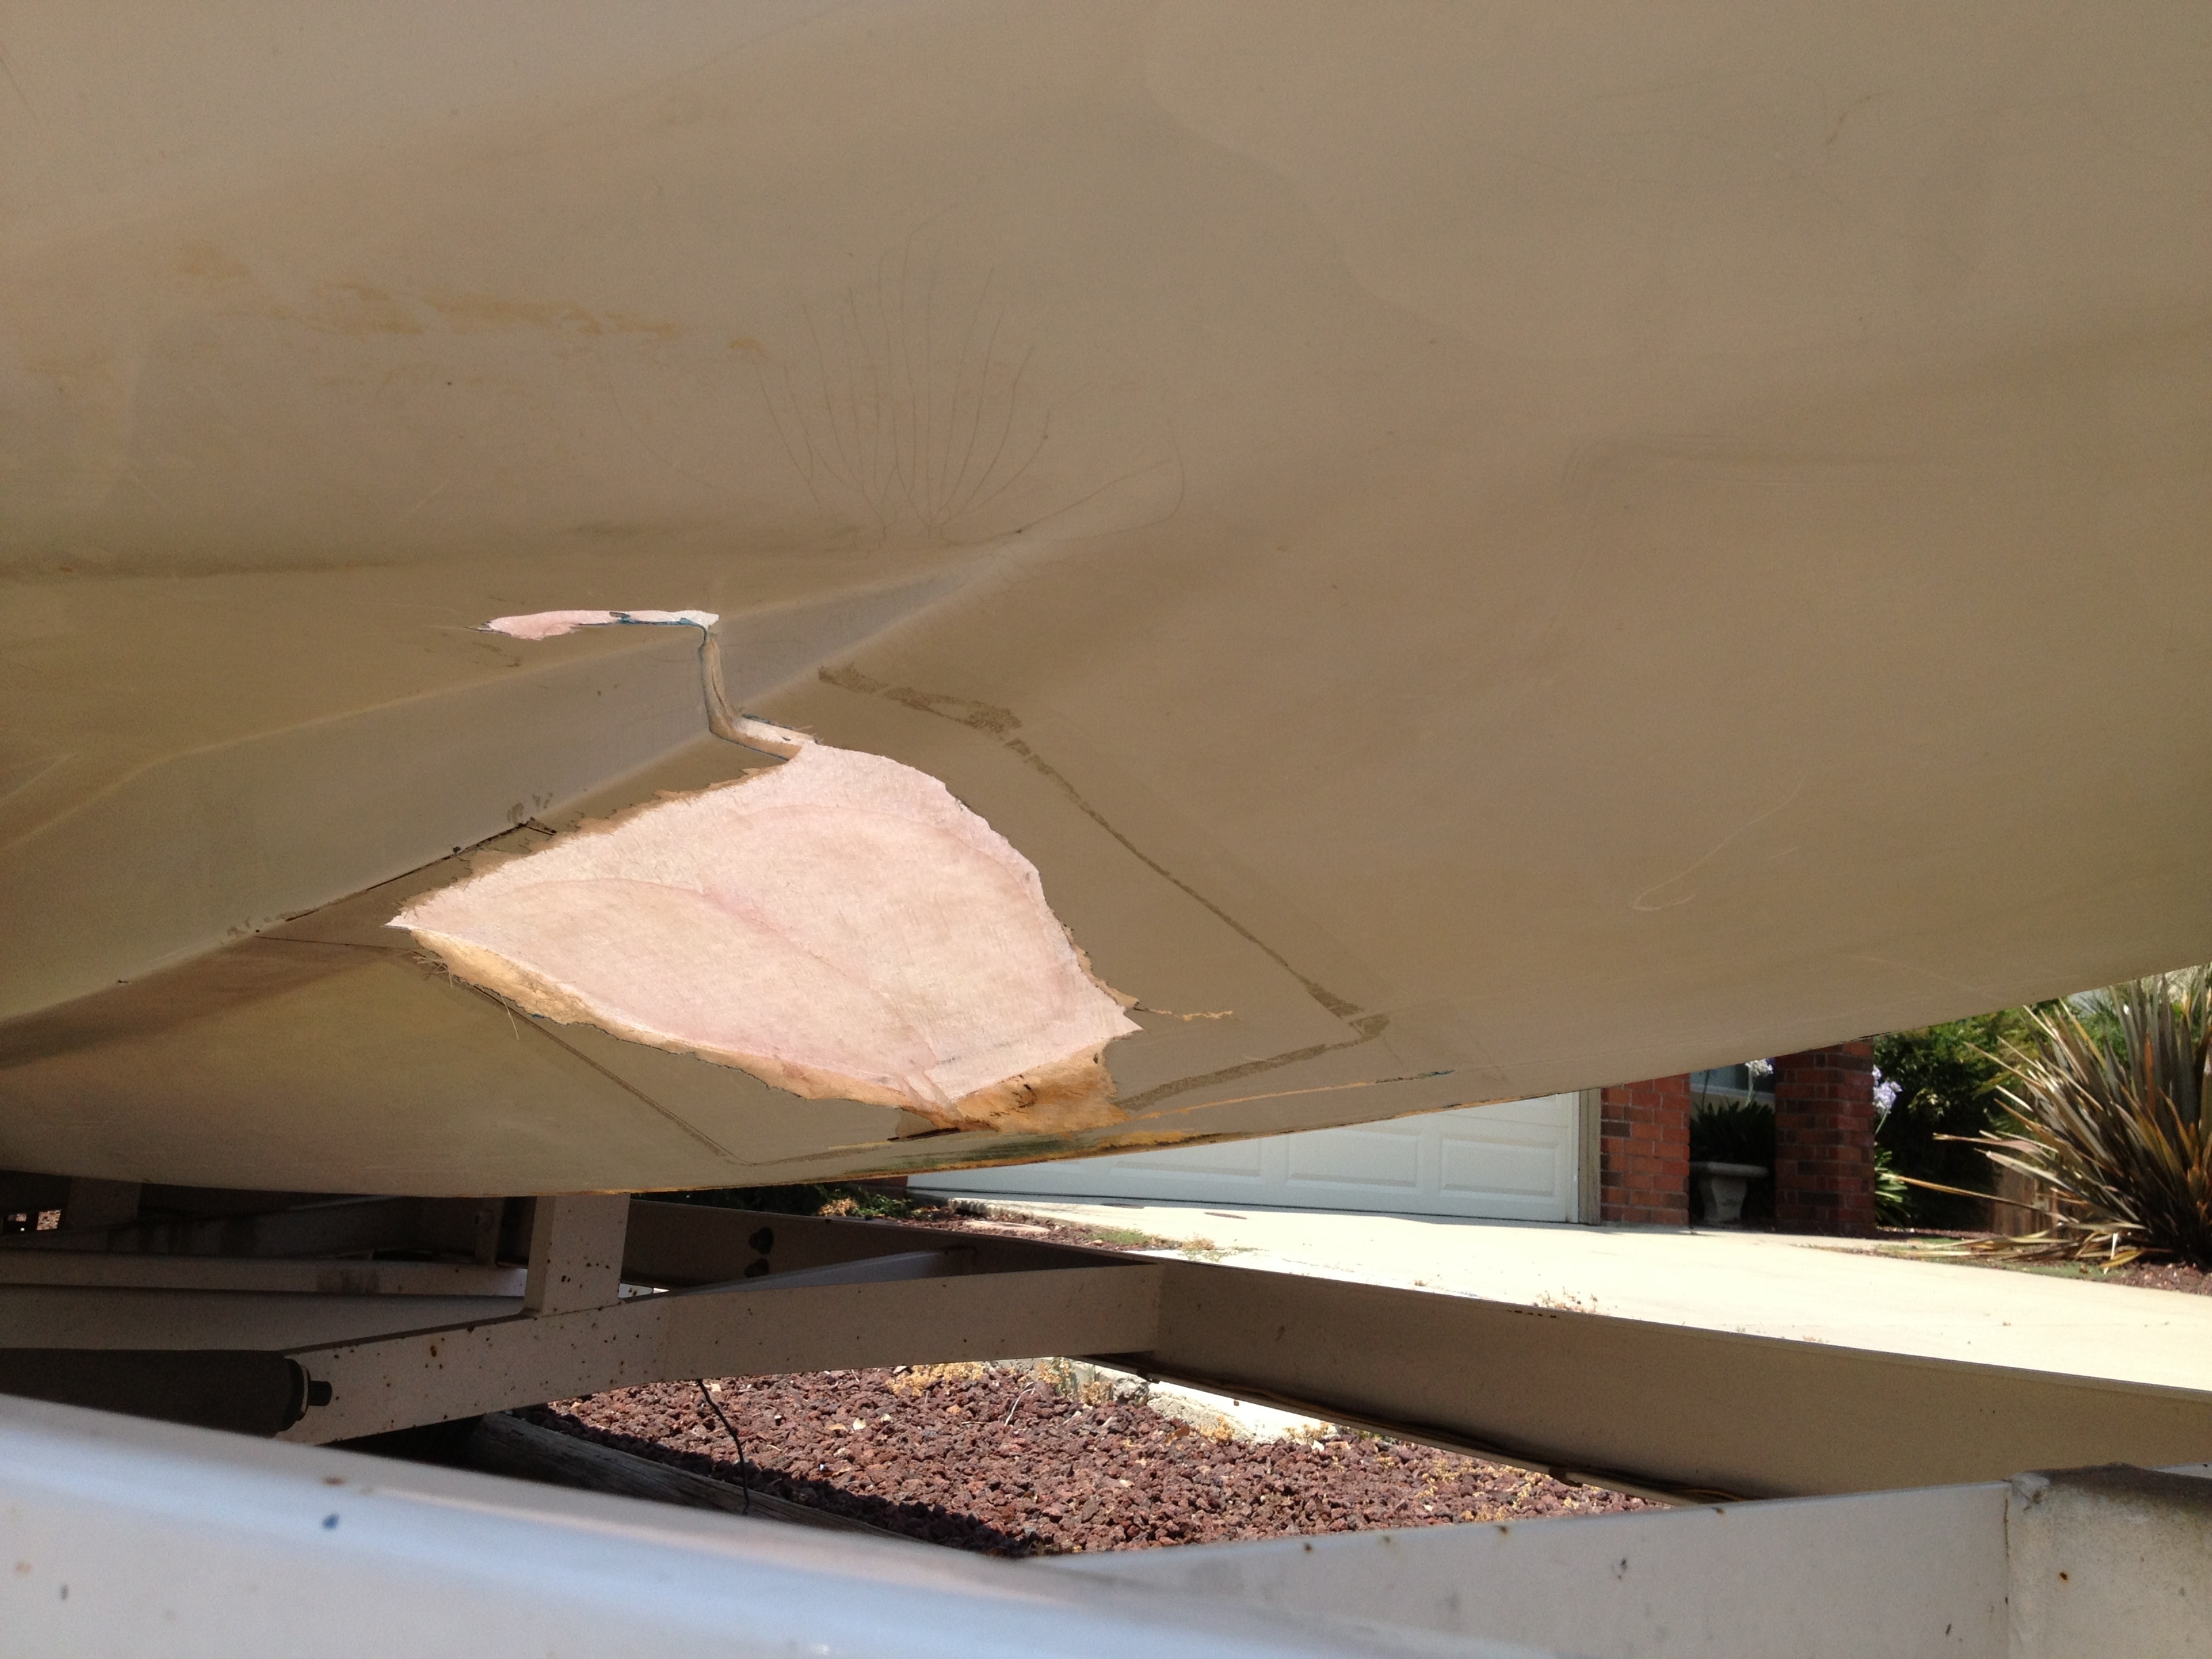
Step 15: Underside hull damage exposed and ready for fiberglass repair.
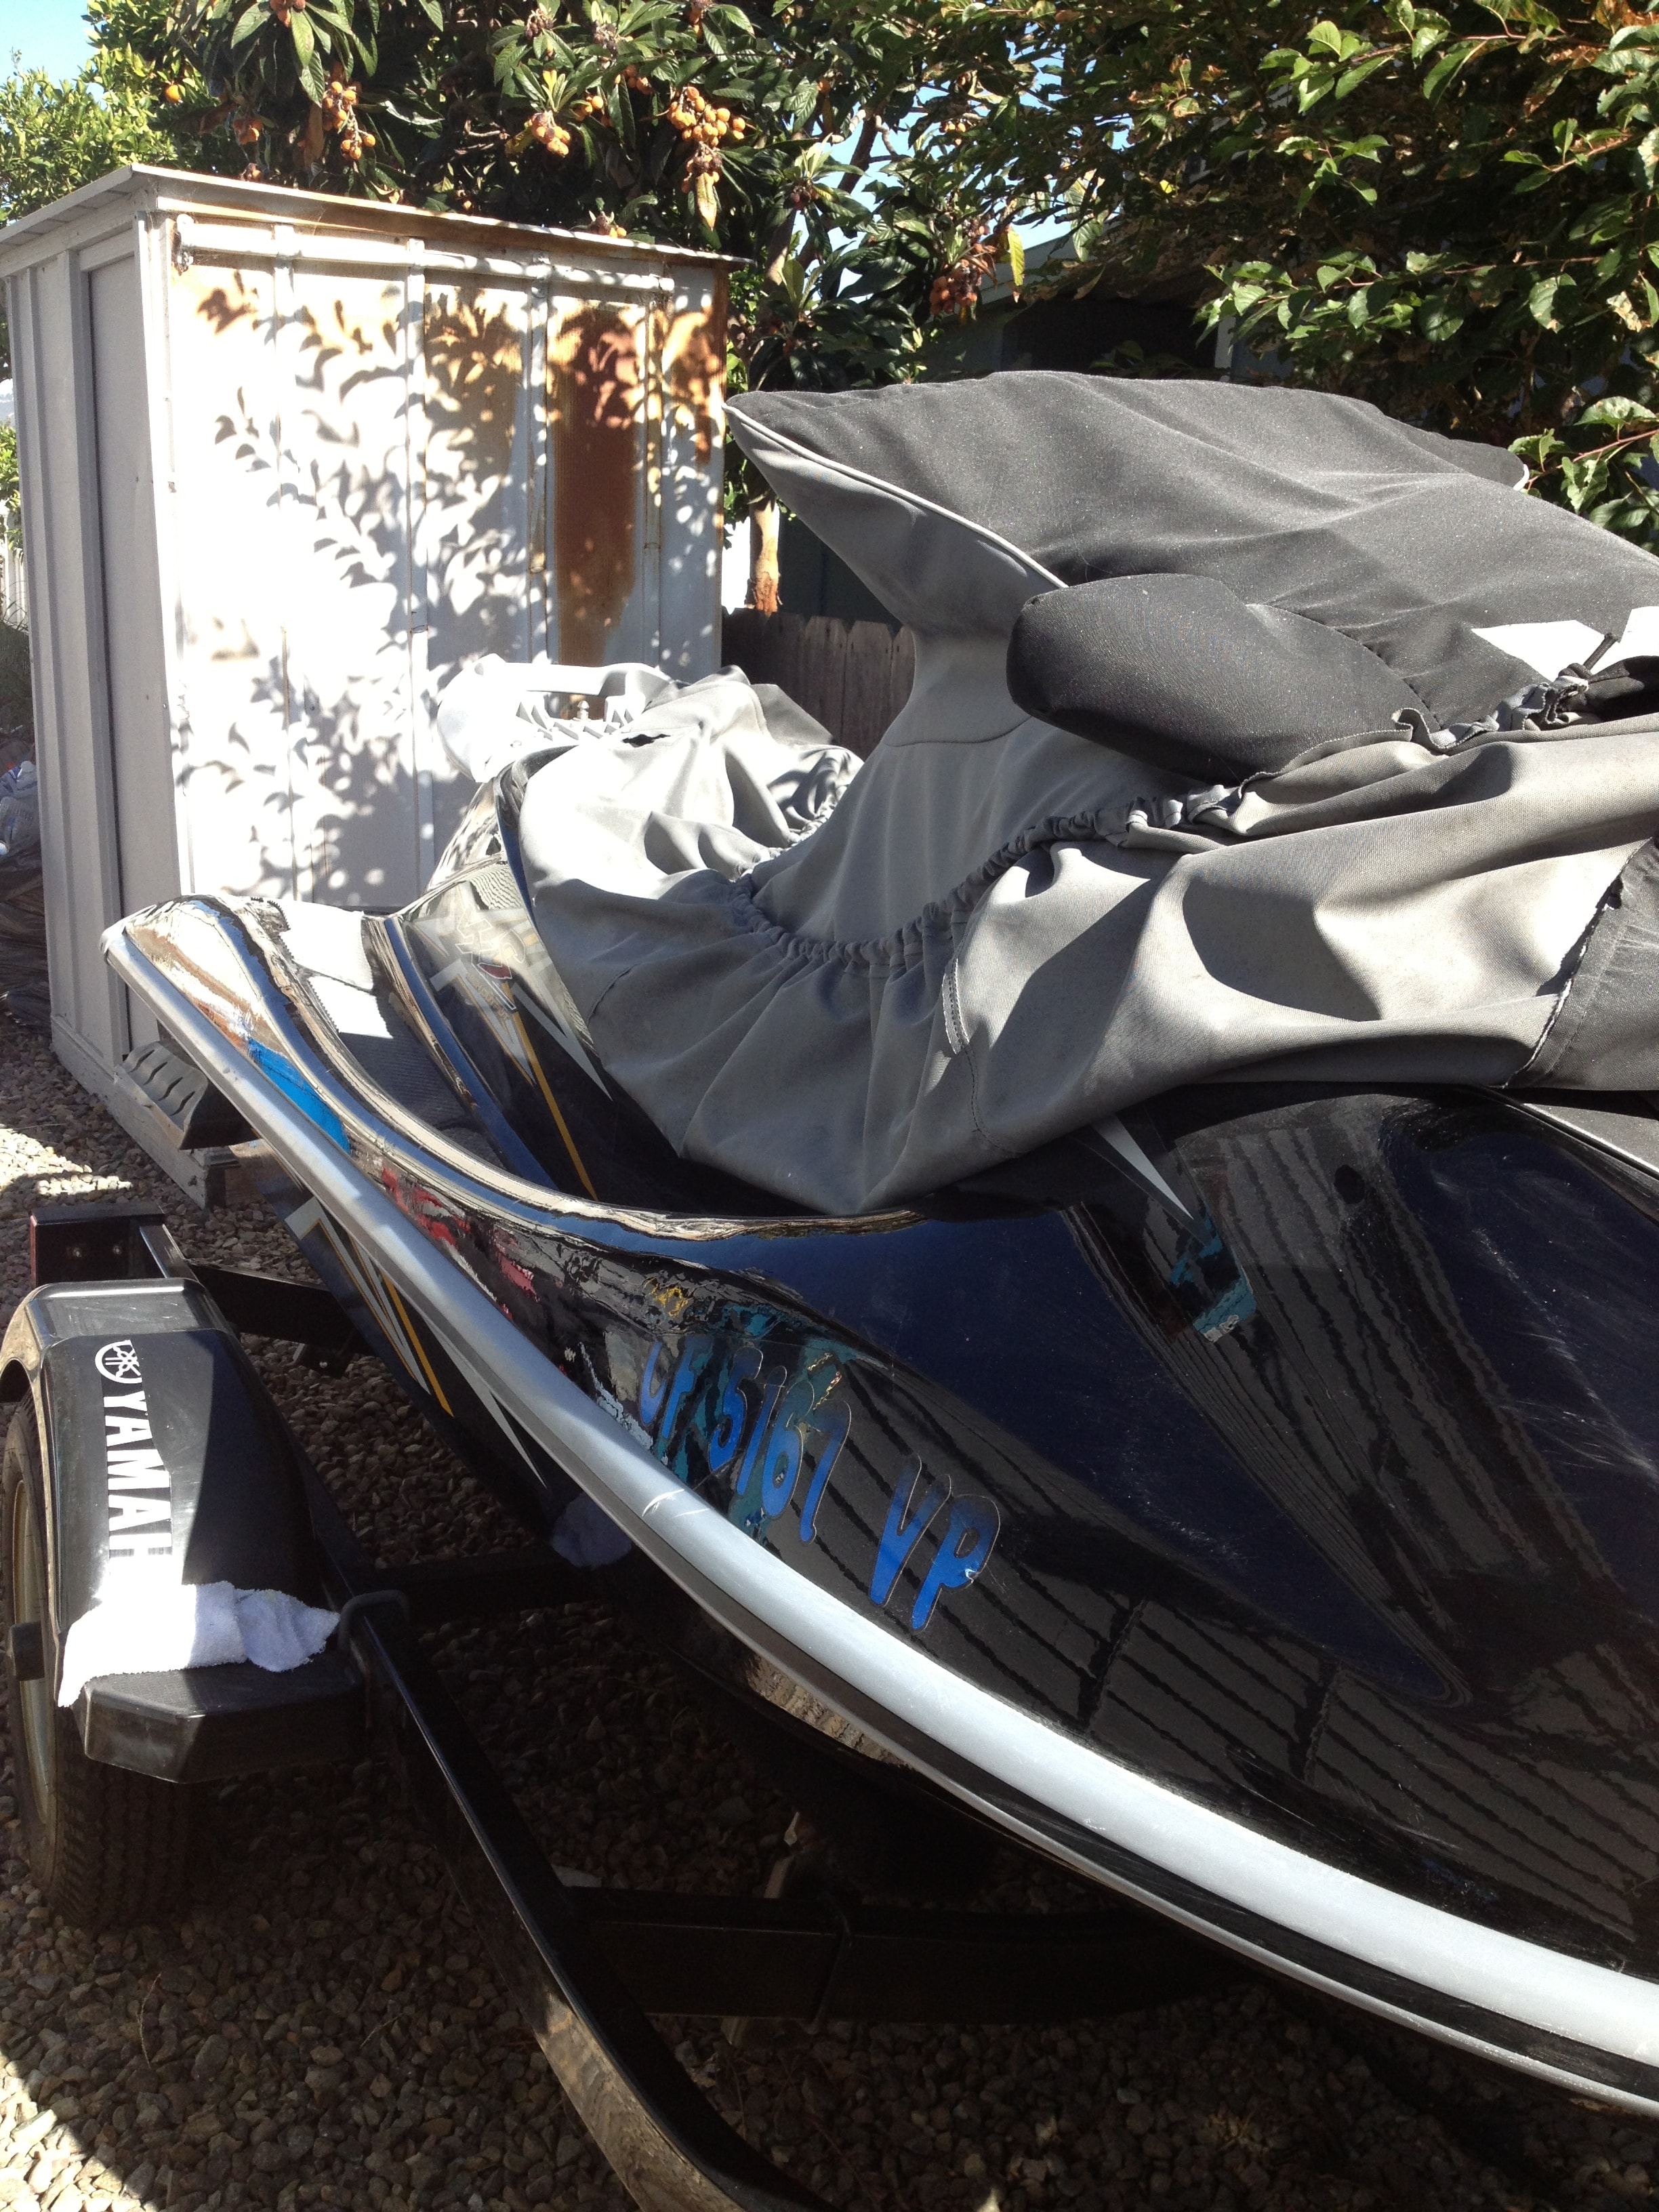
Step 16: Cover removed — full damage area visible for repair prep.
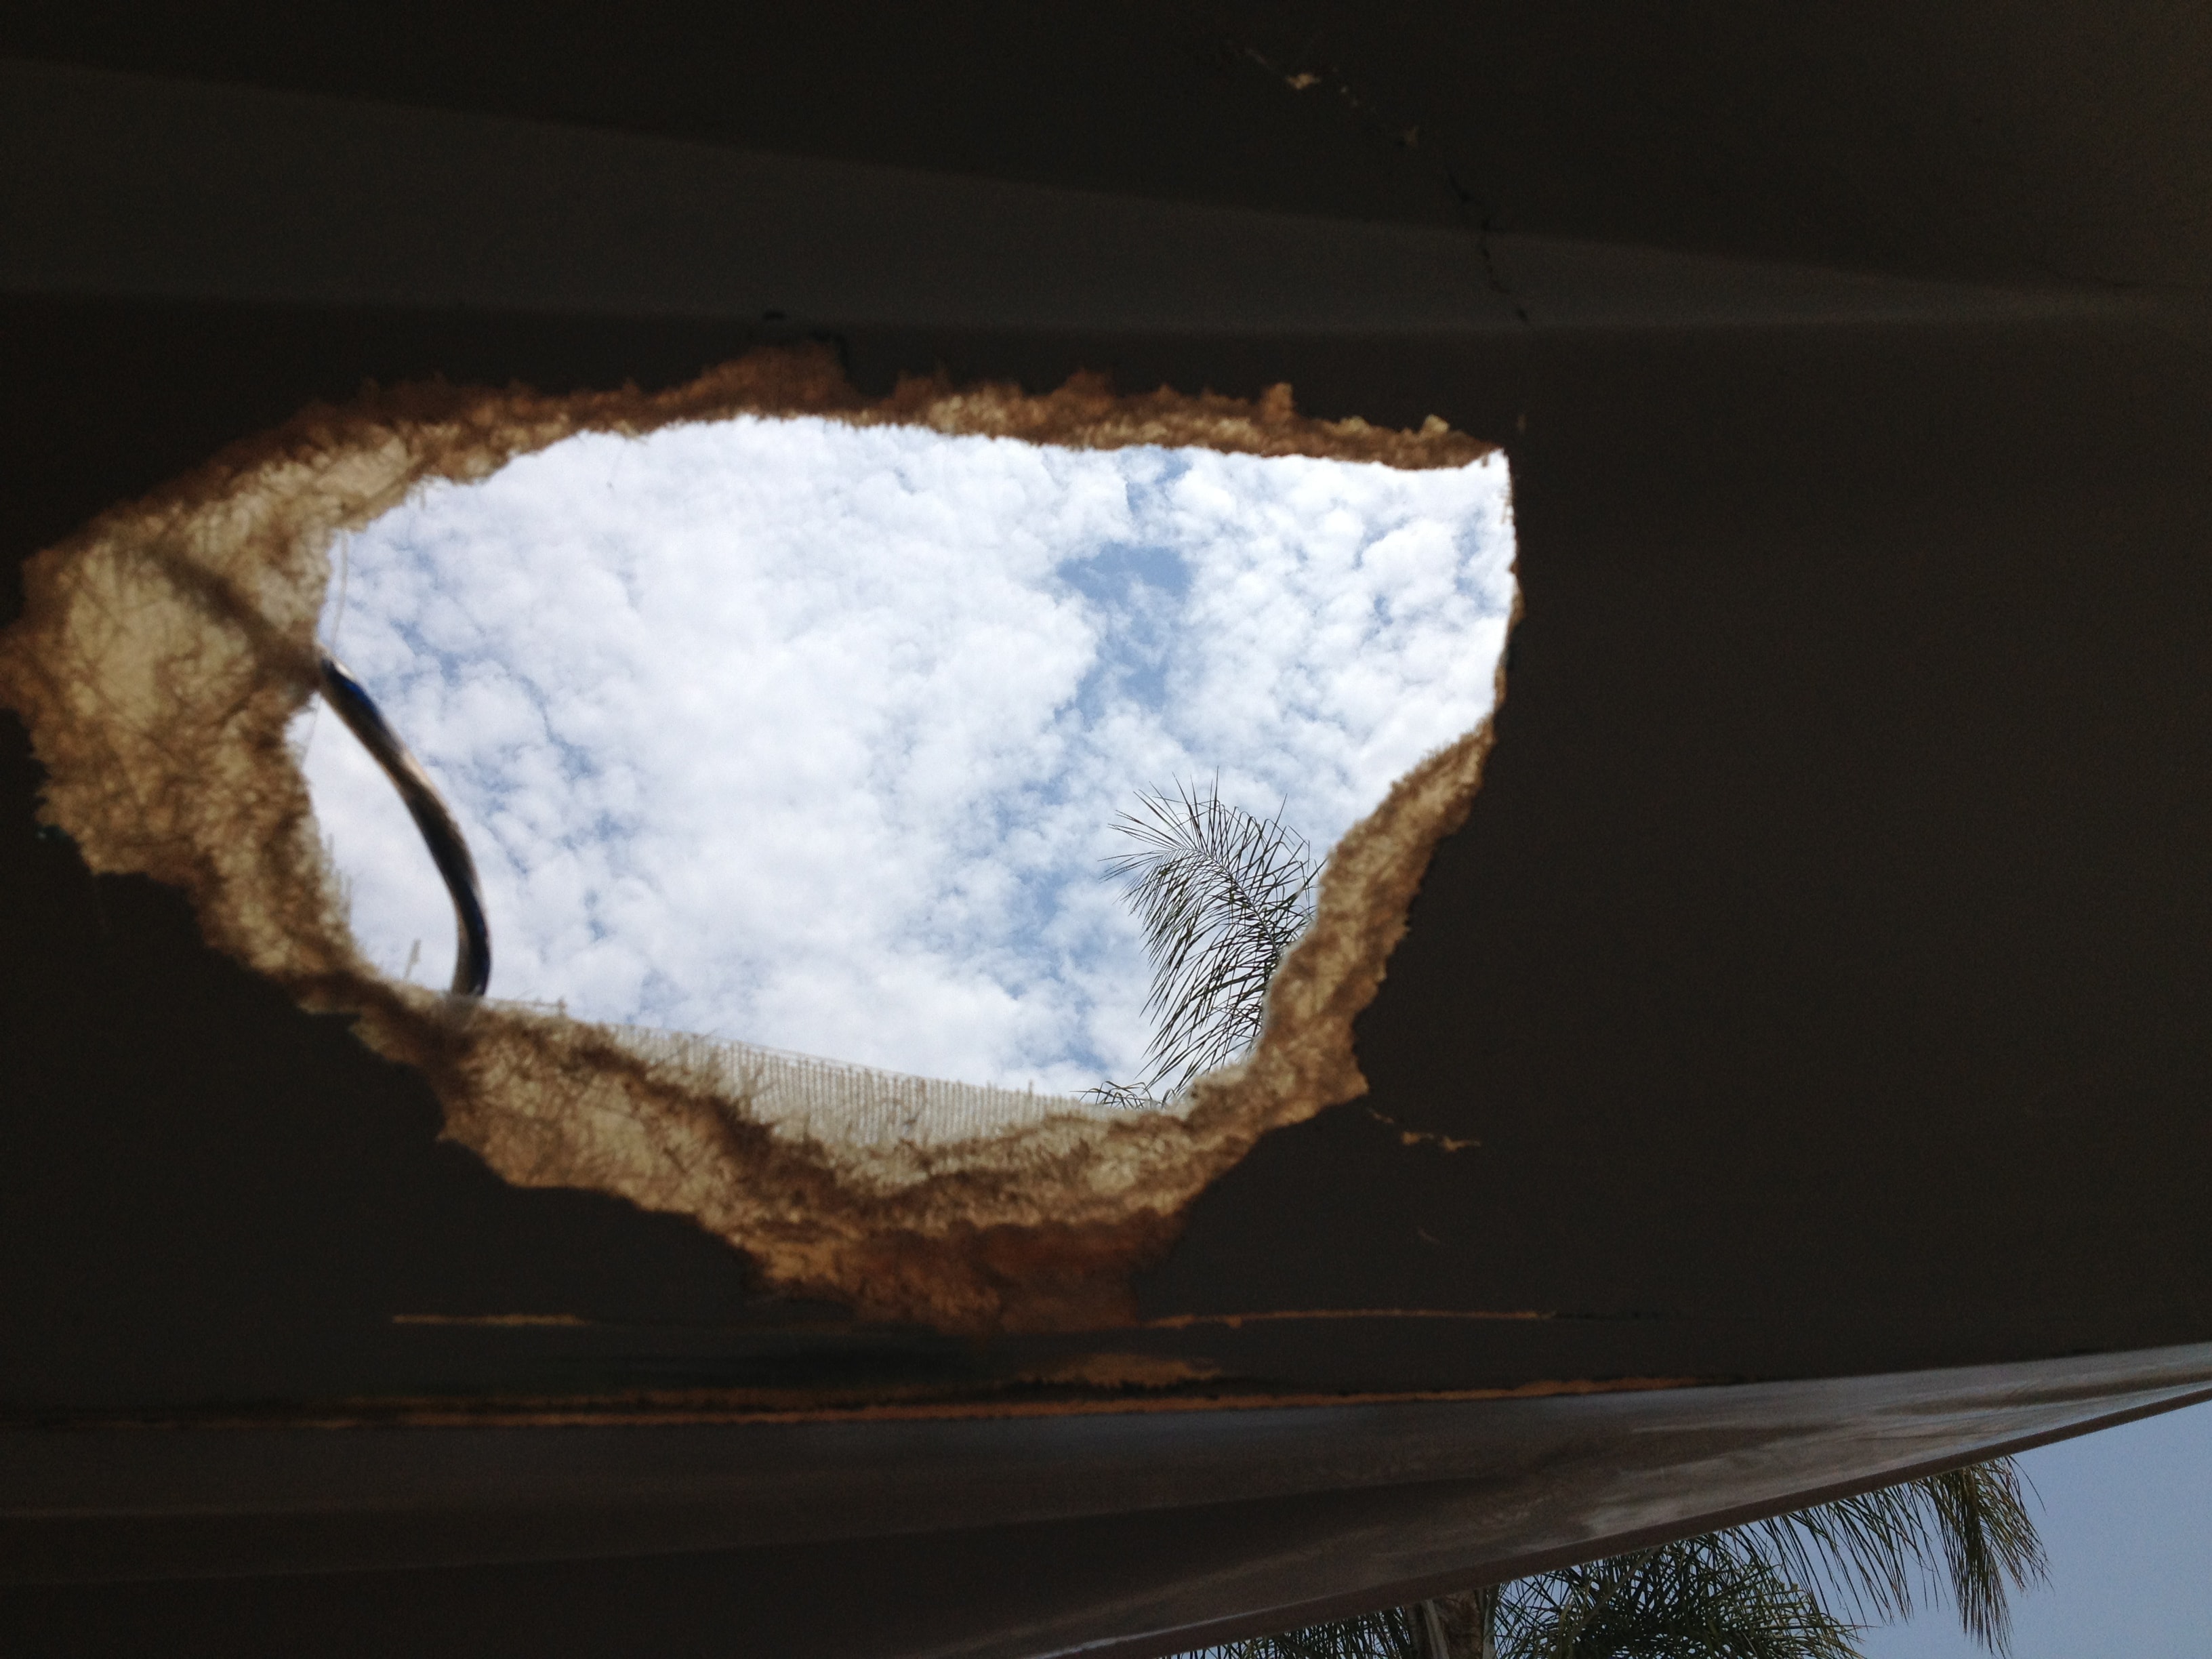
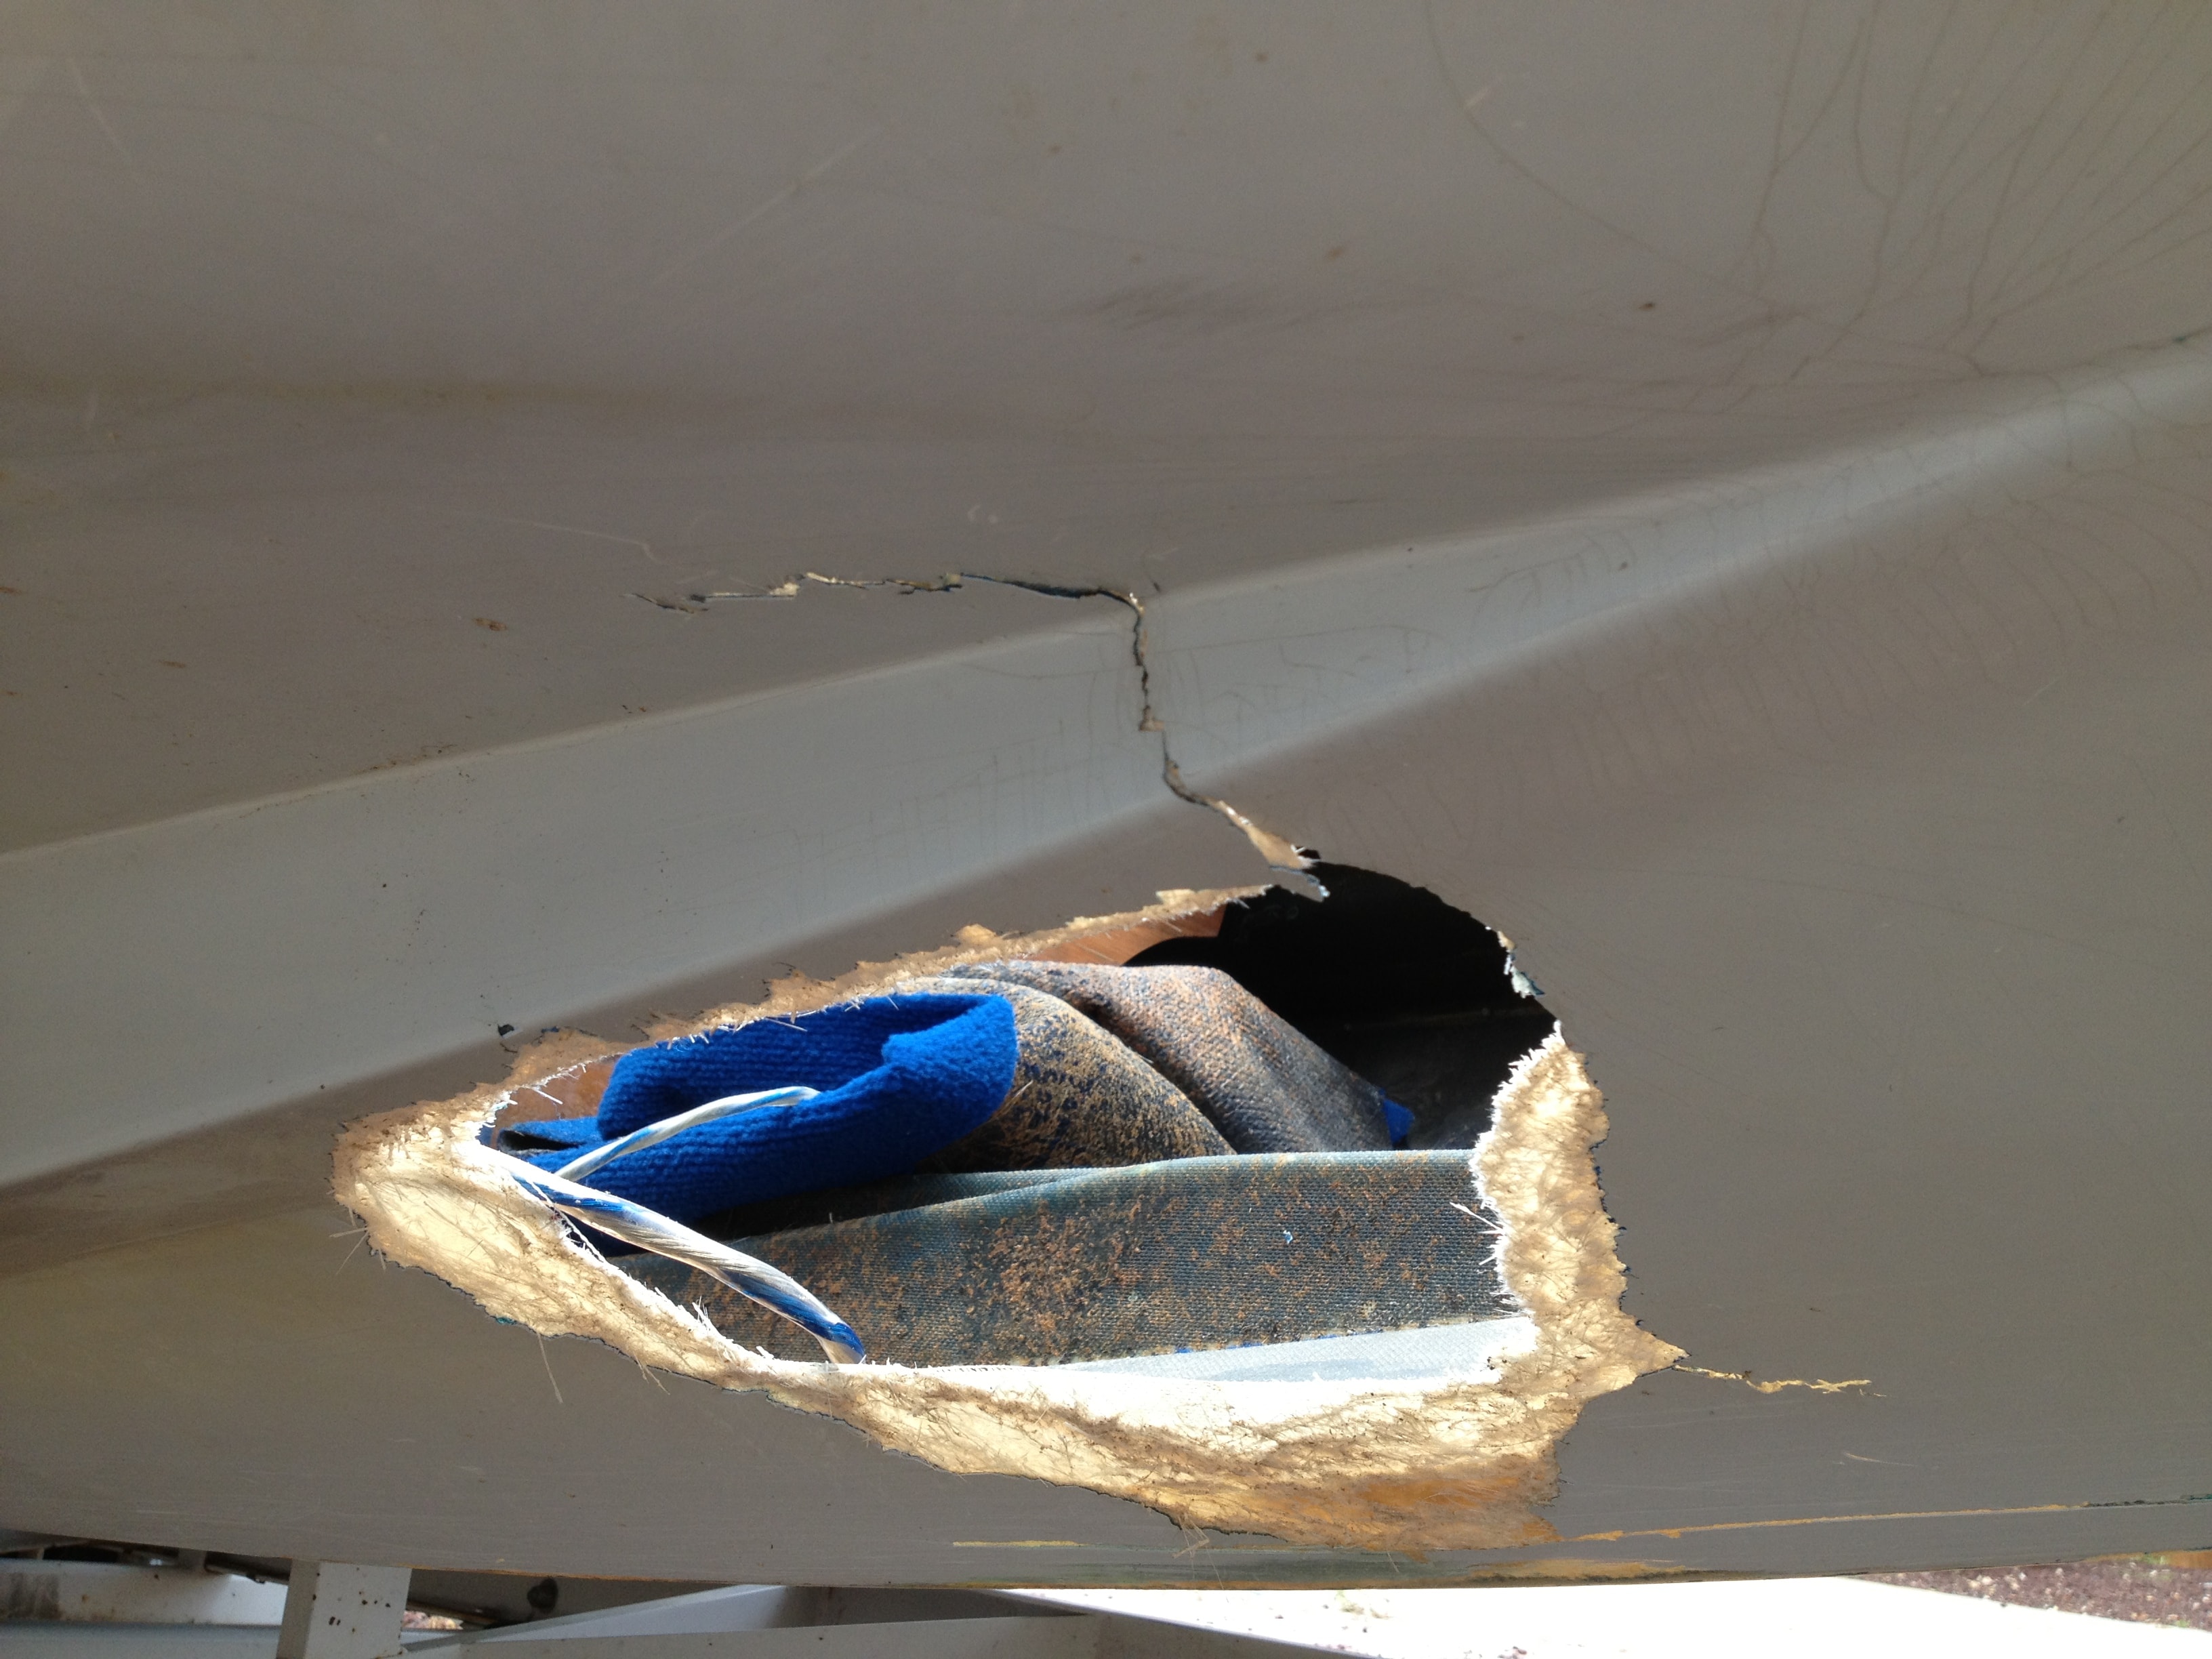
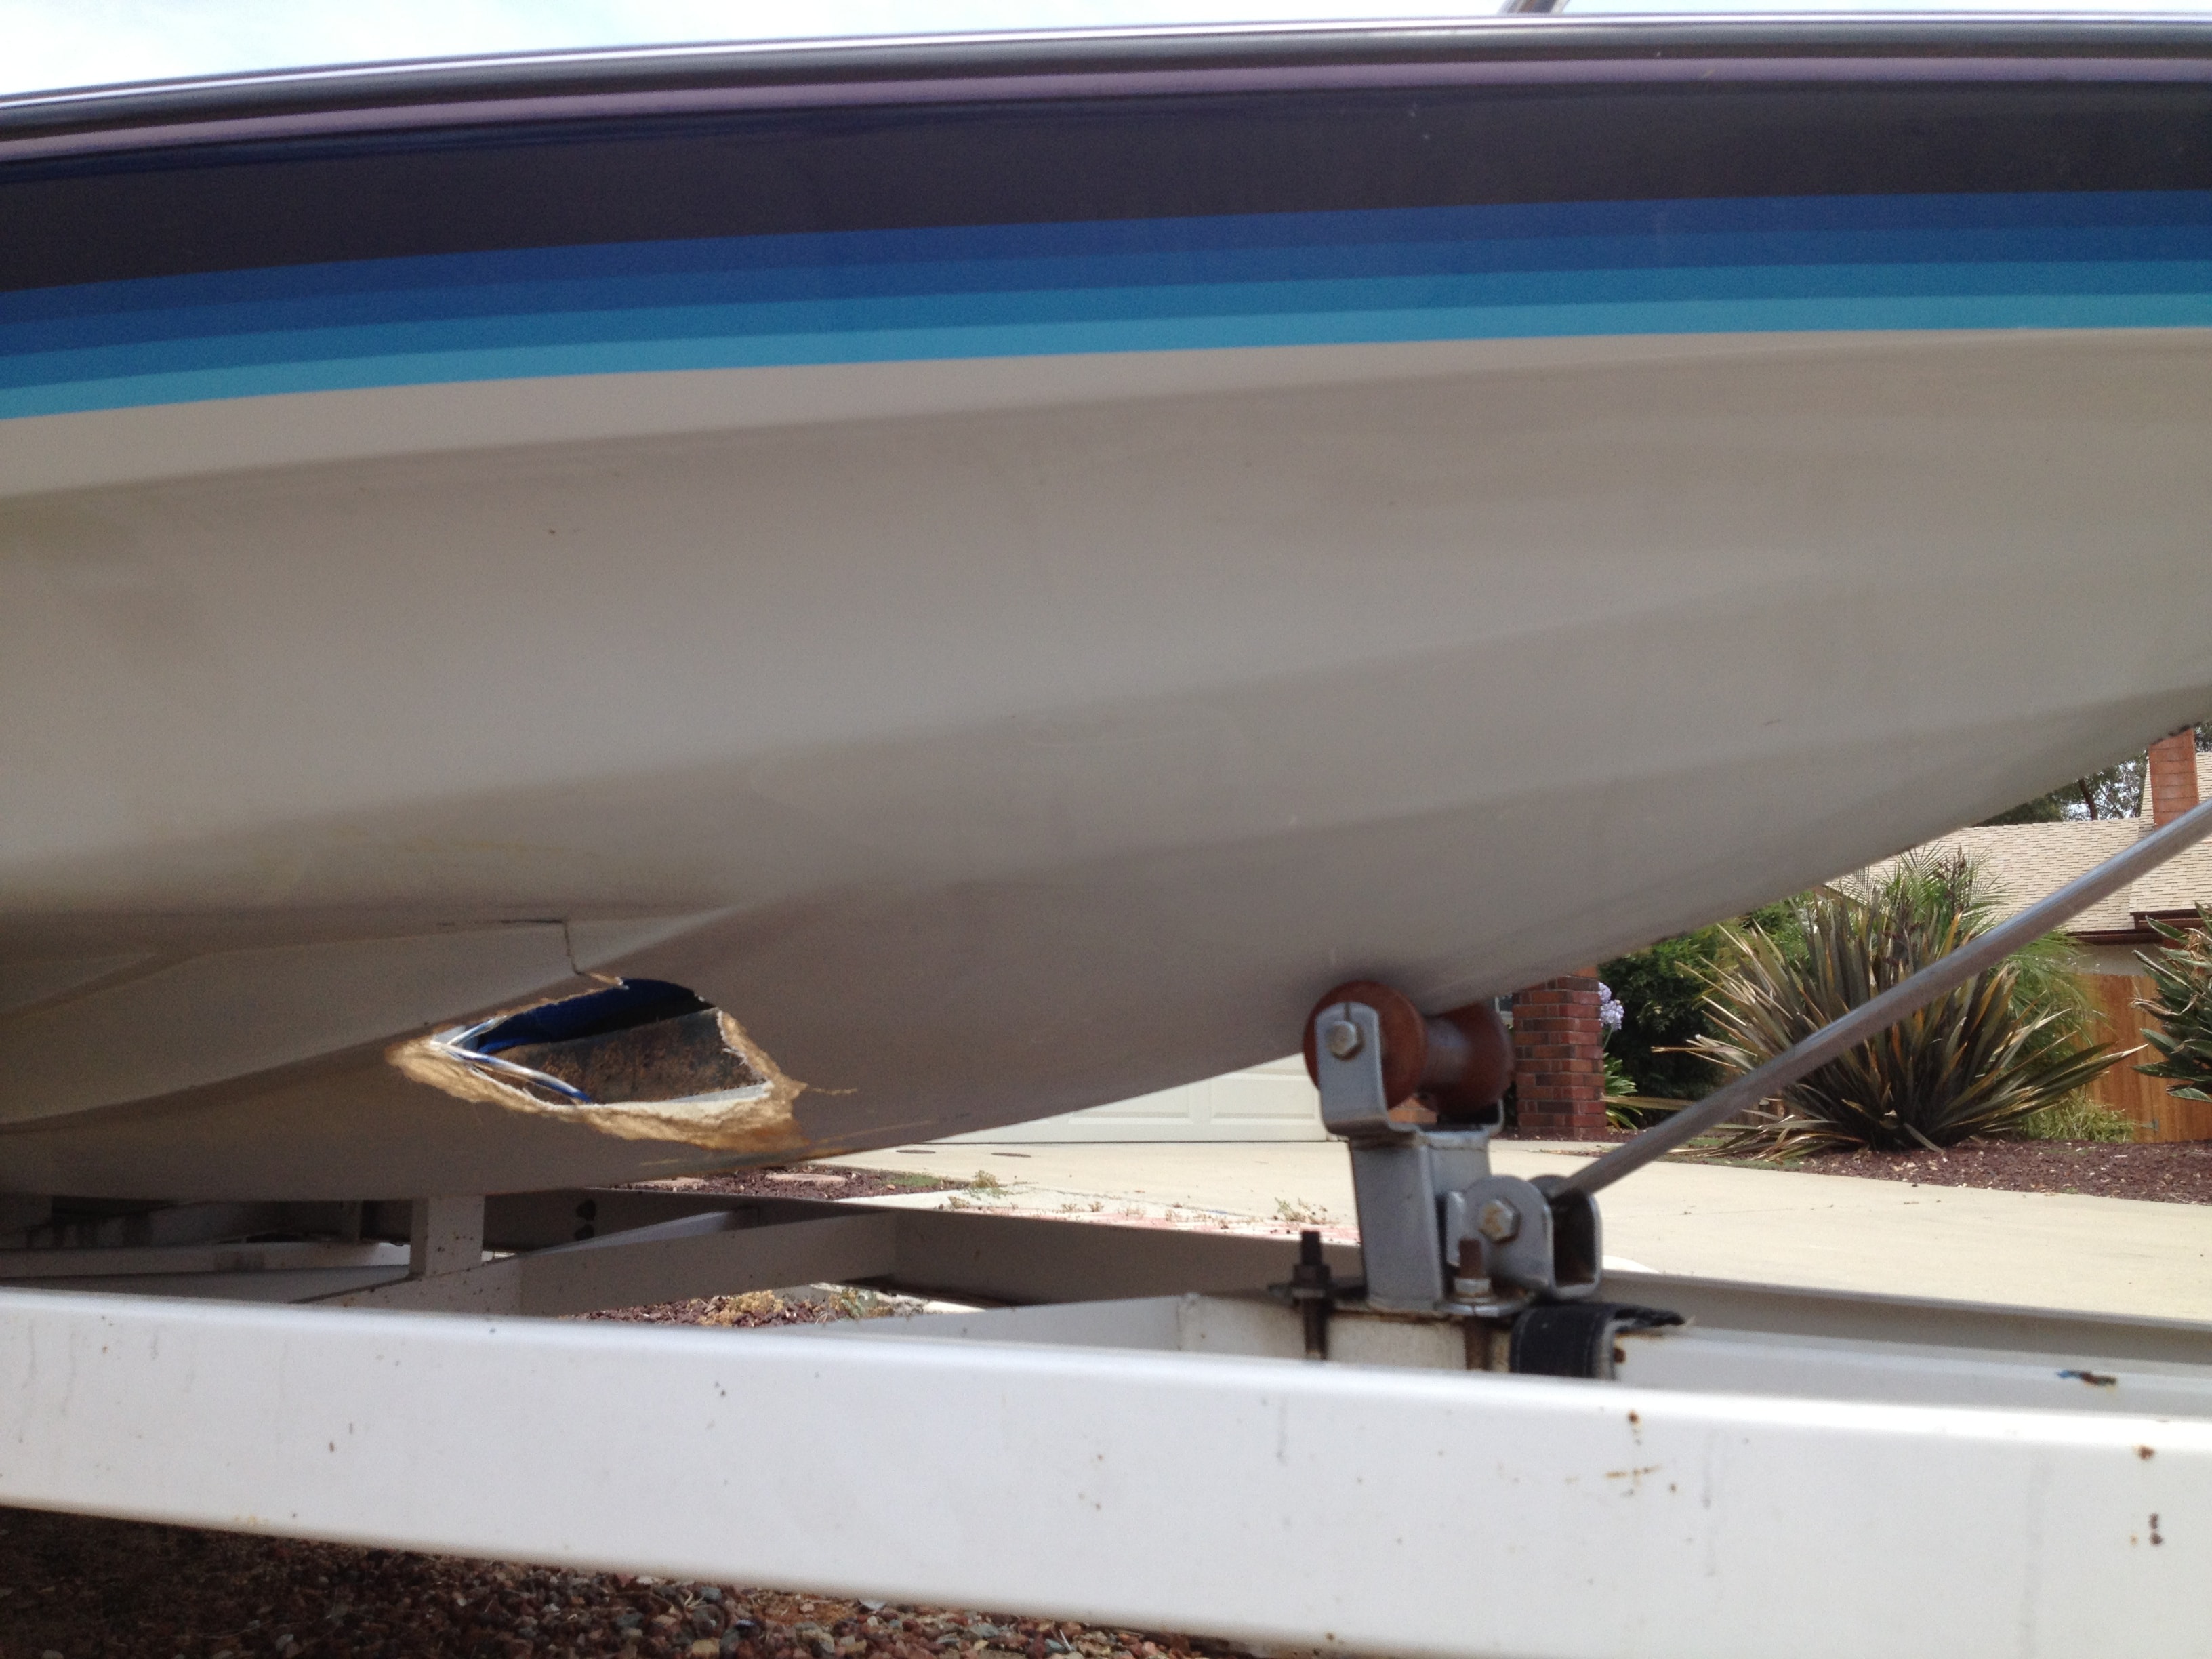
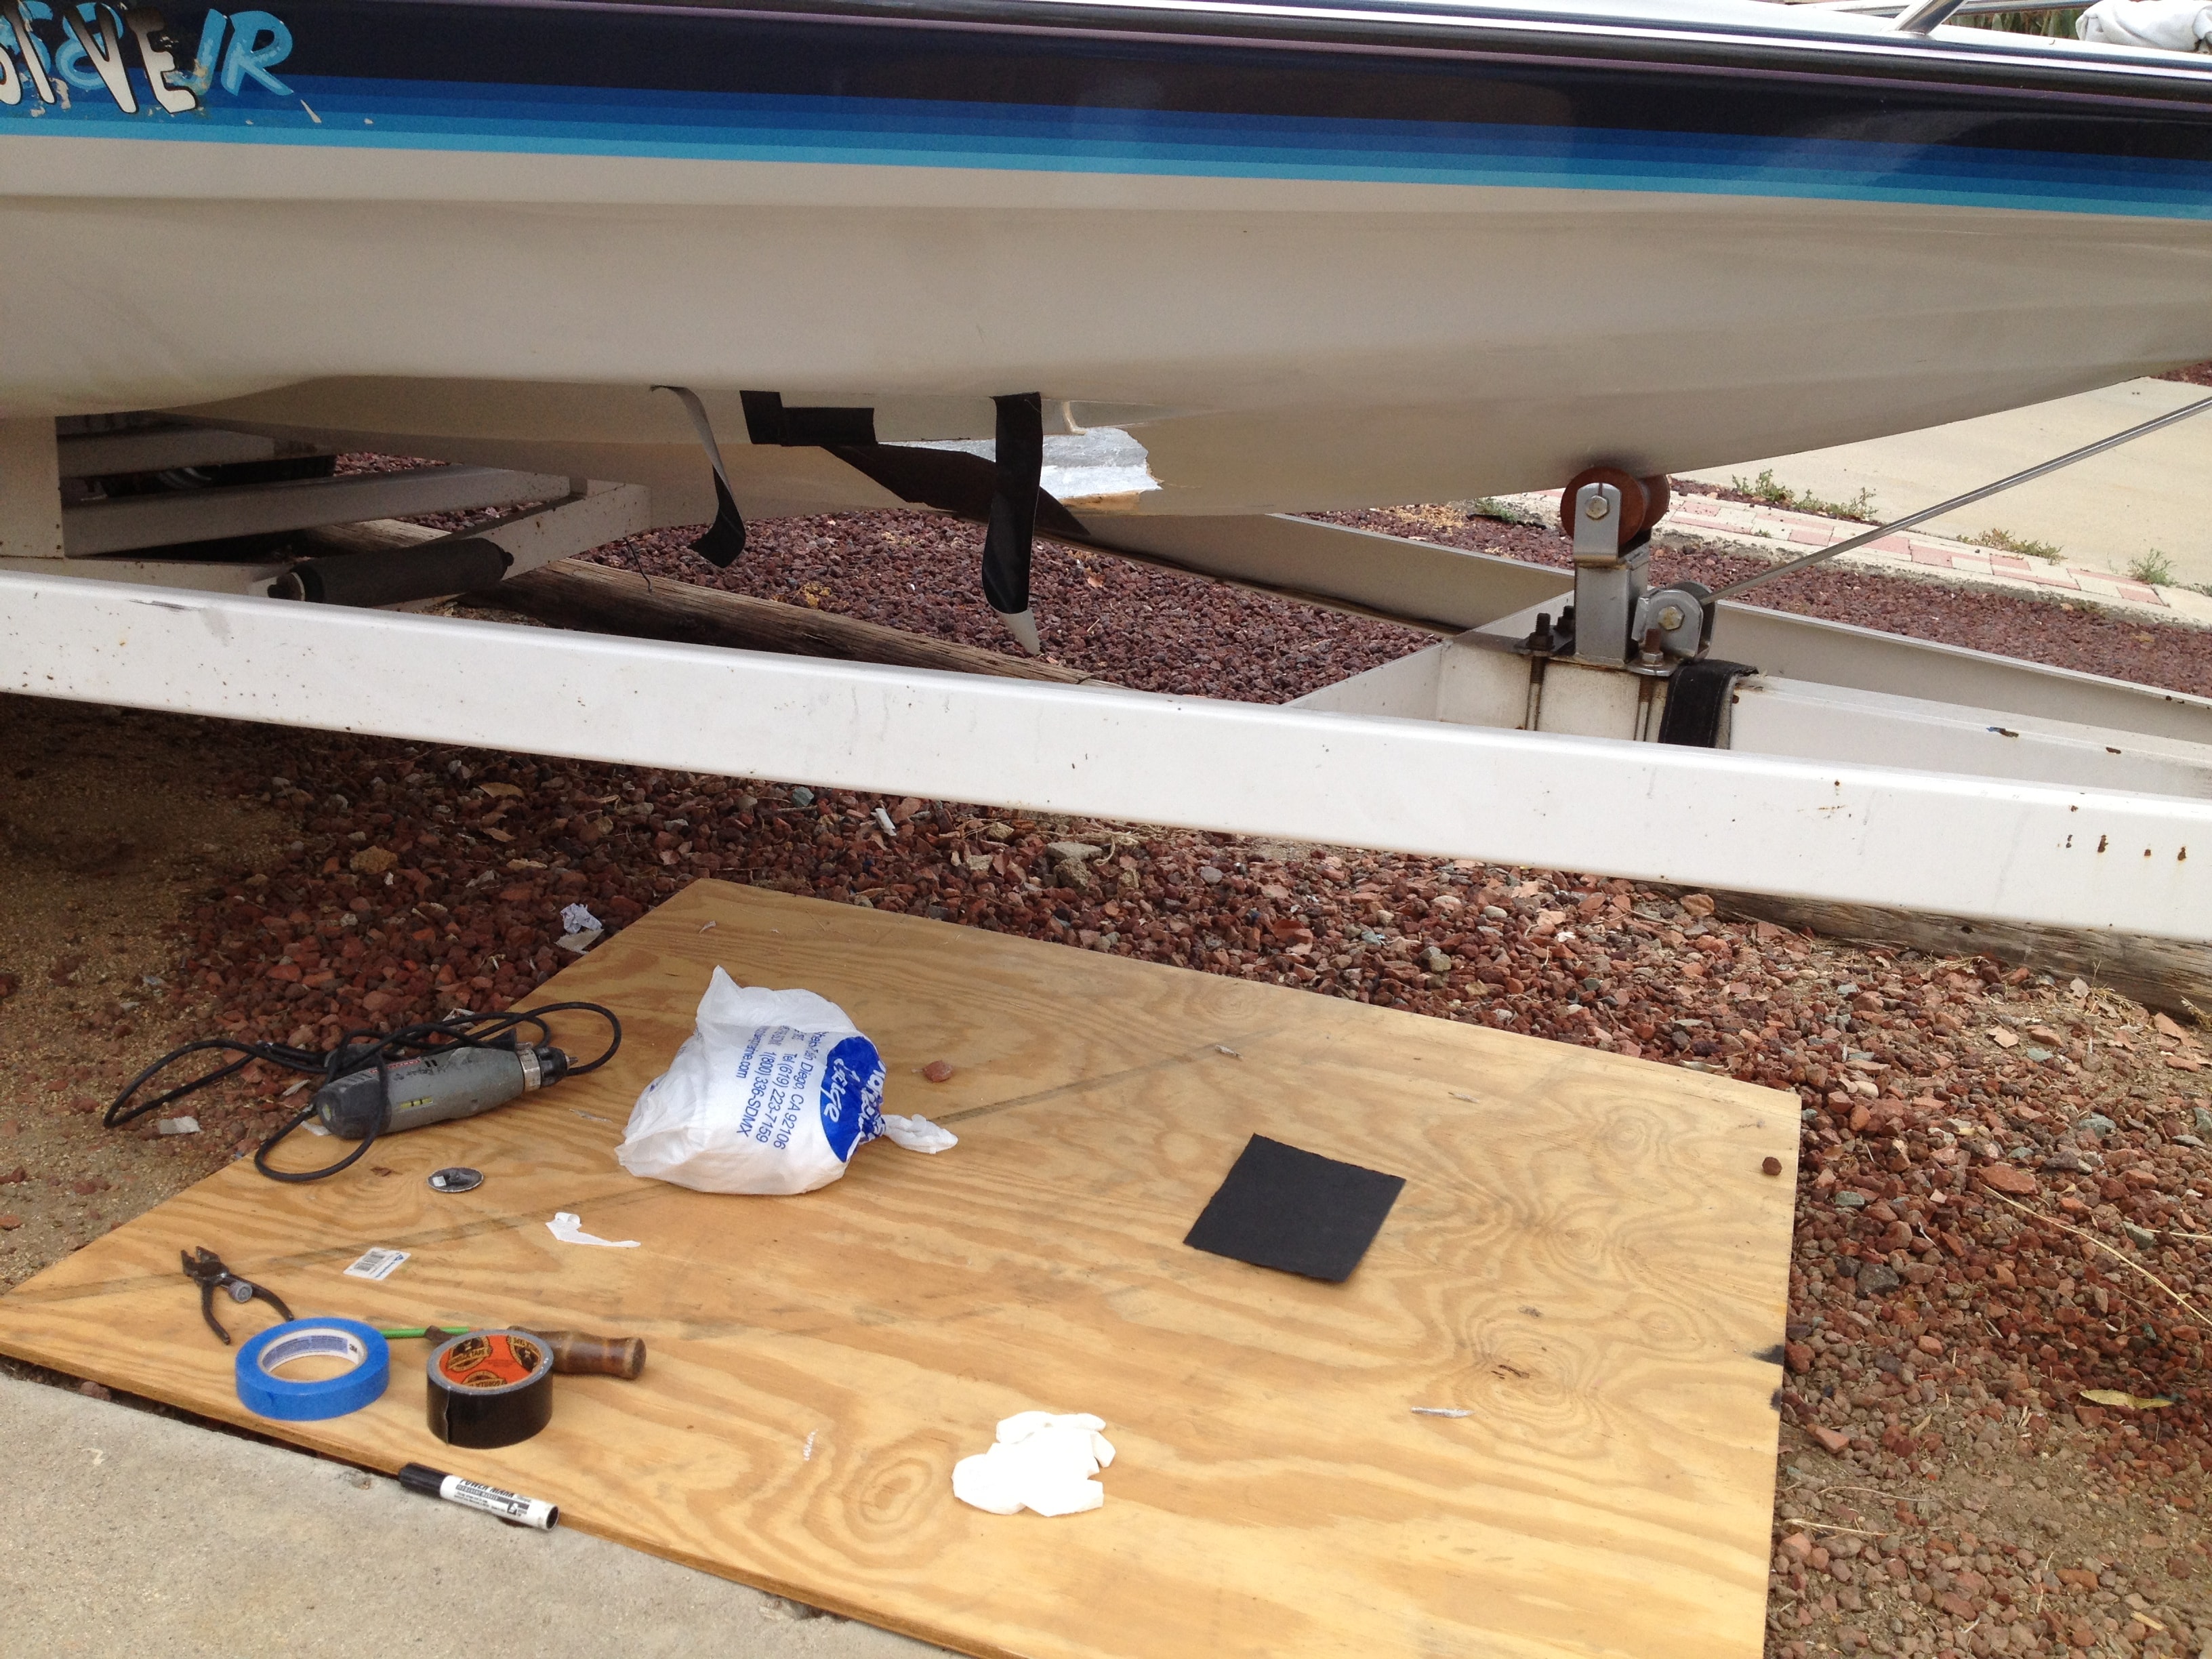
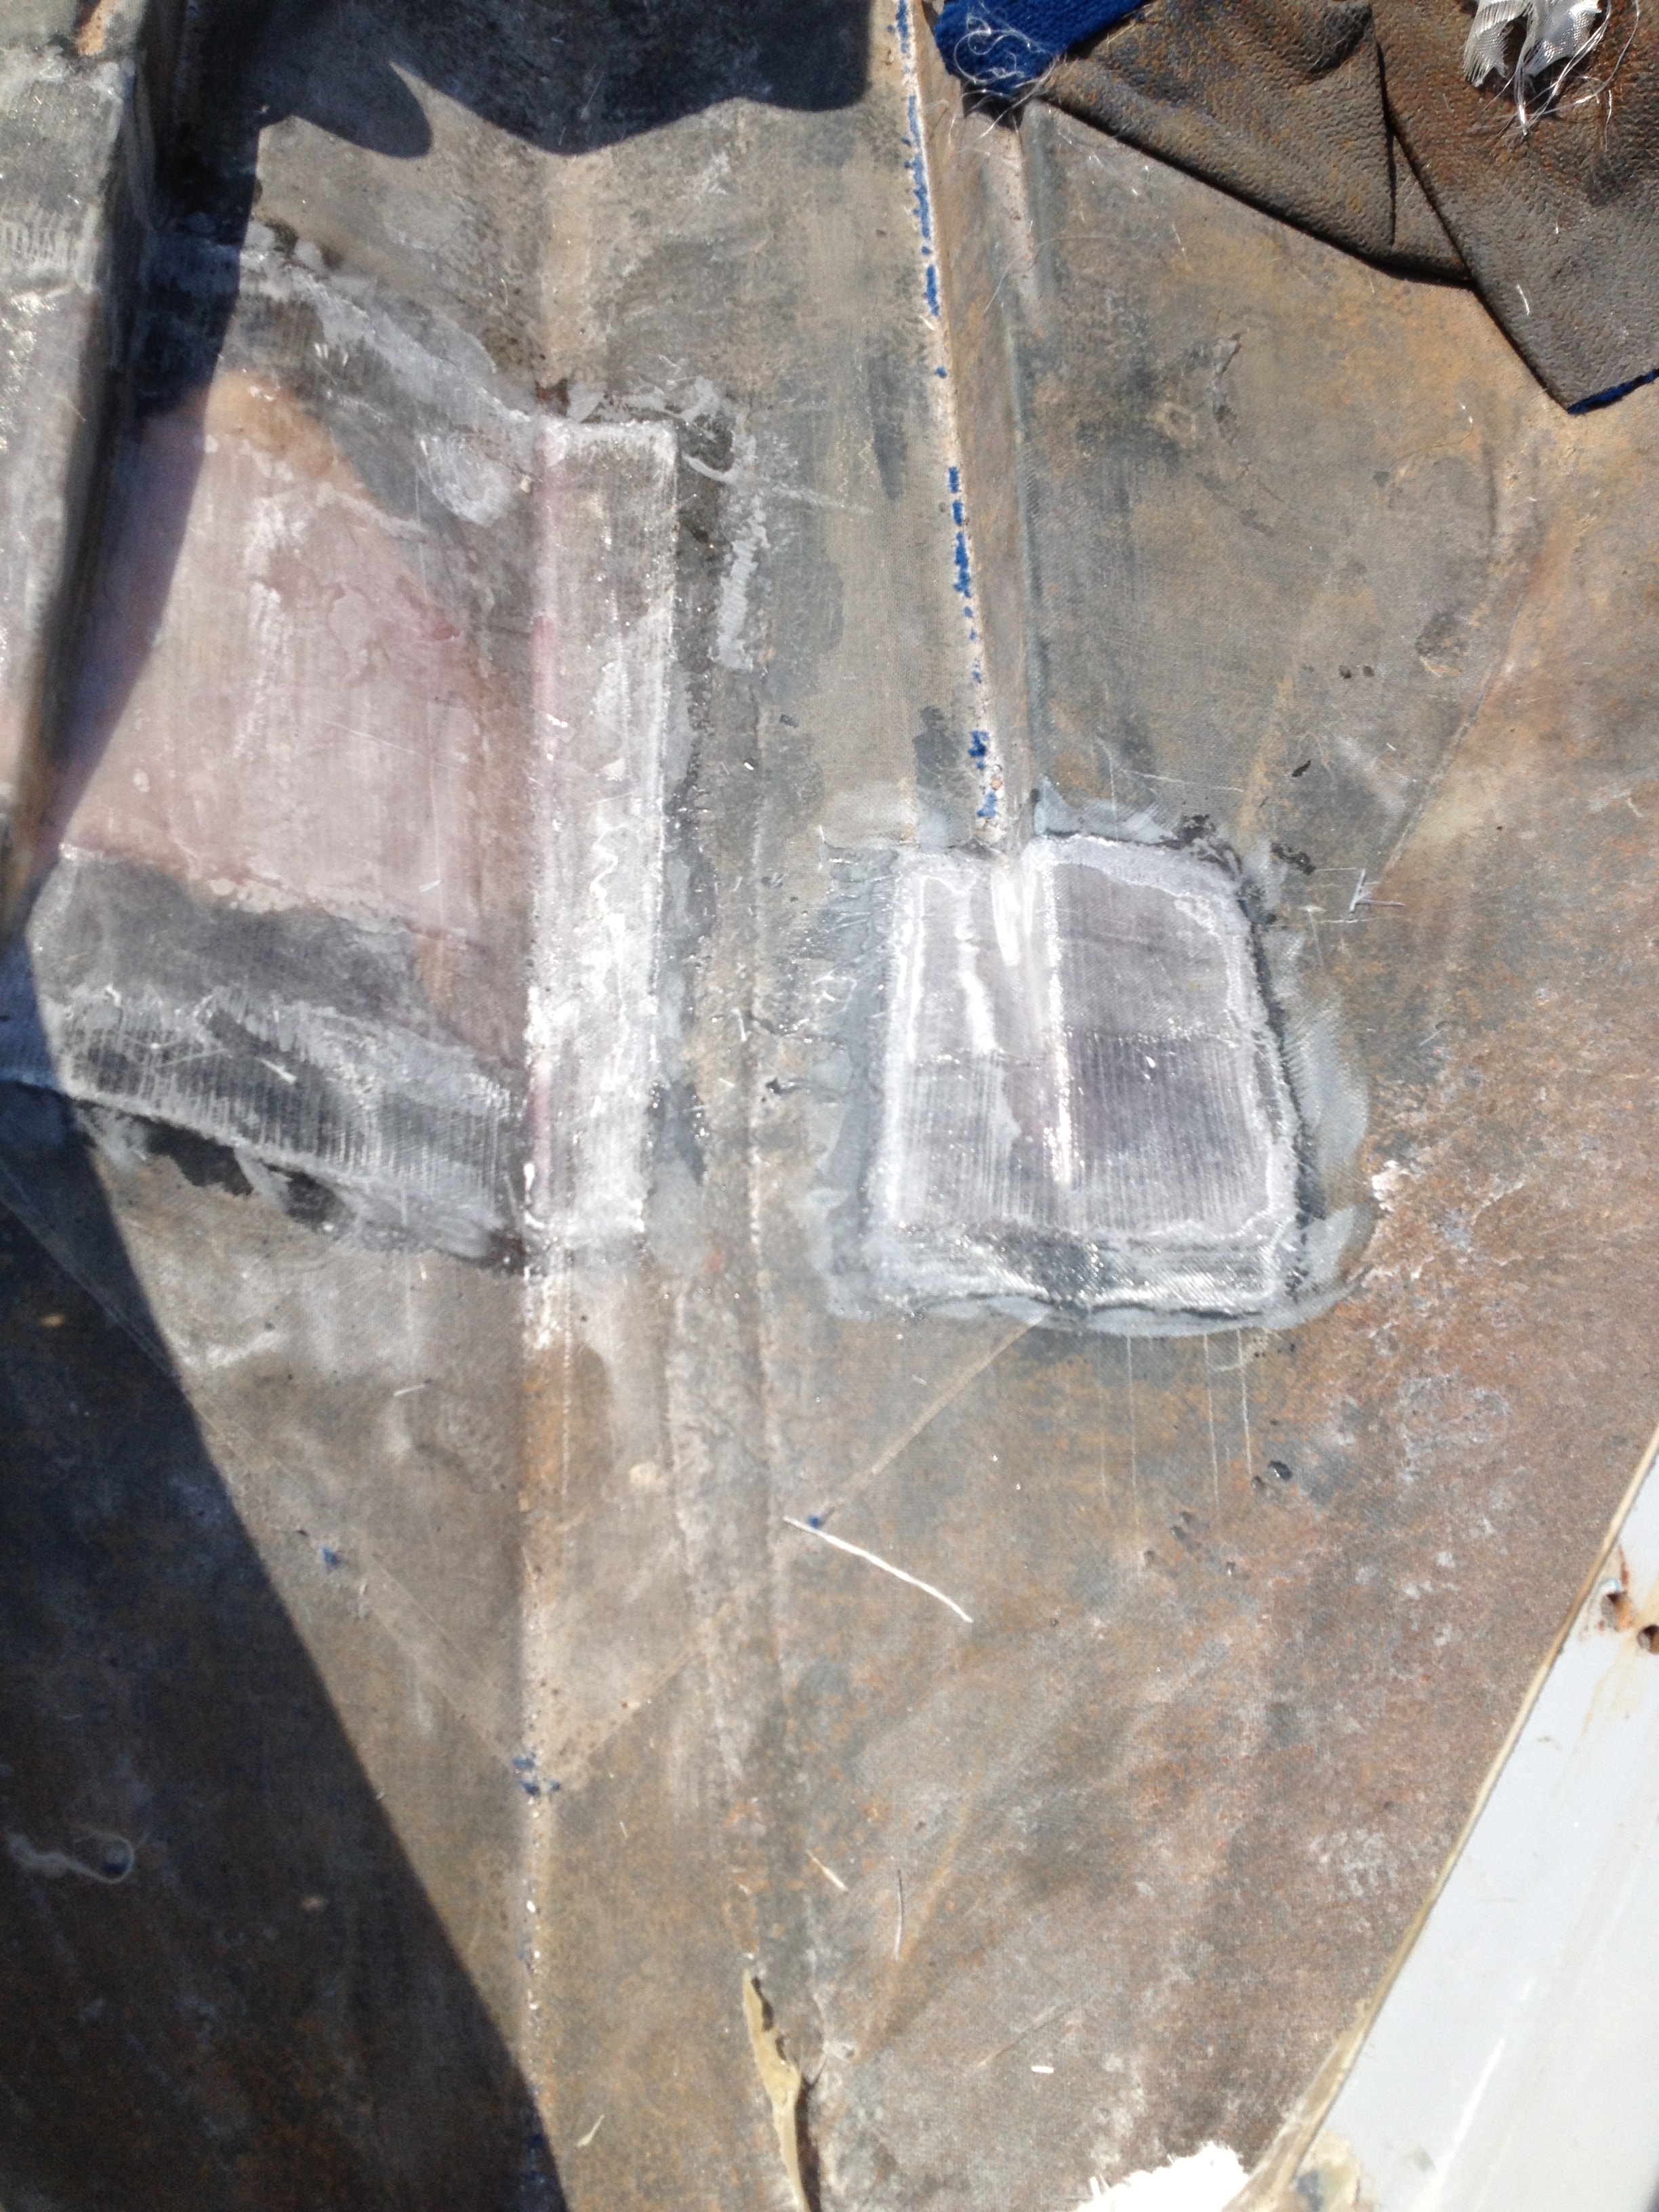
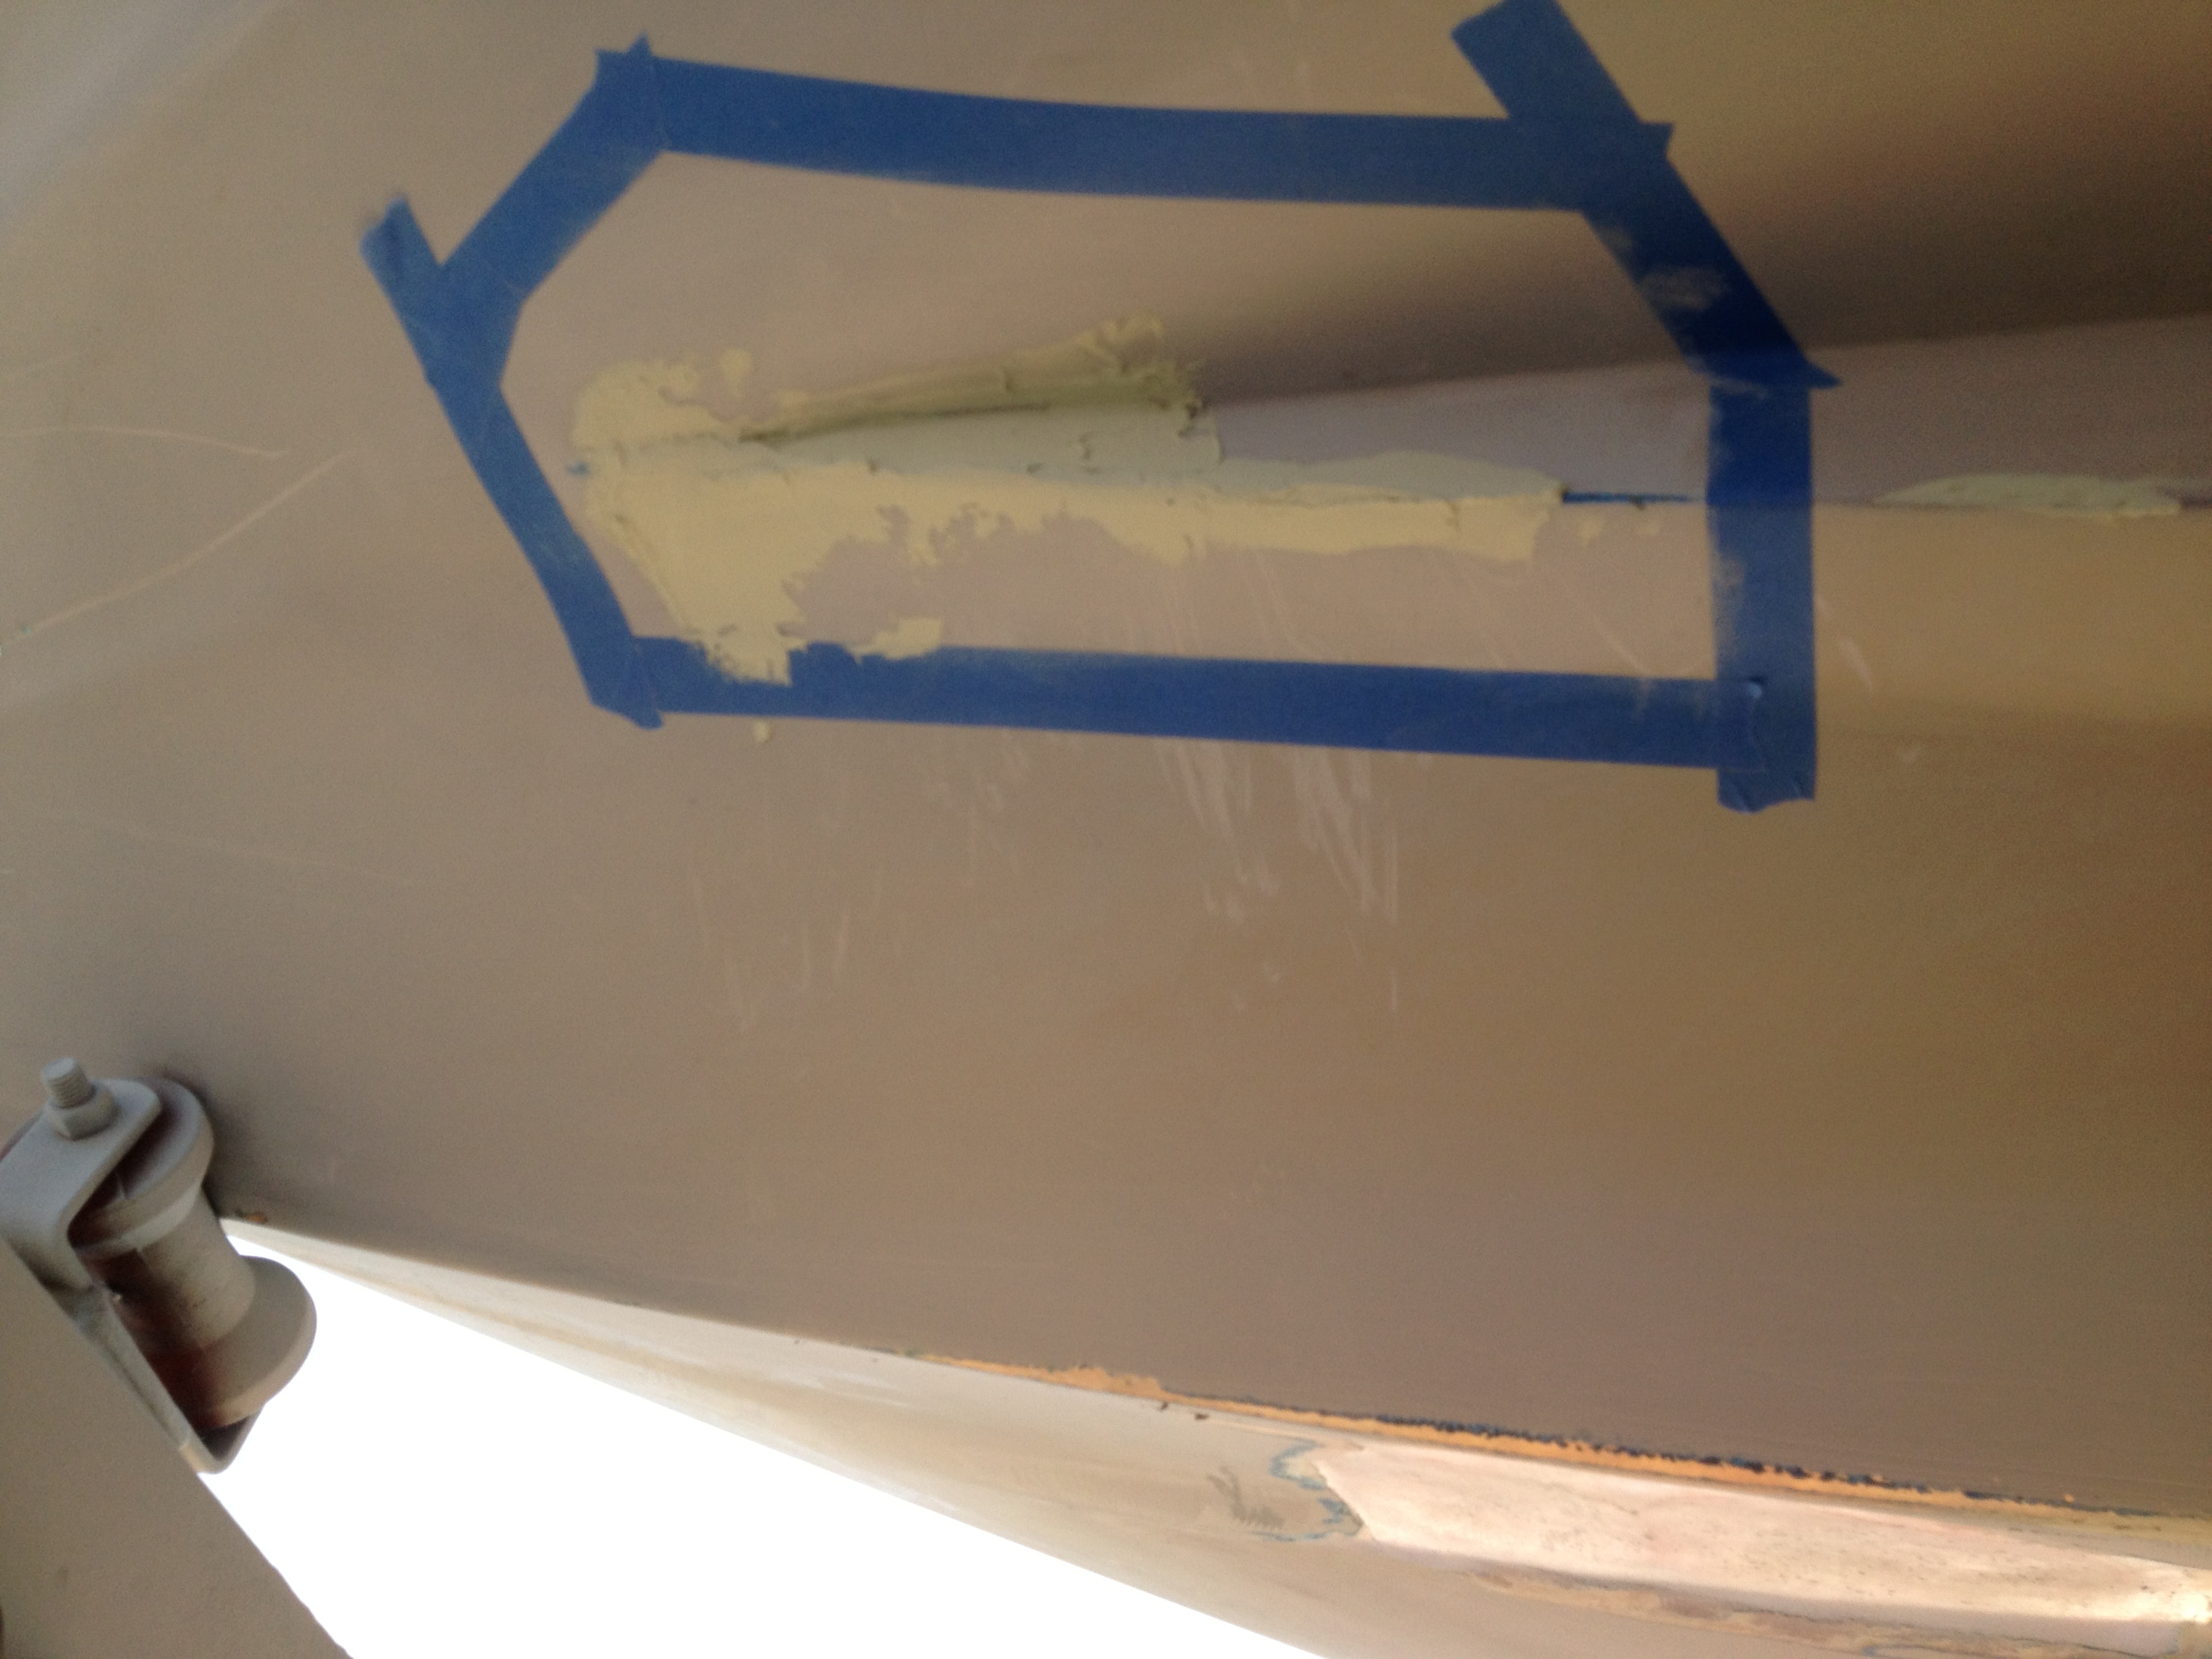
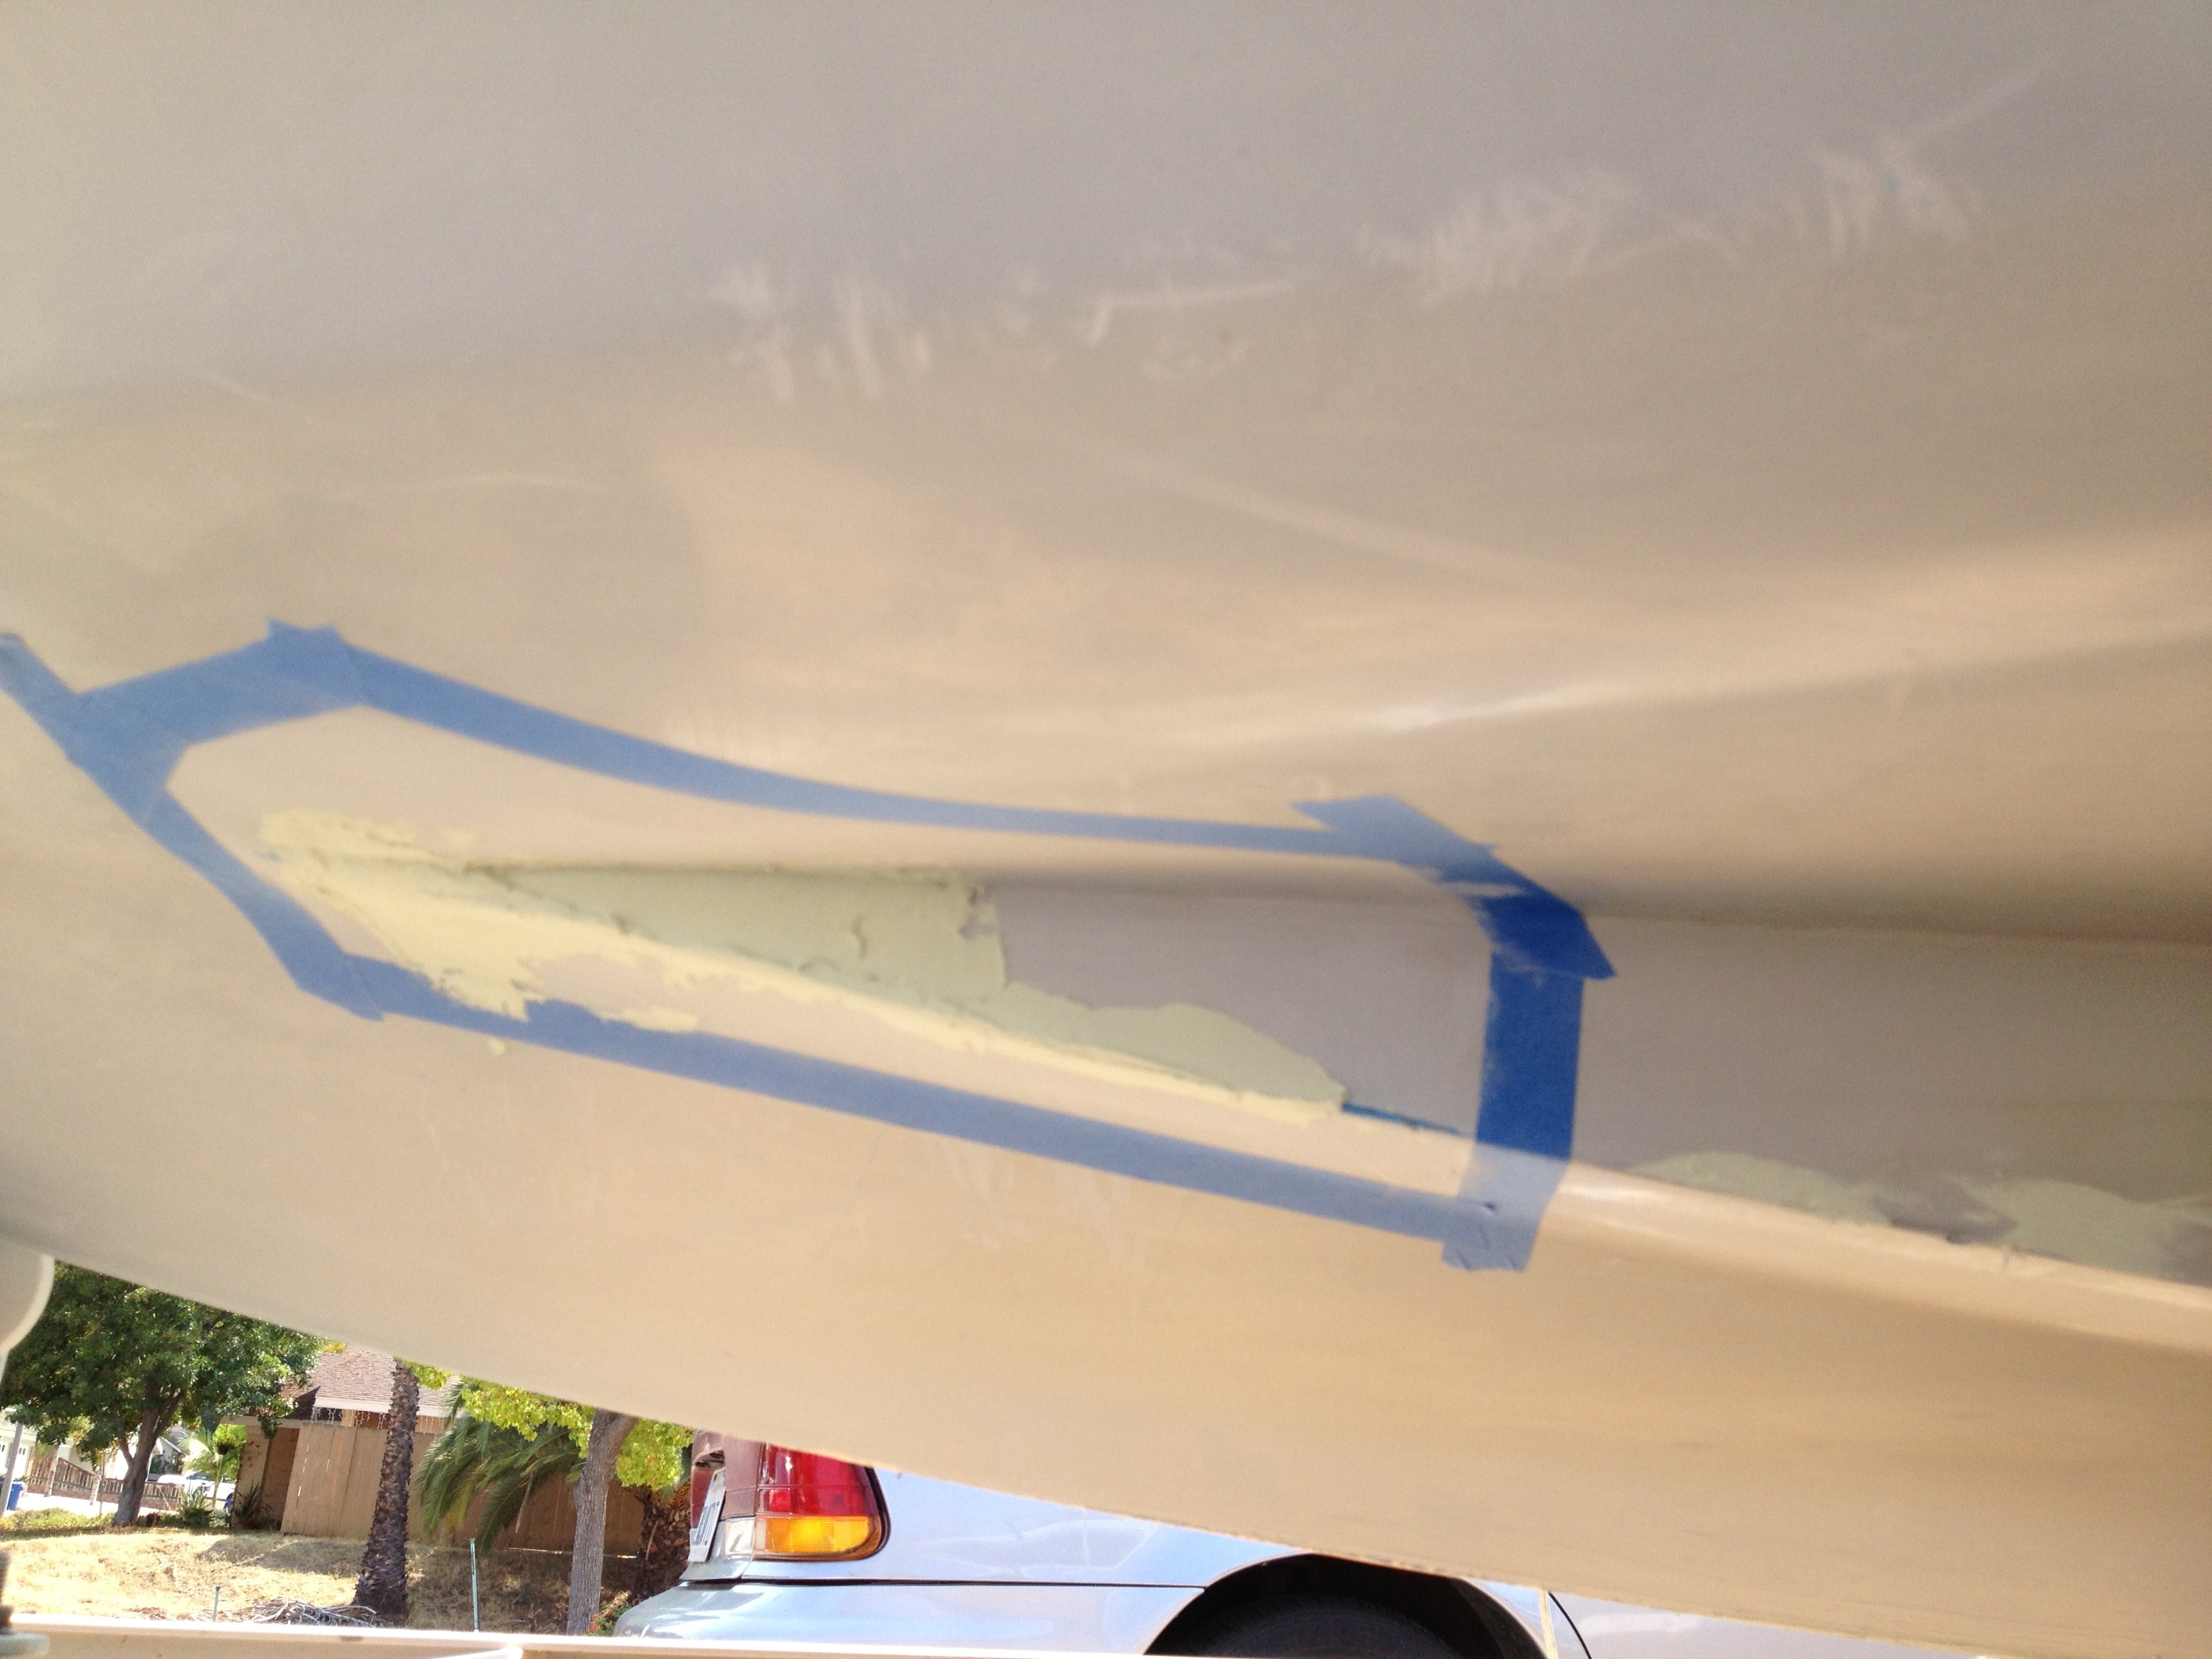
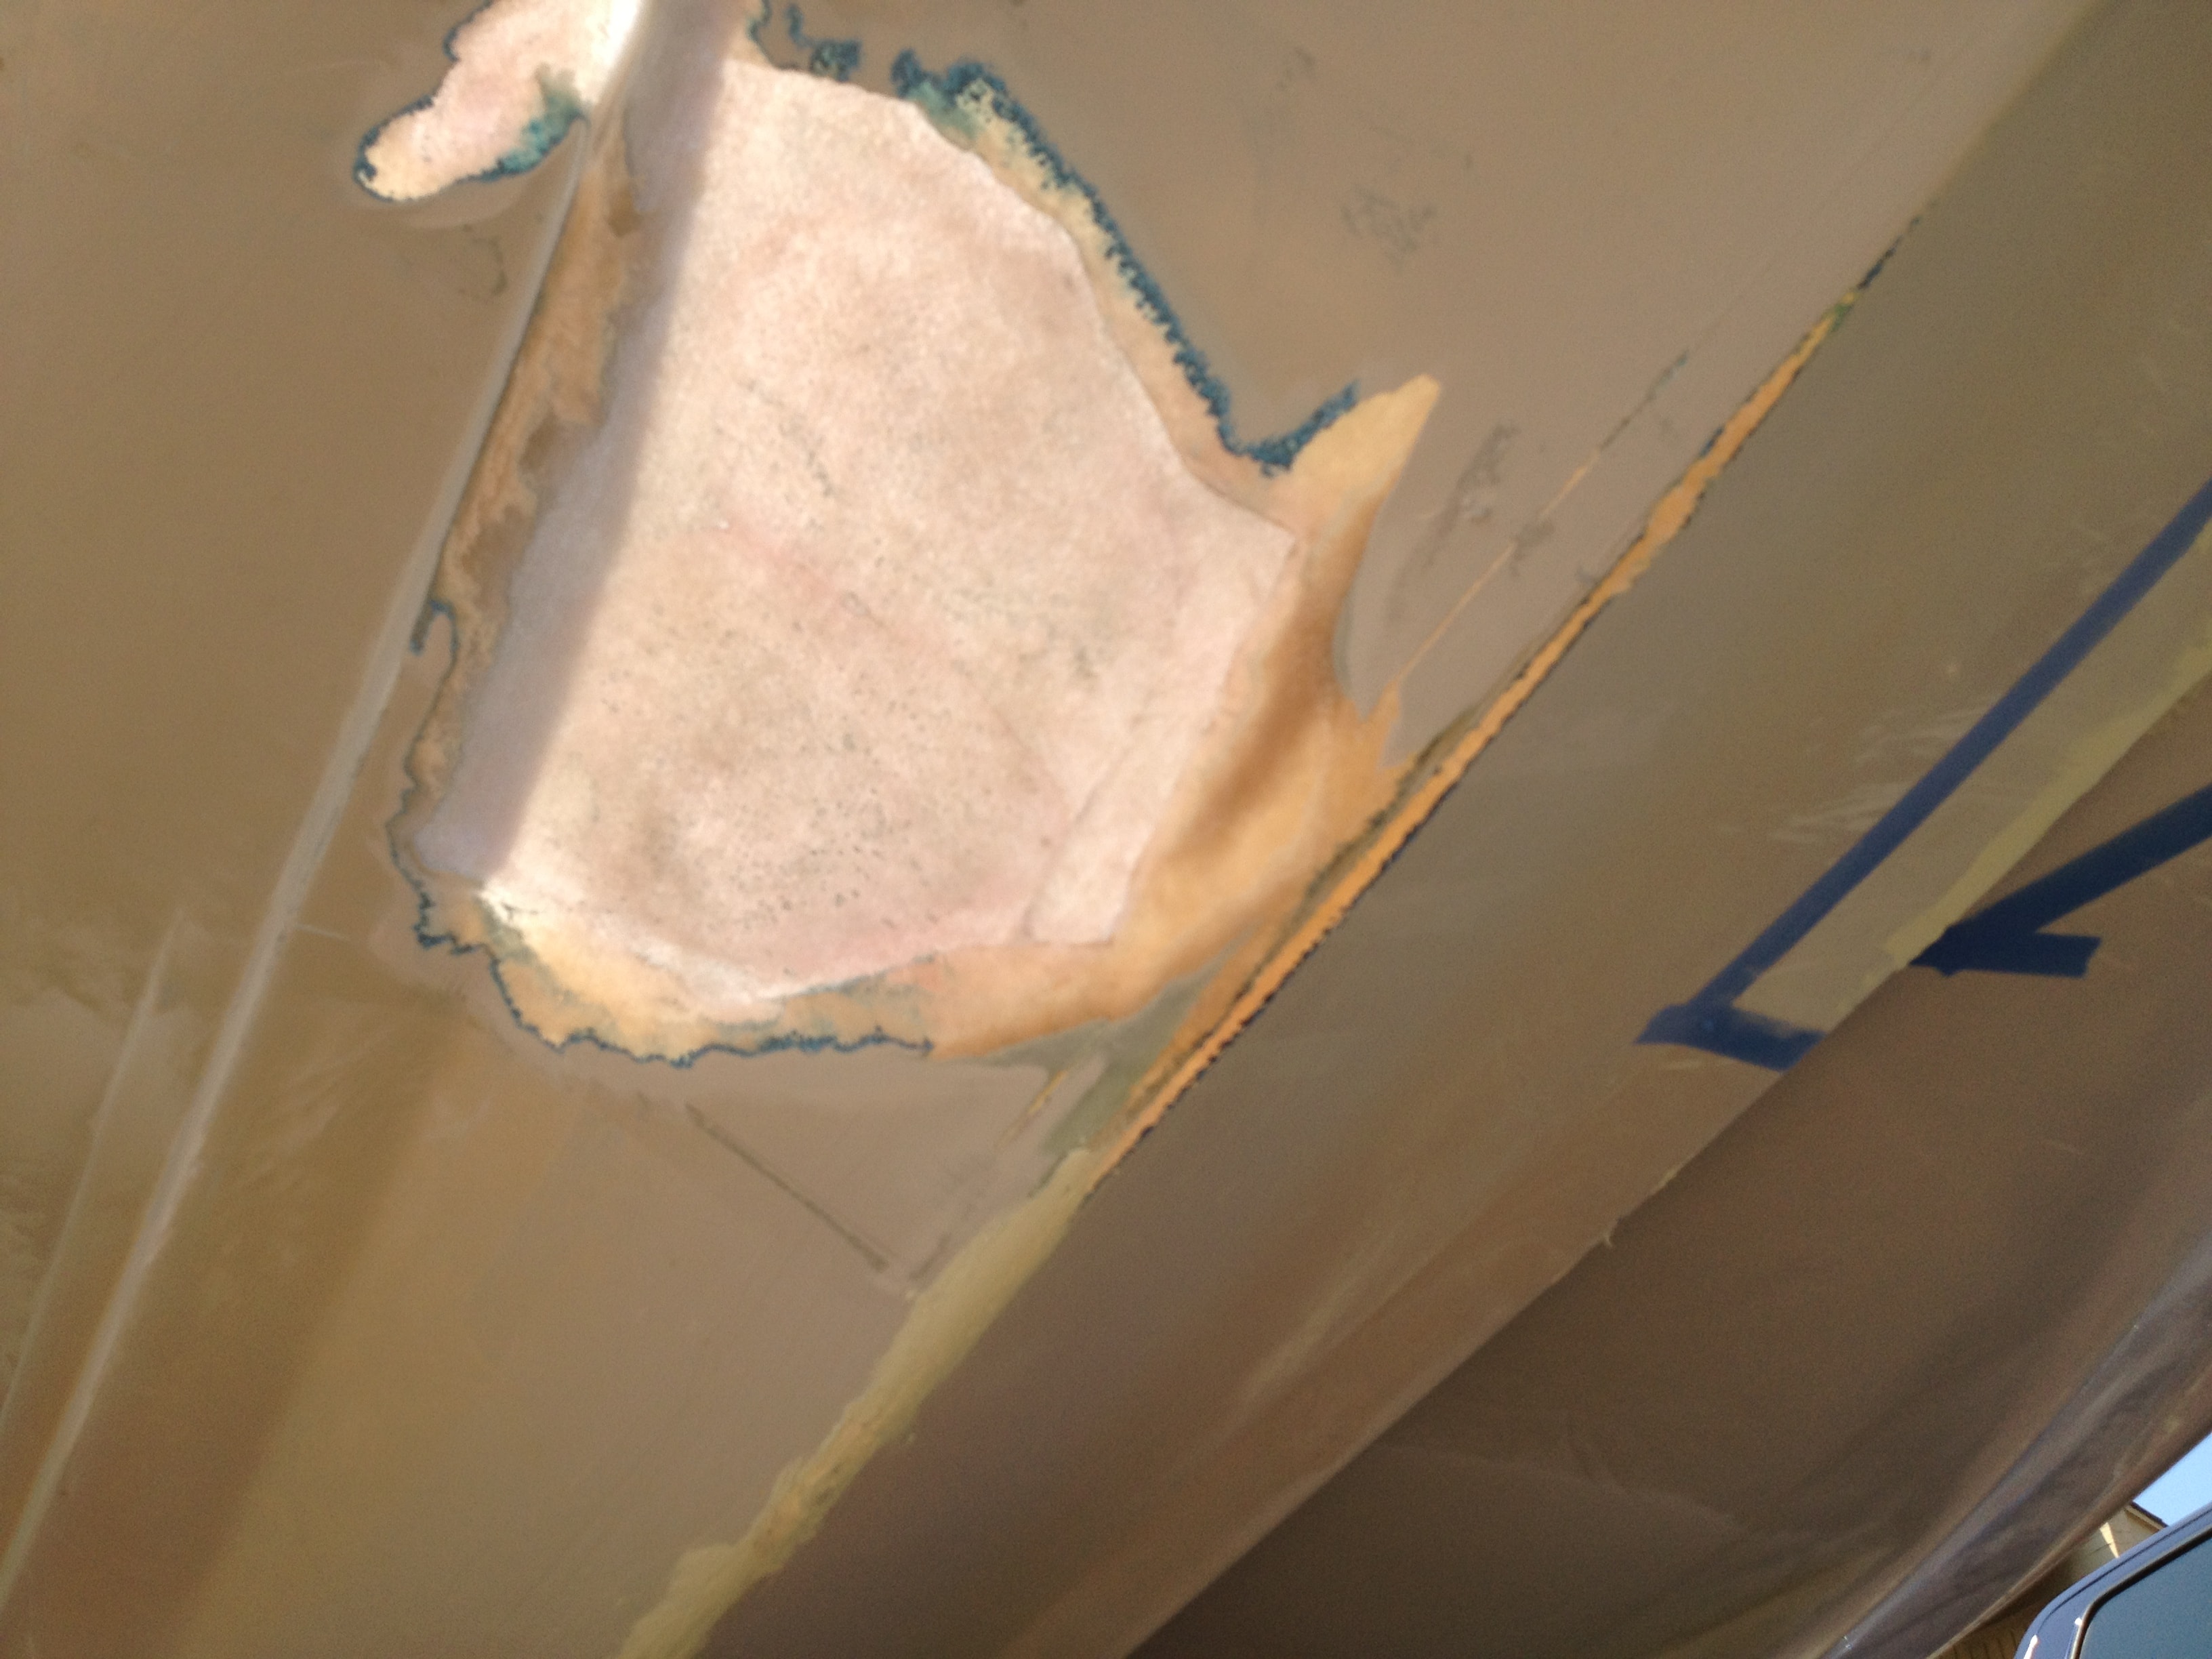
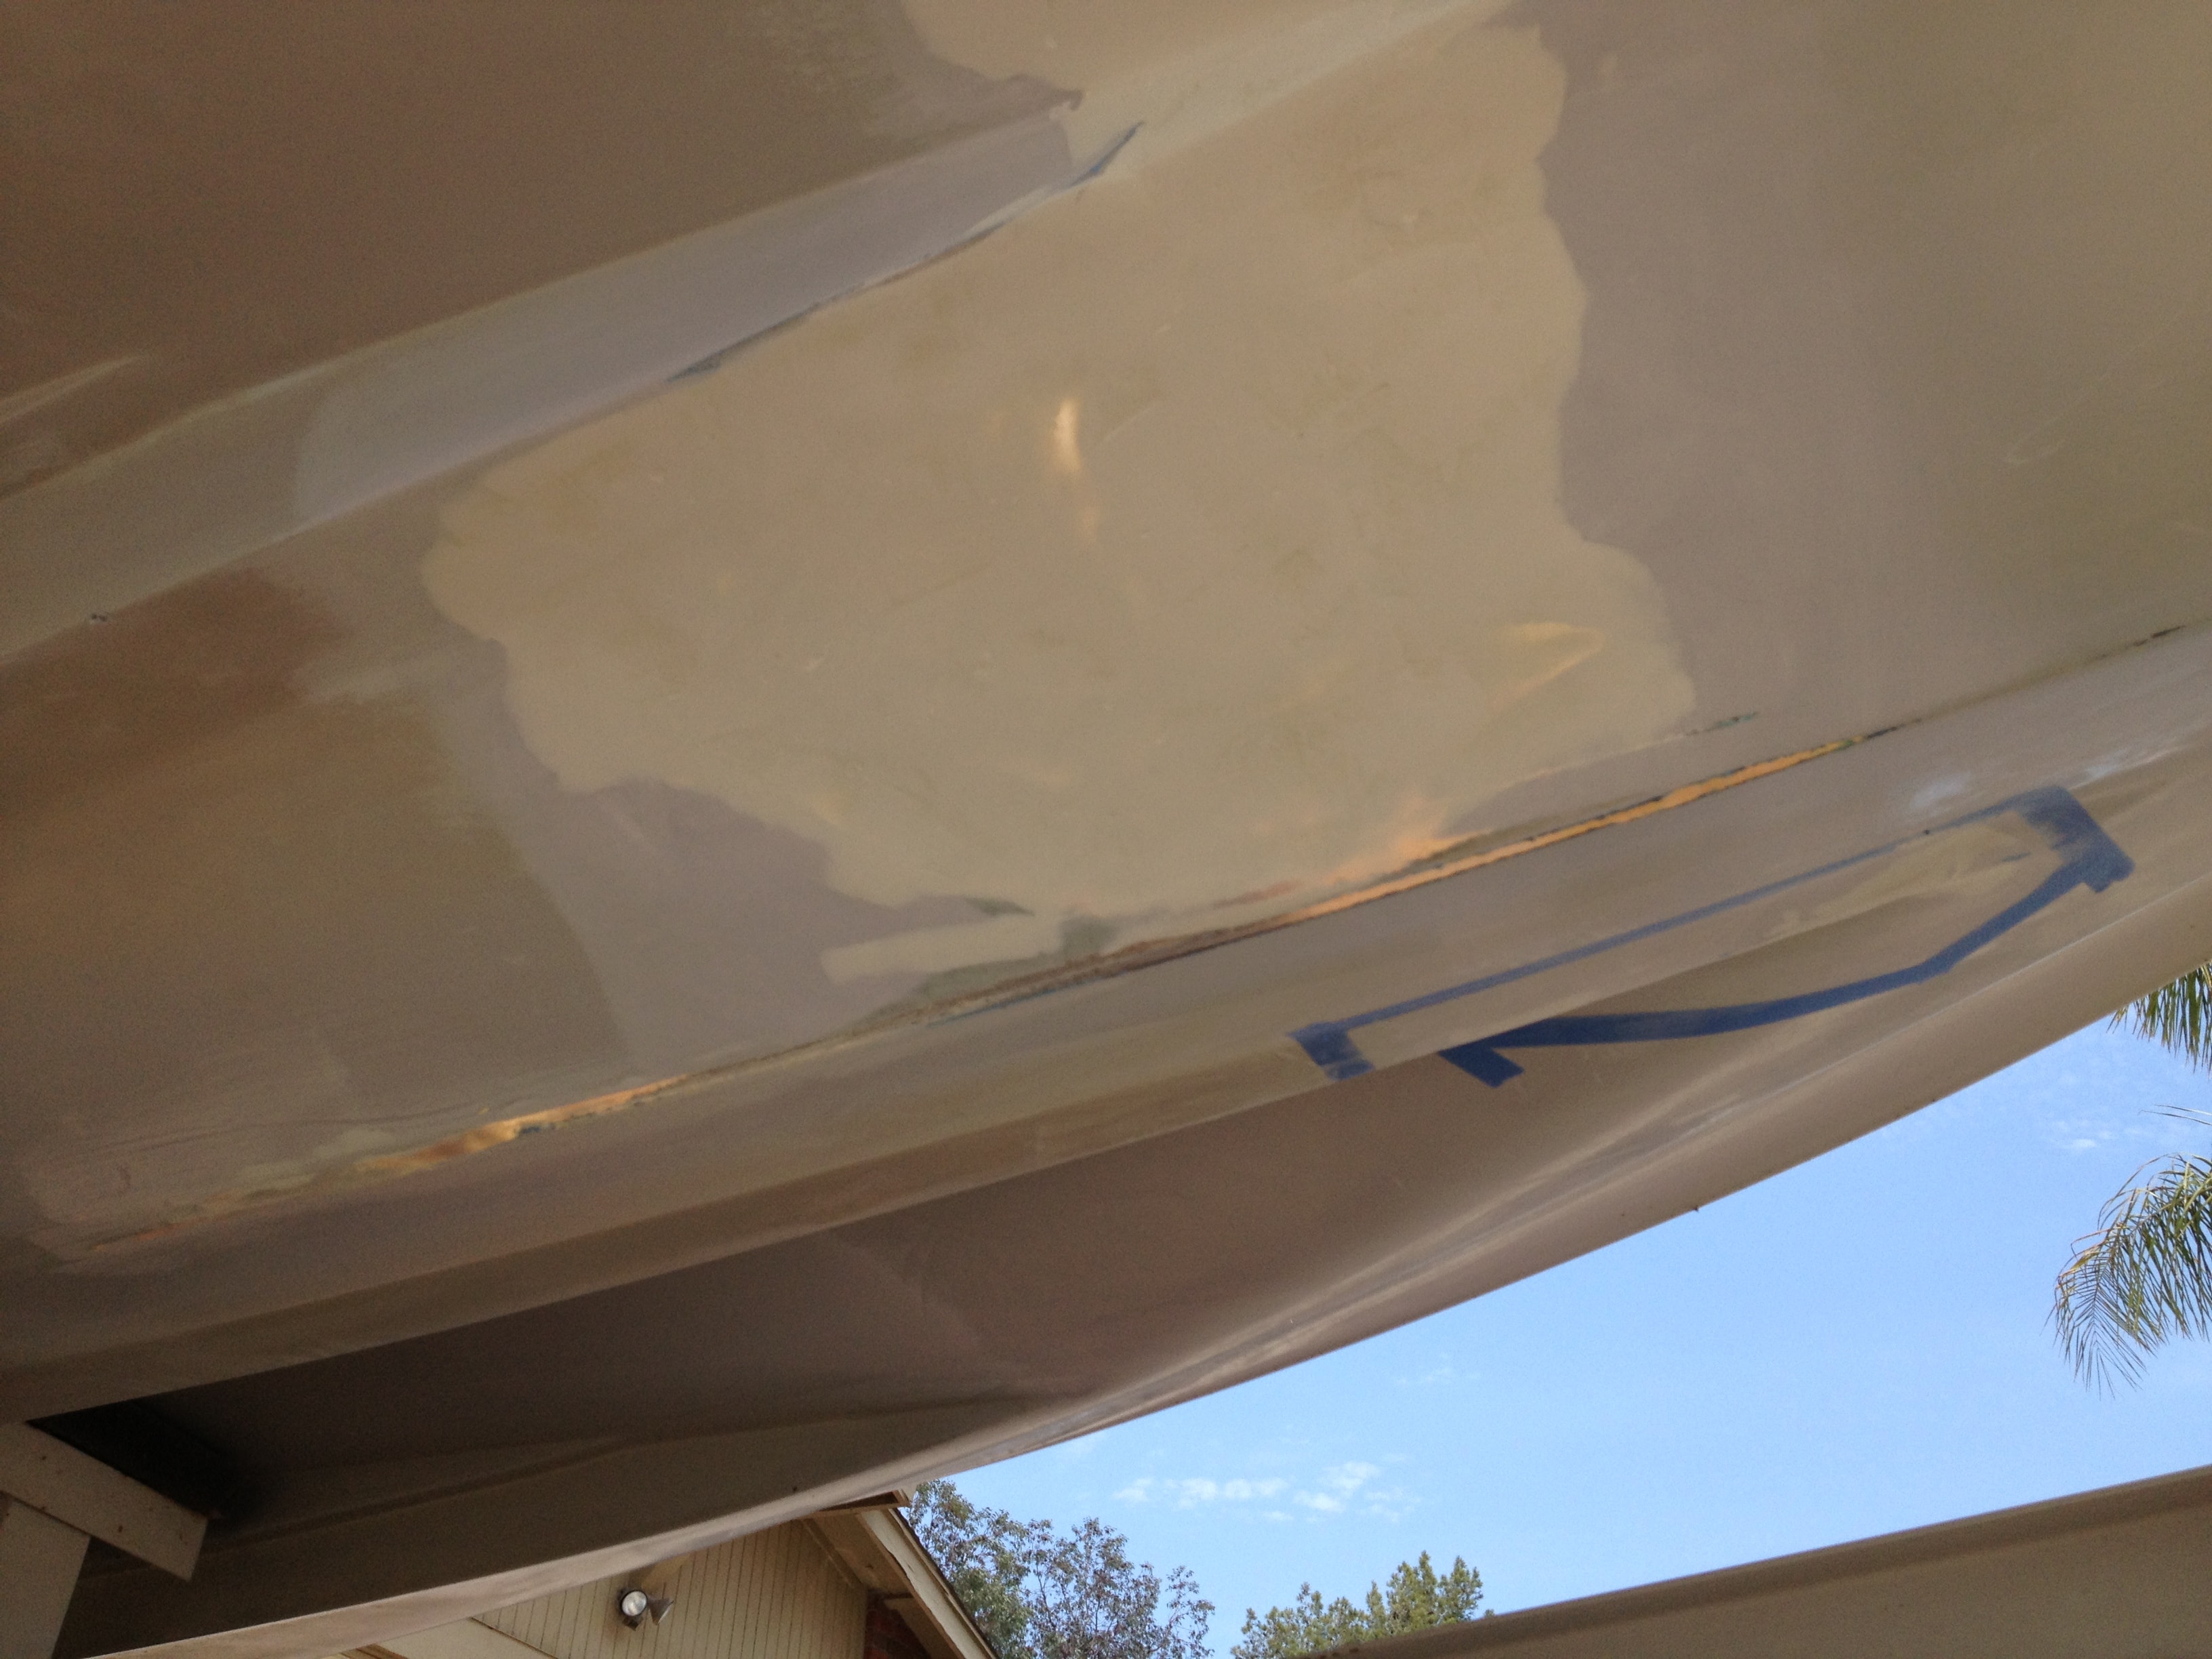
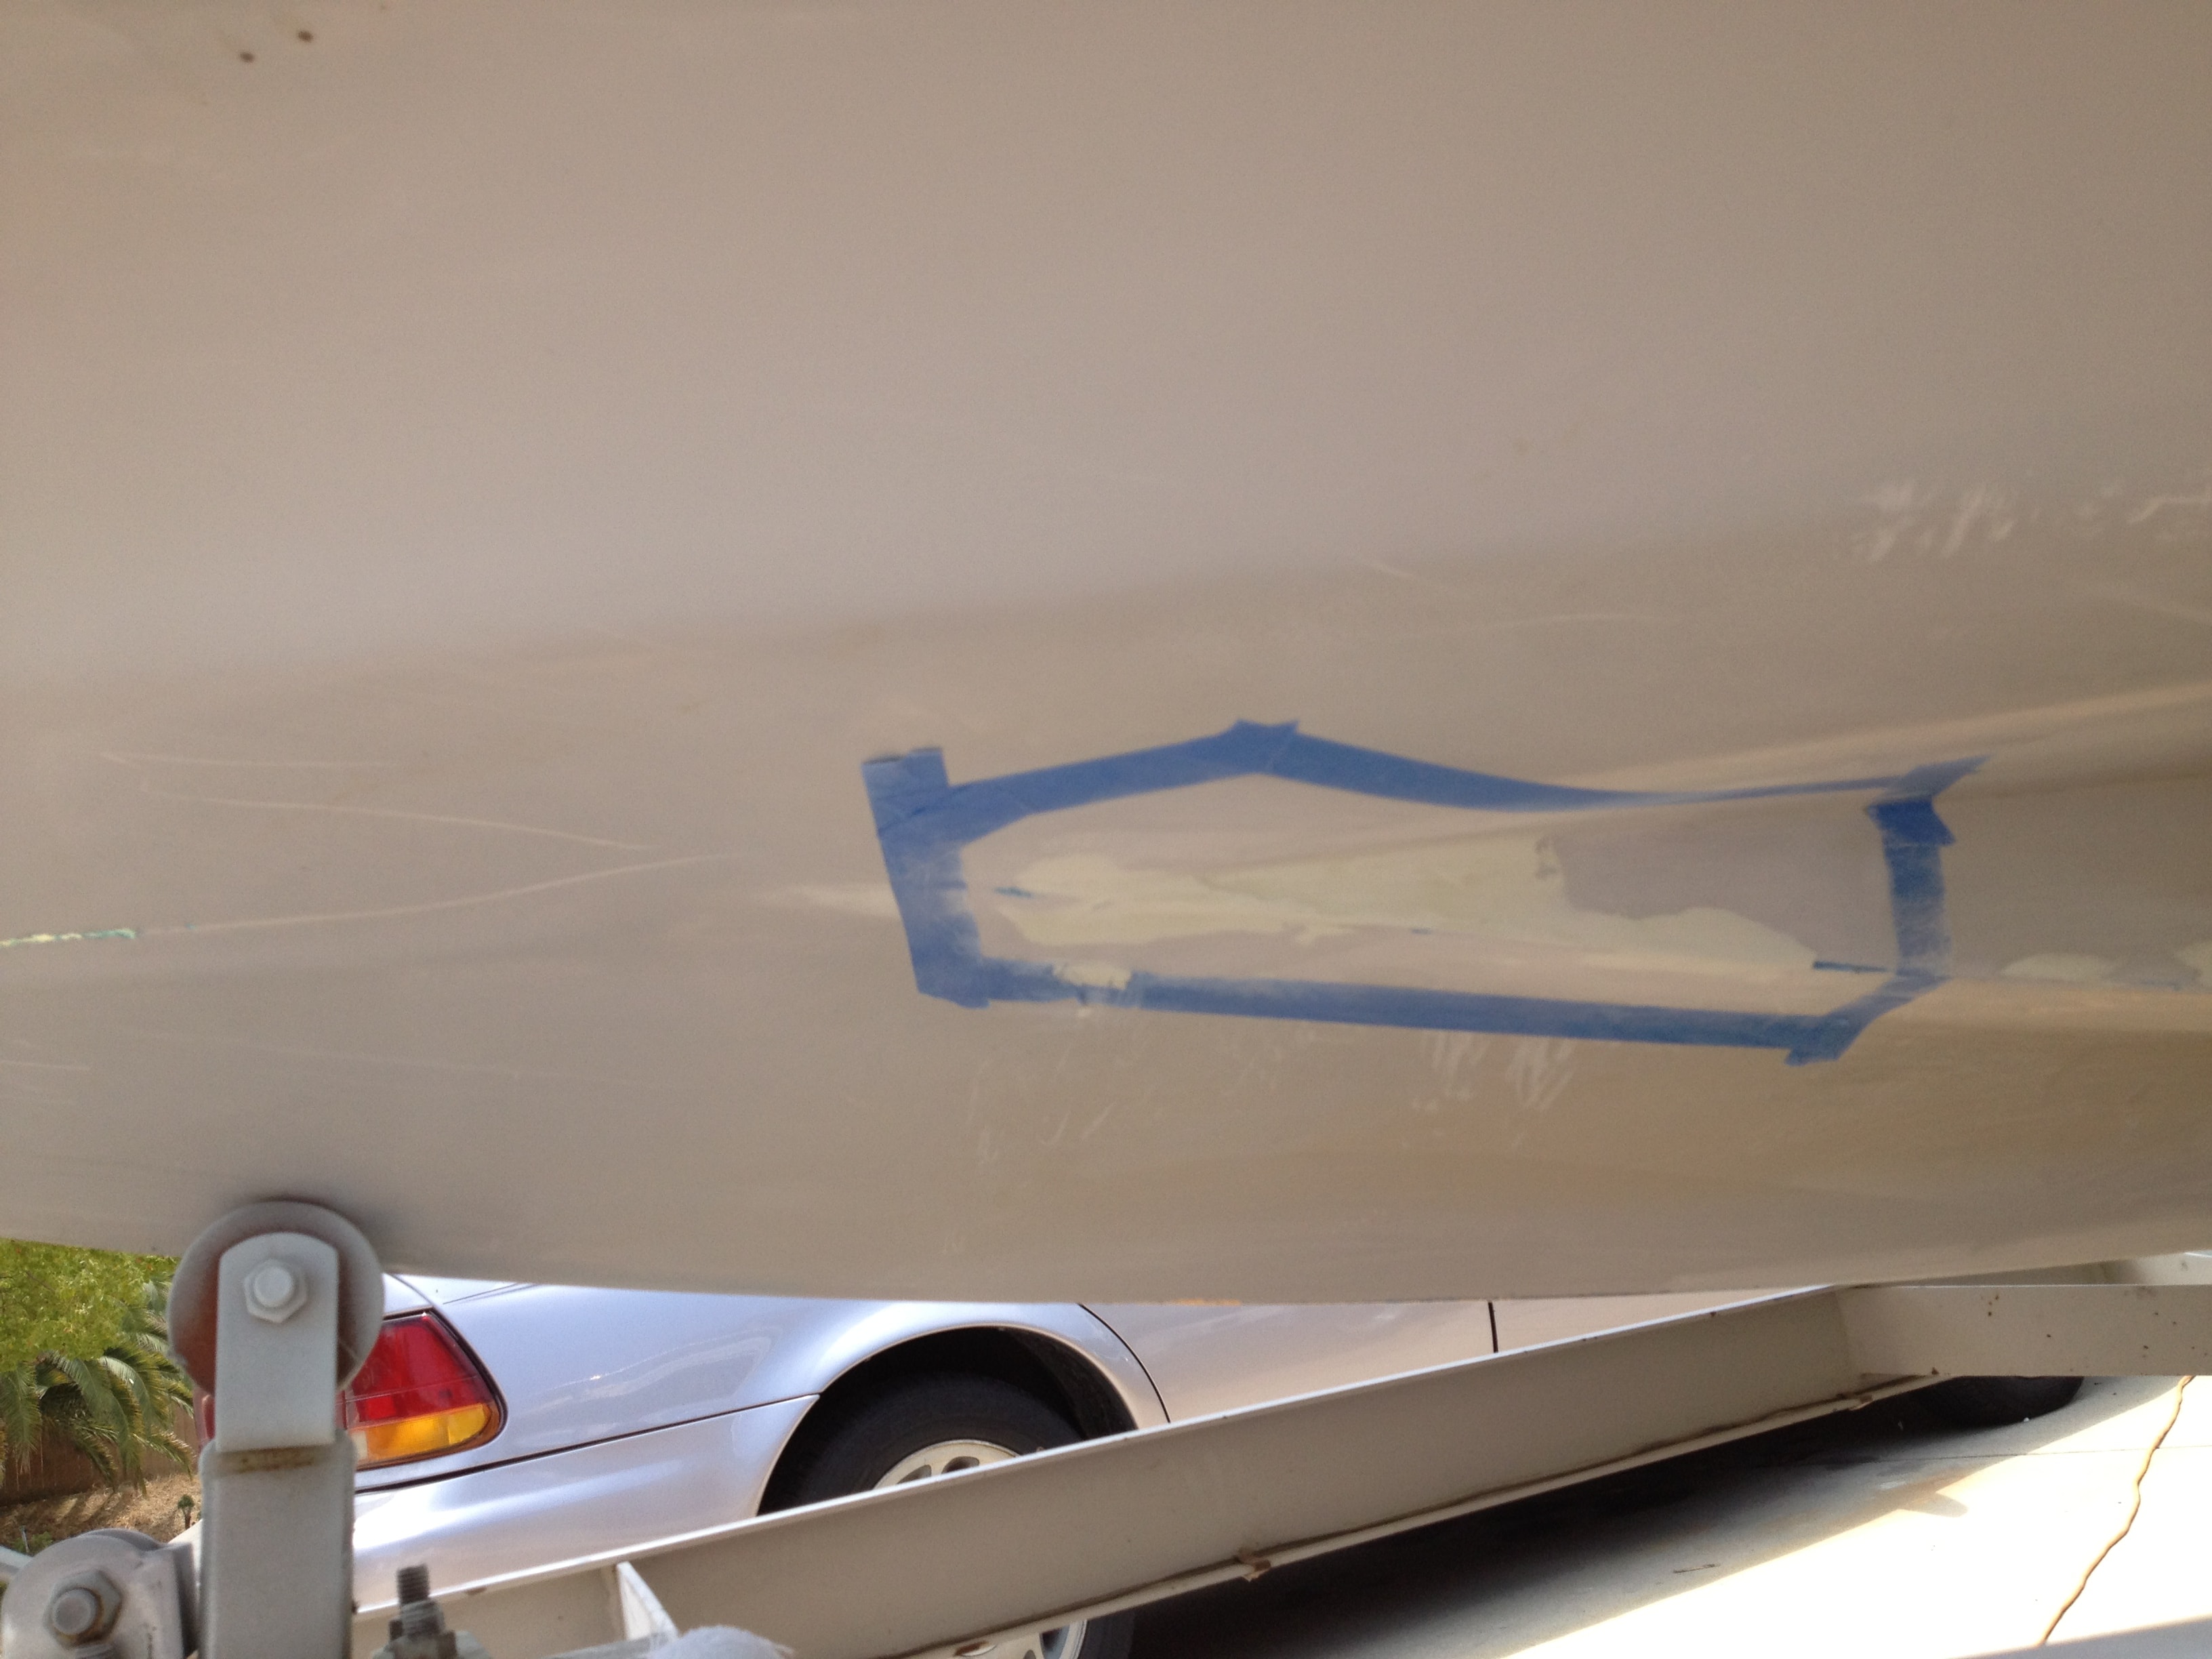
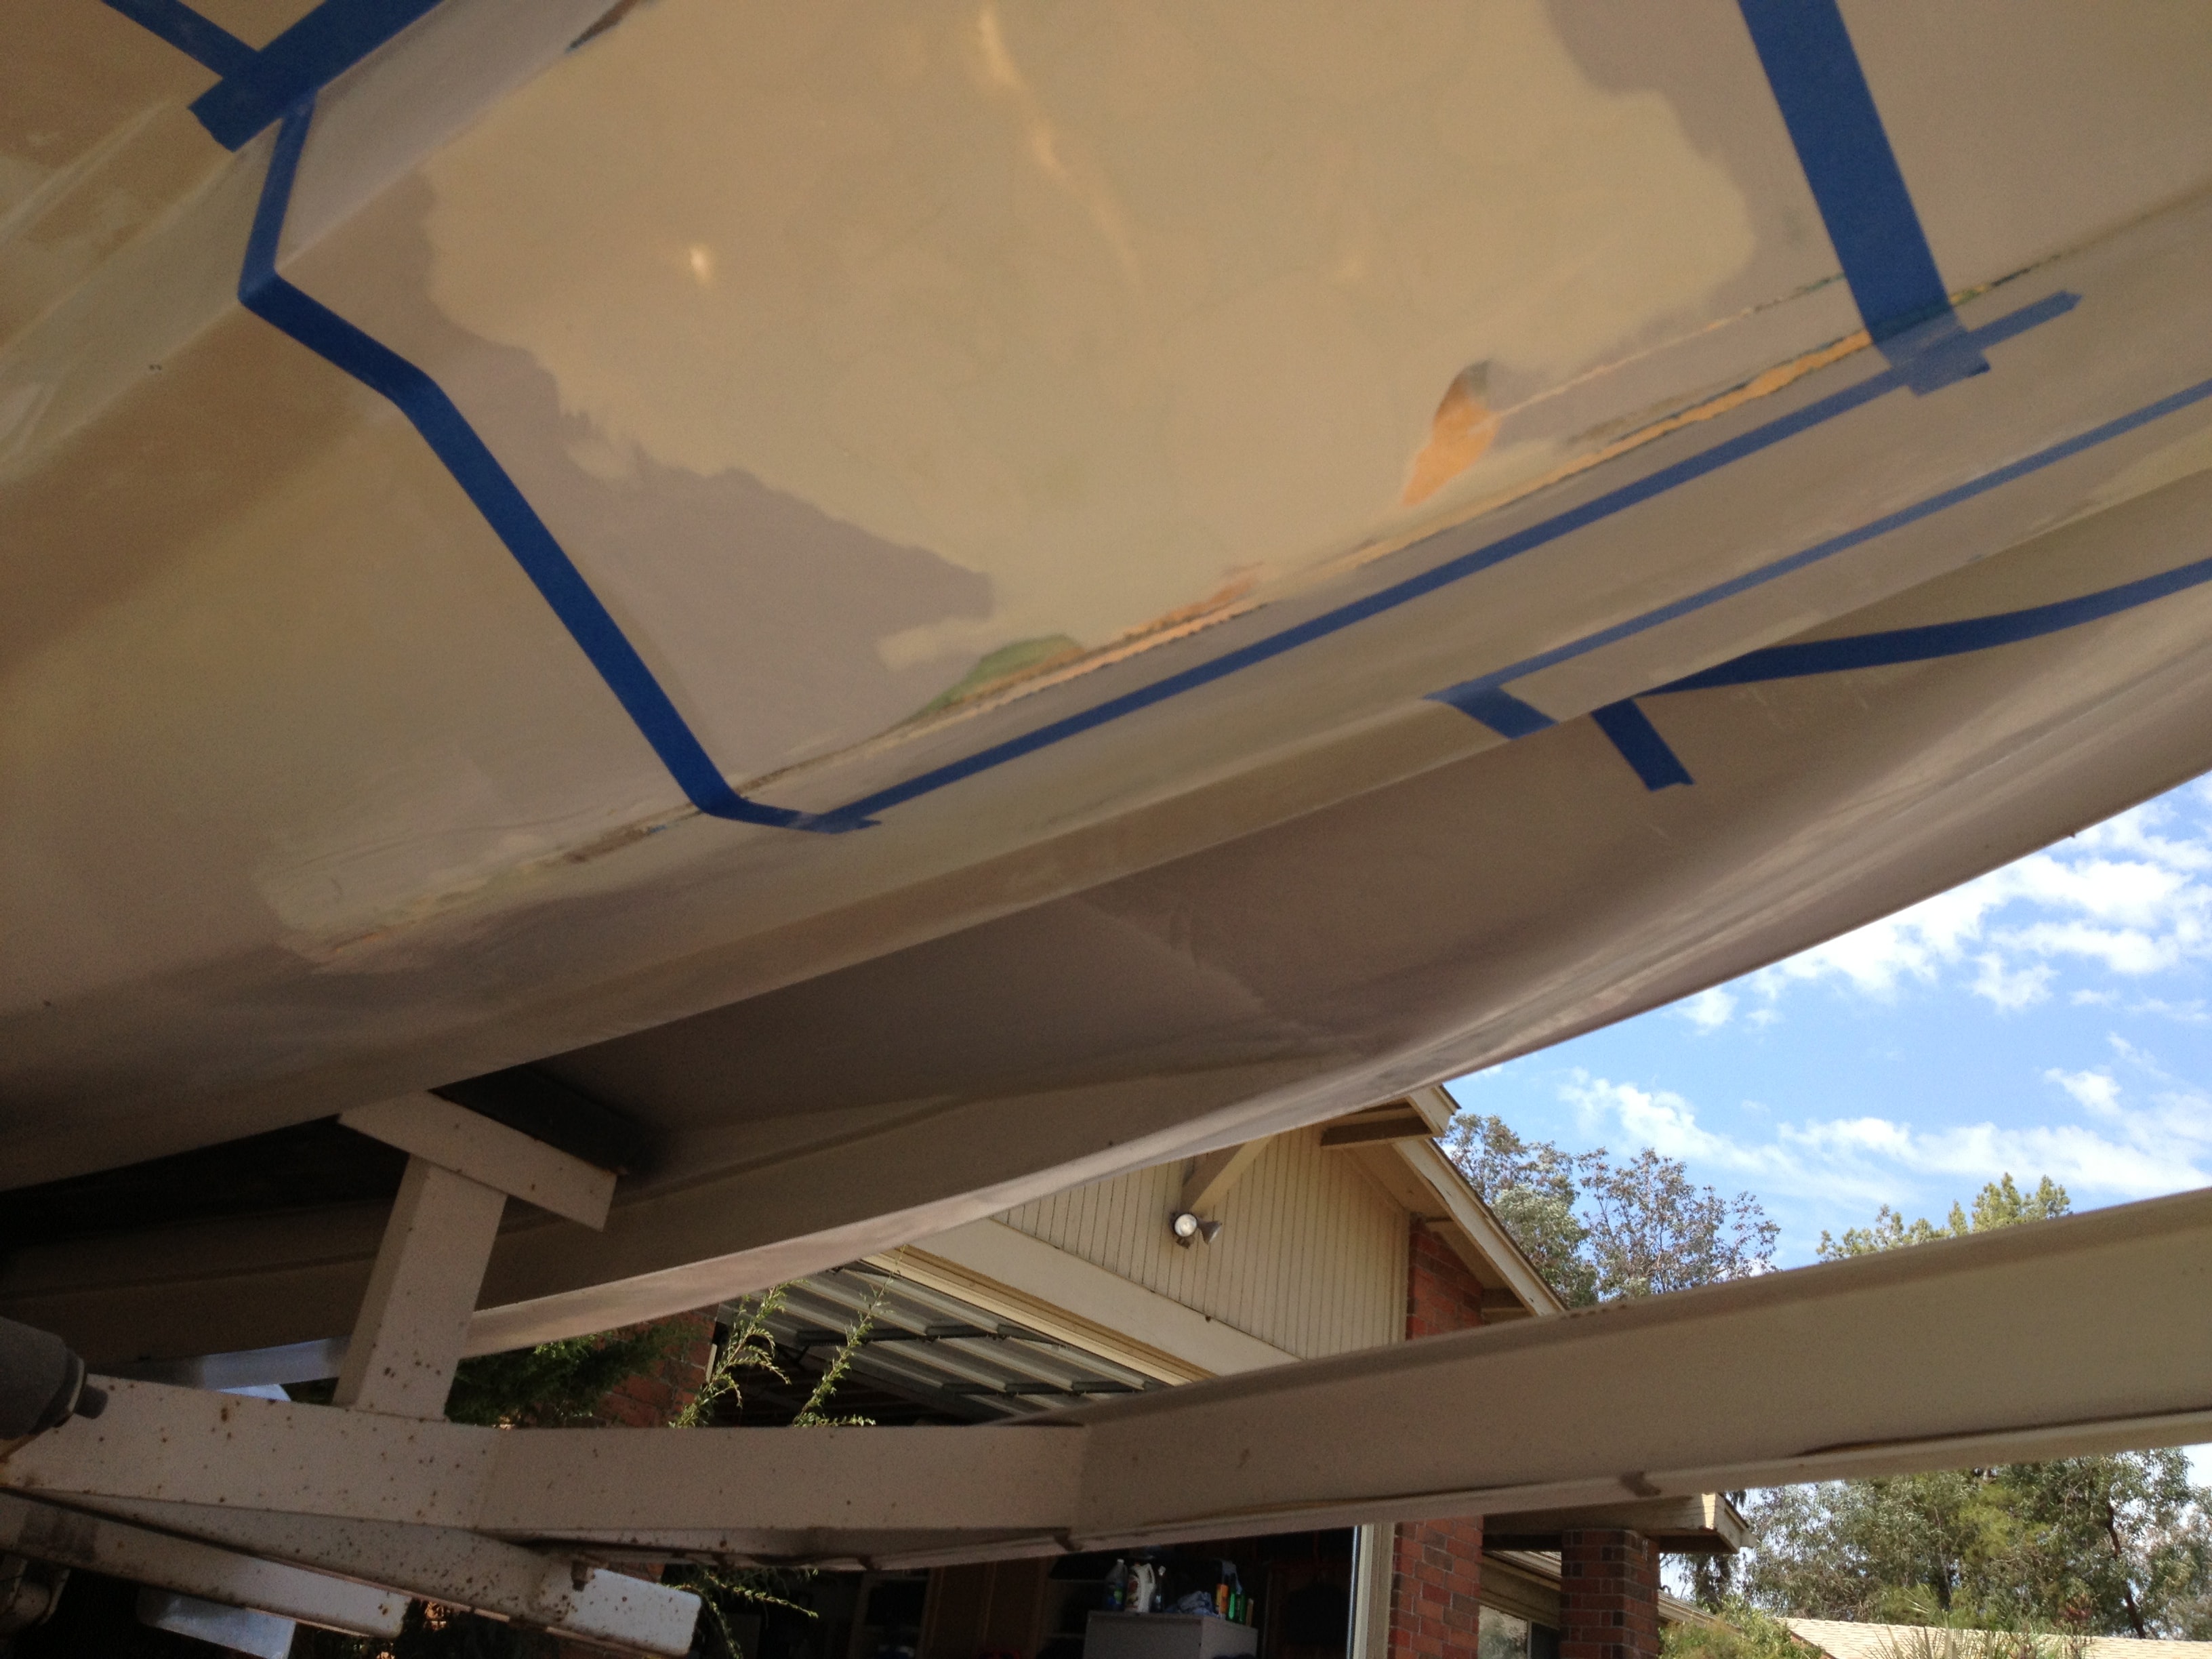
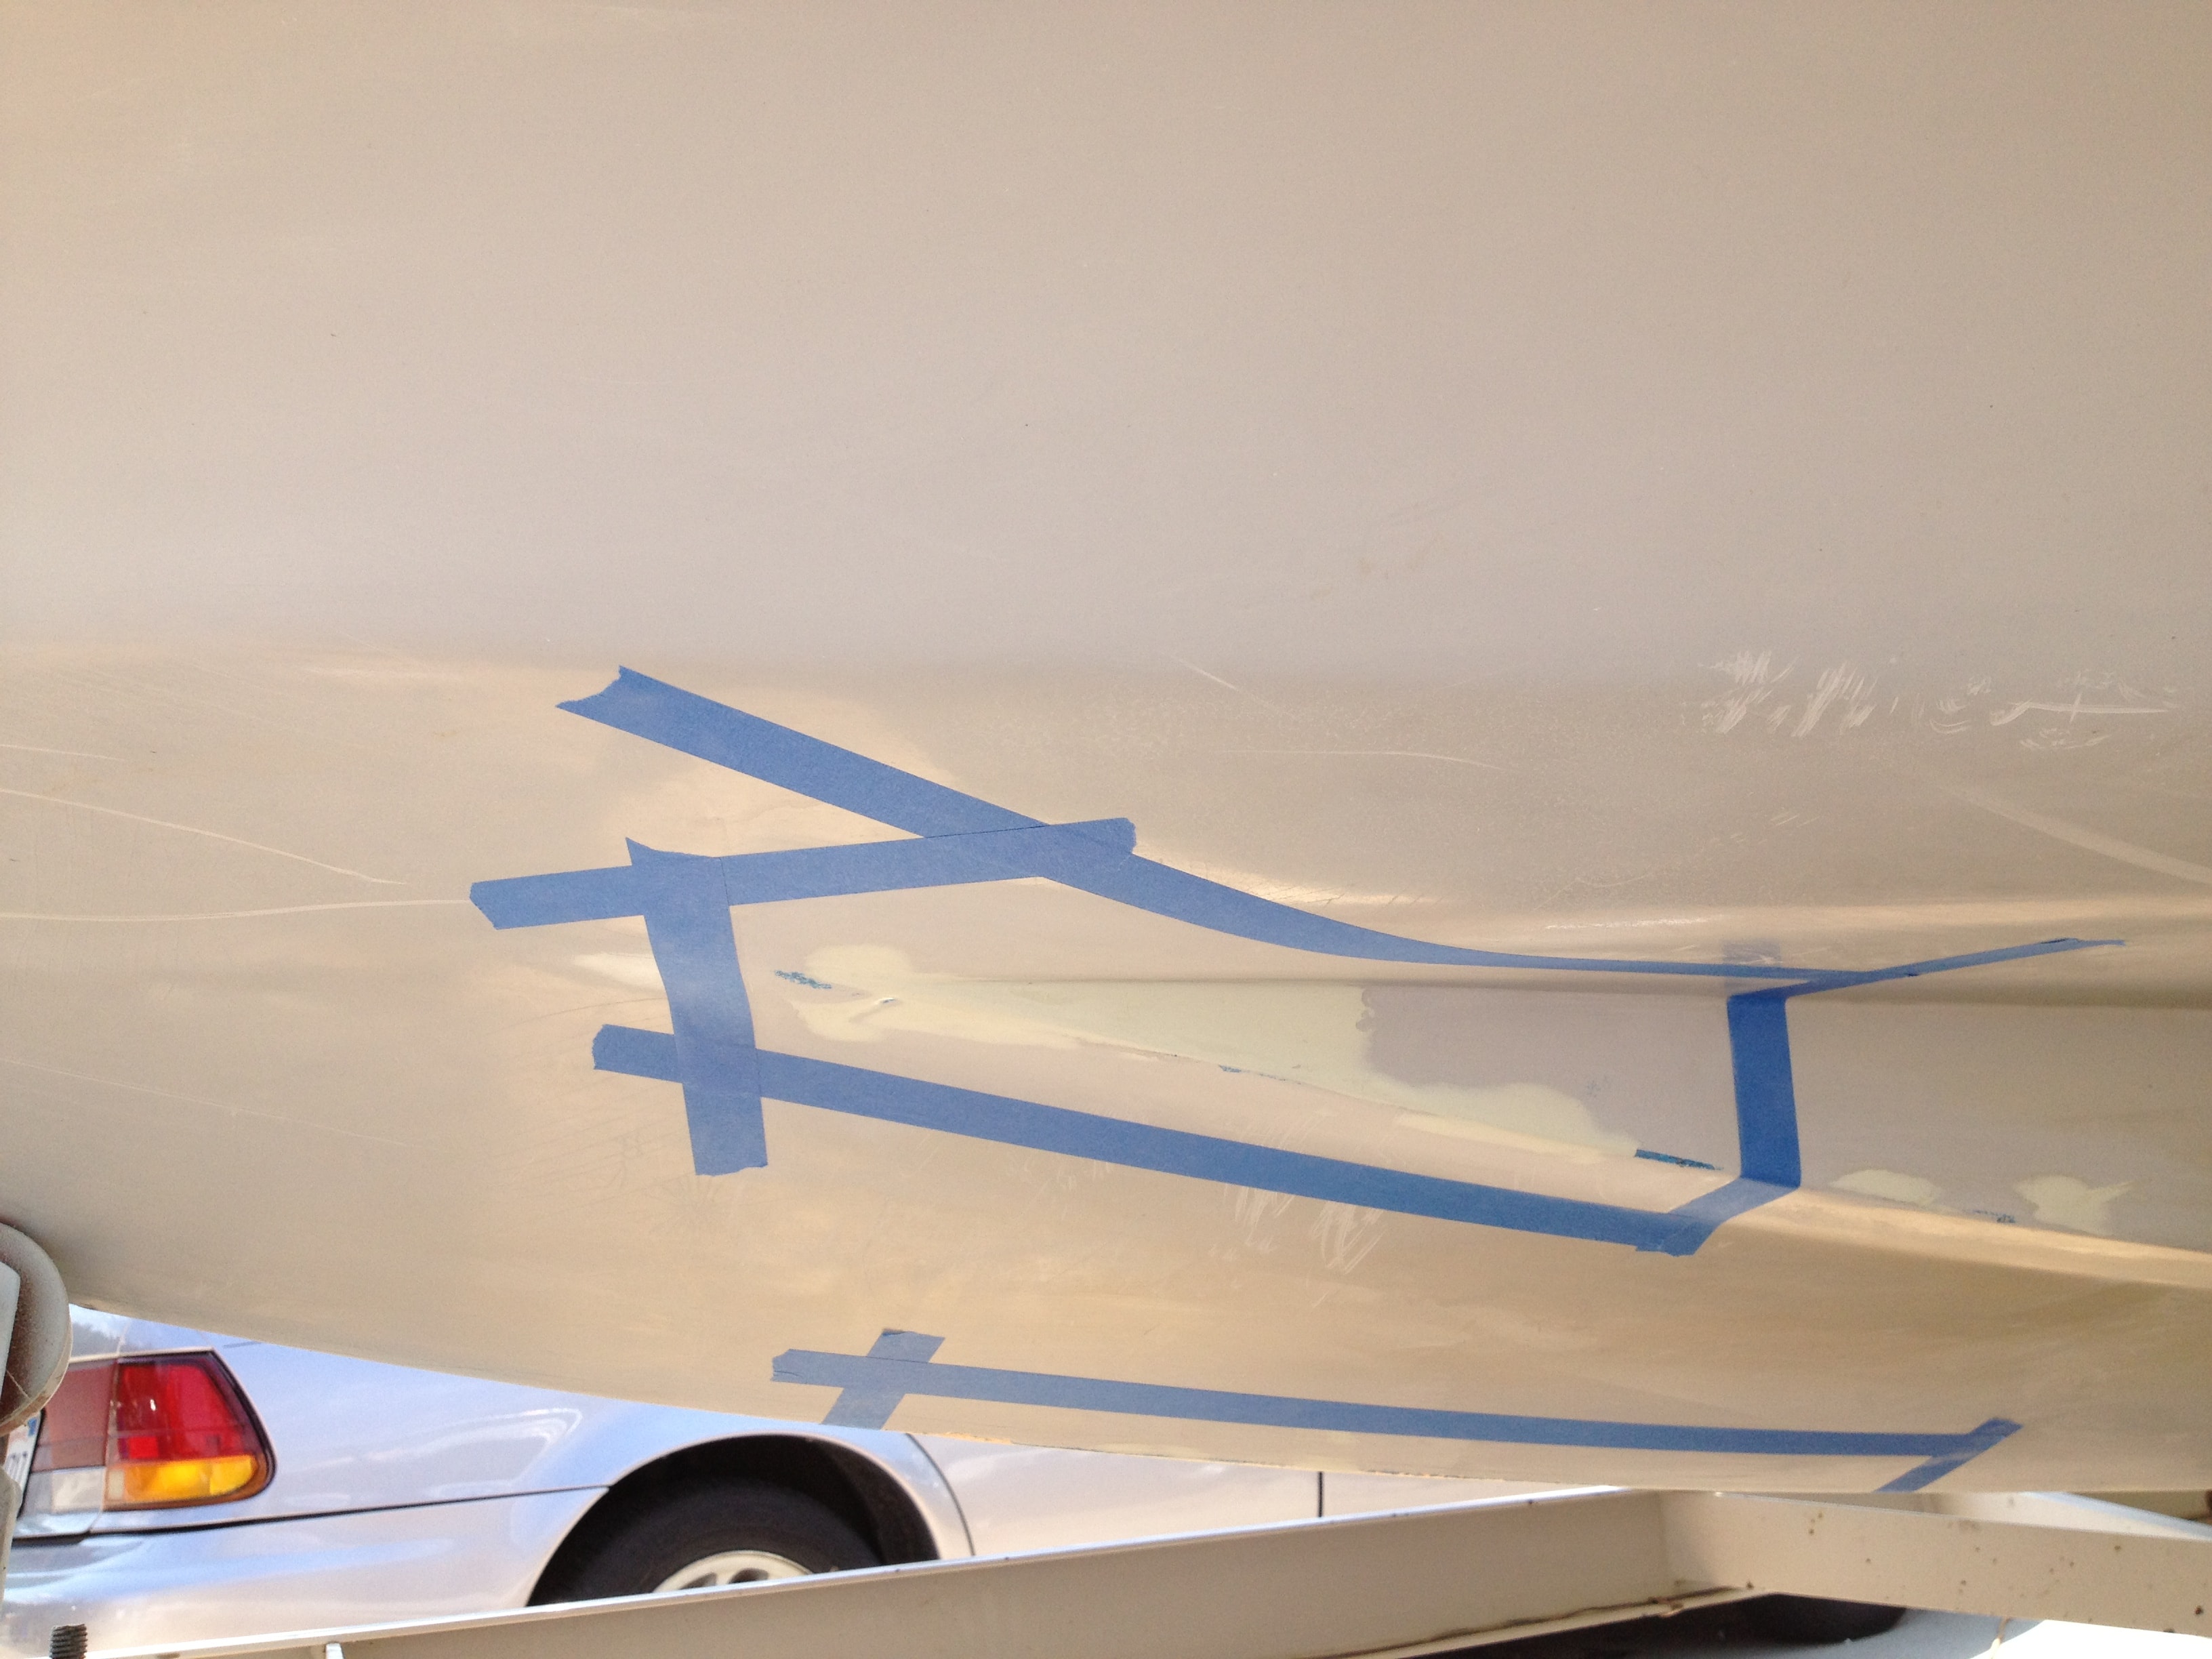
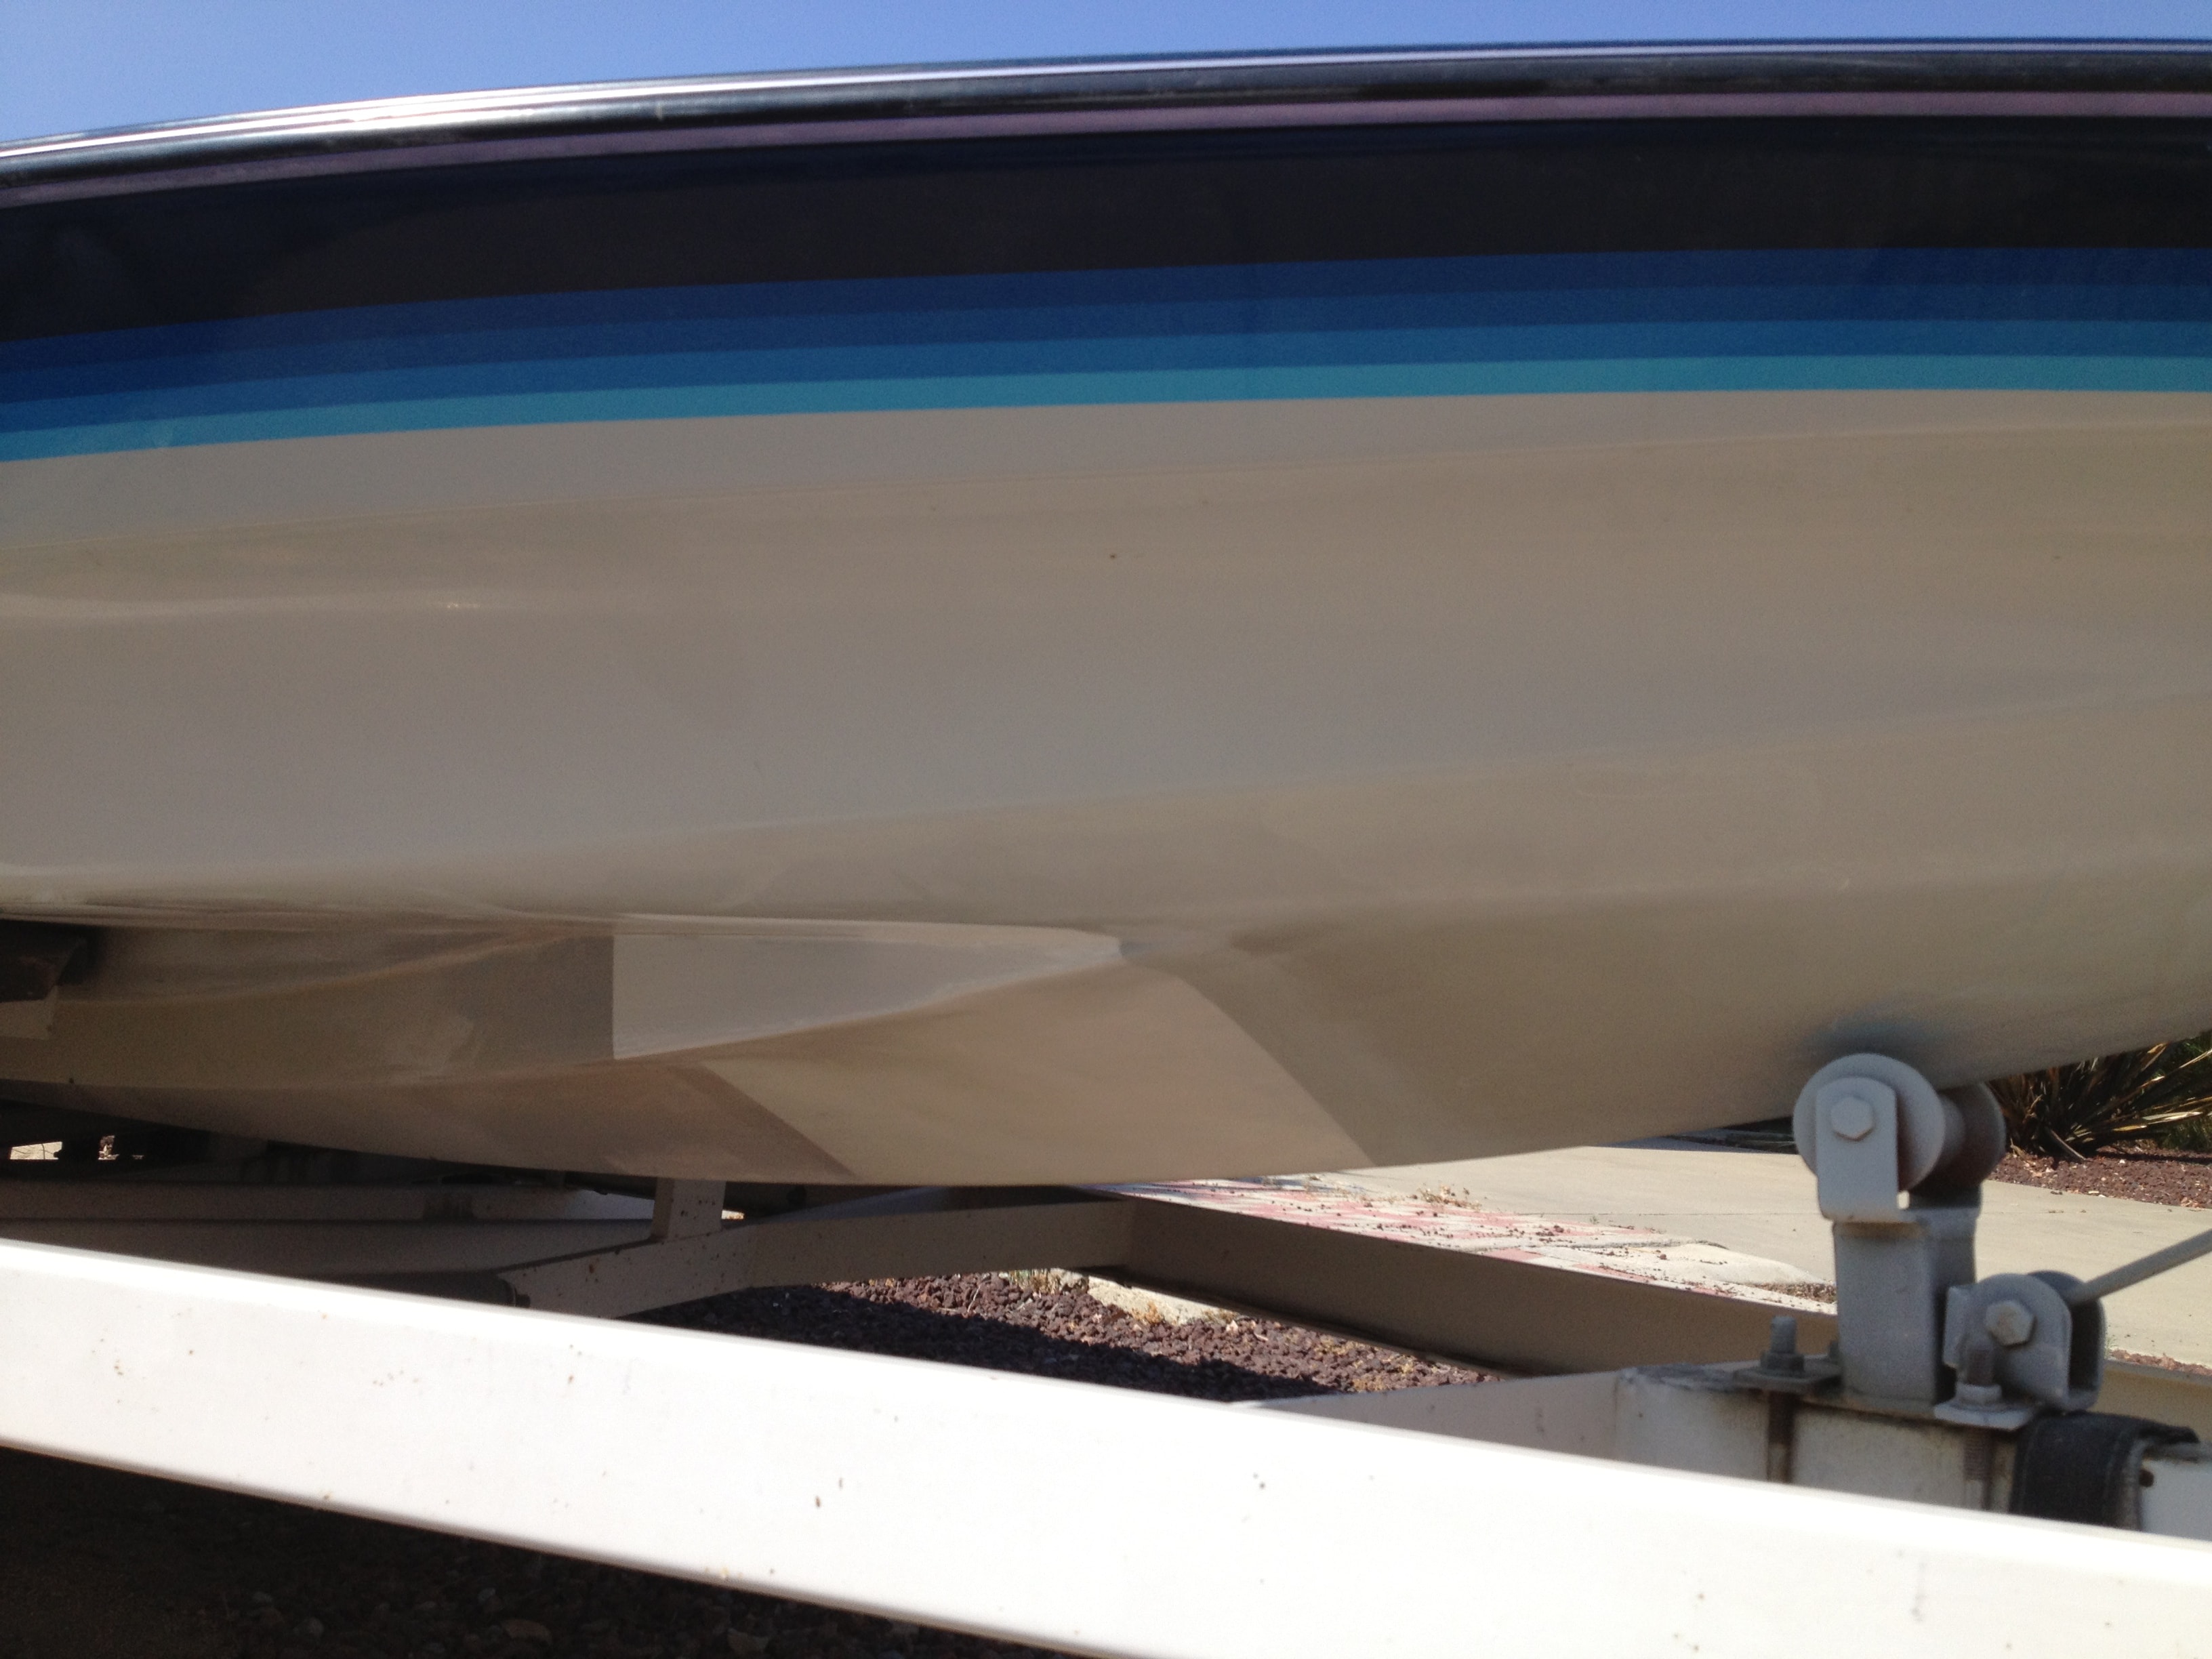
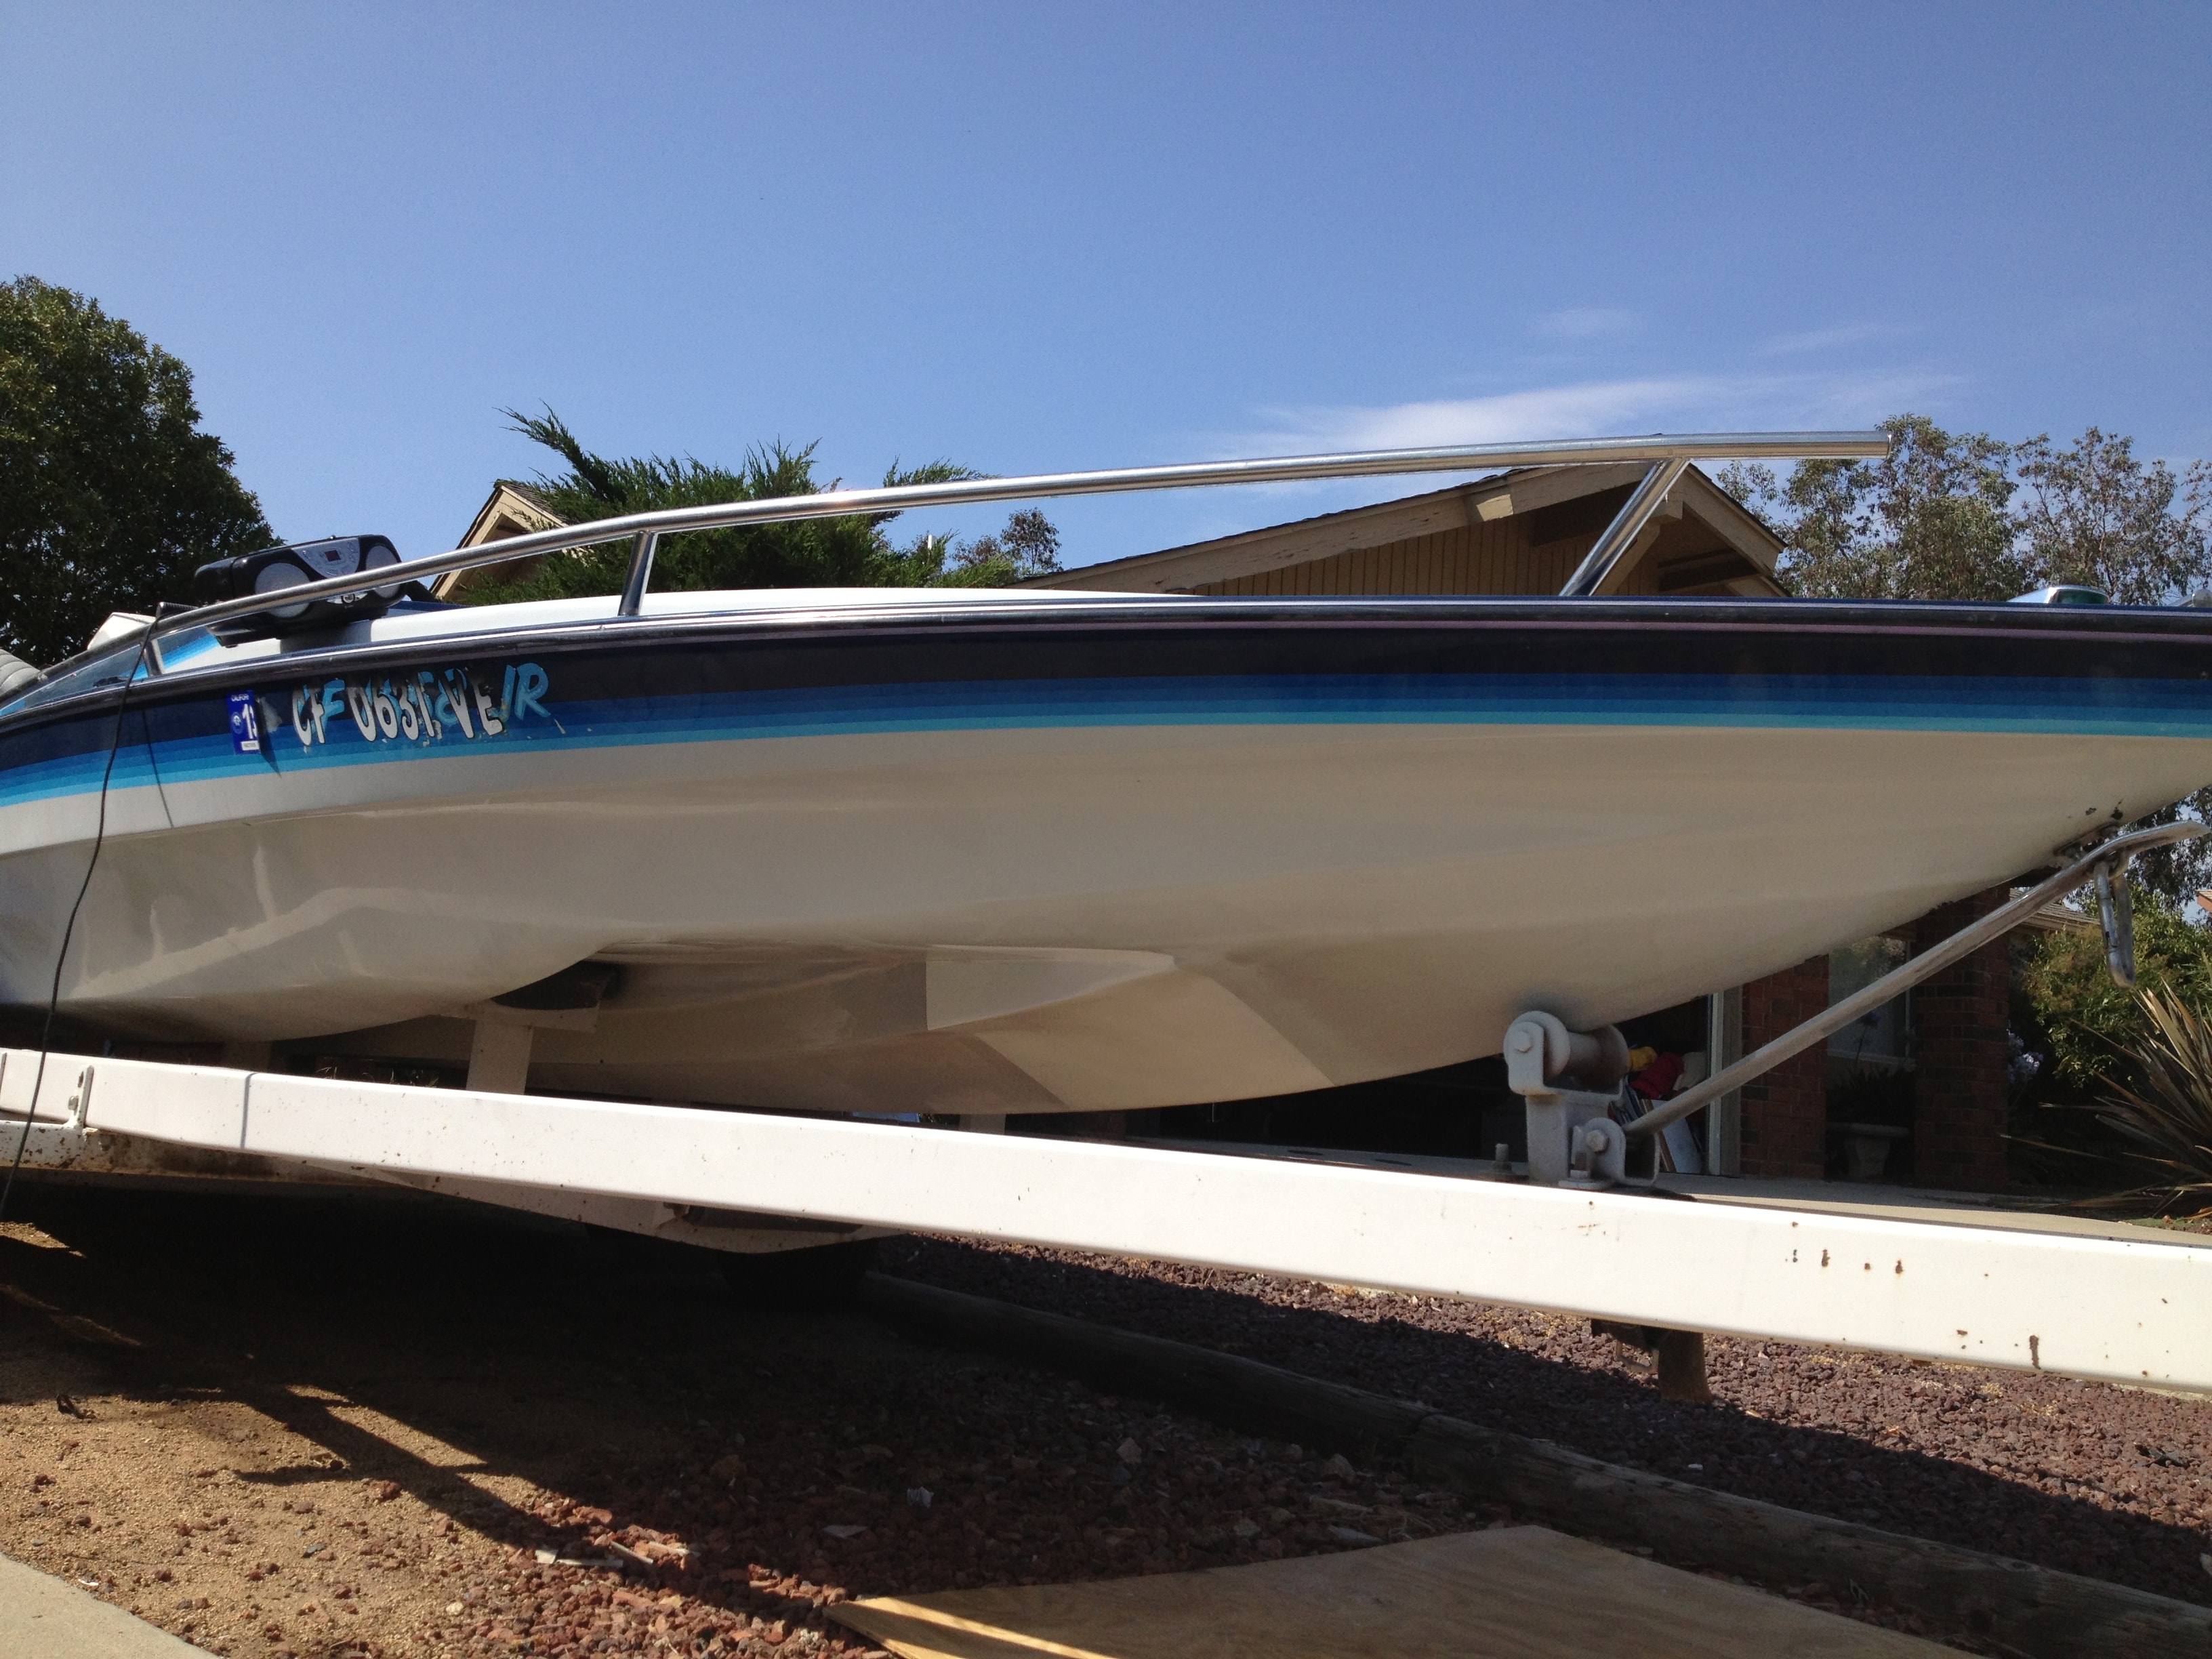
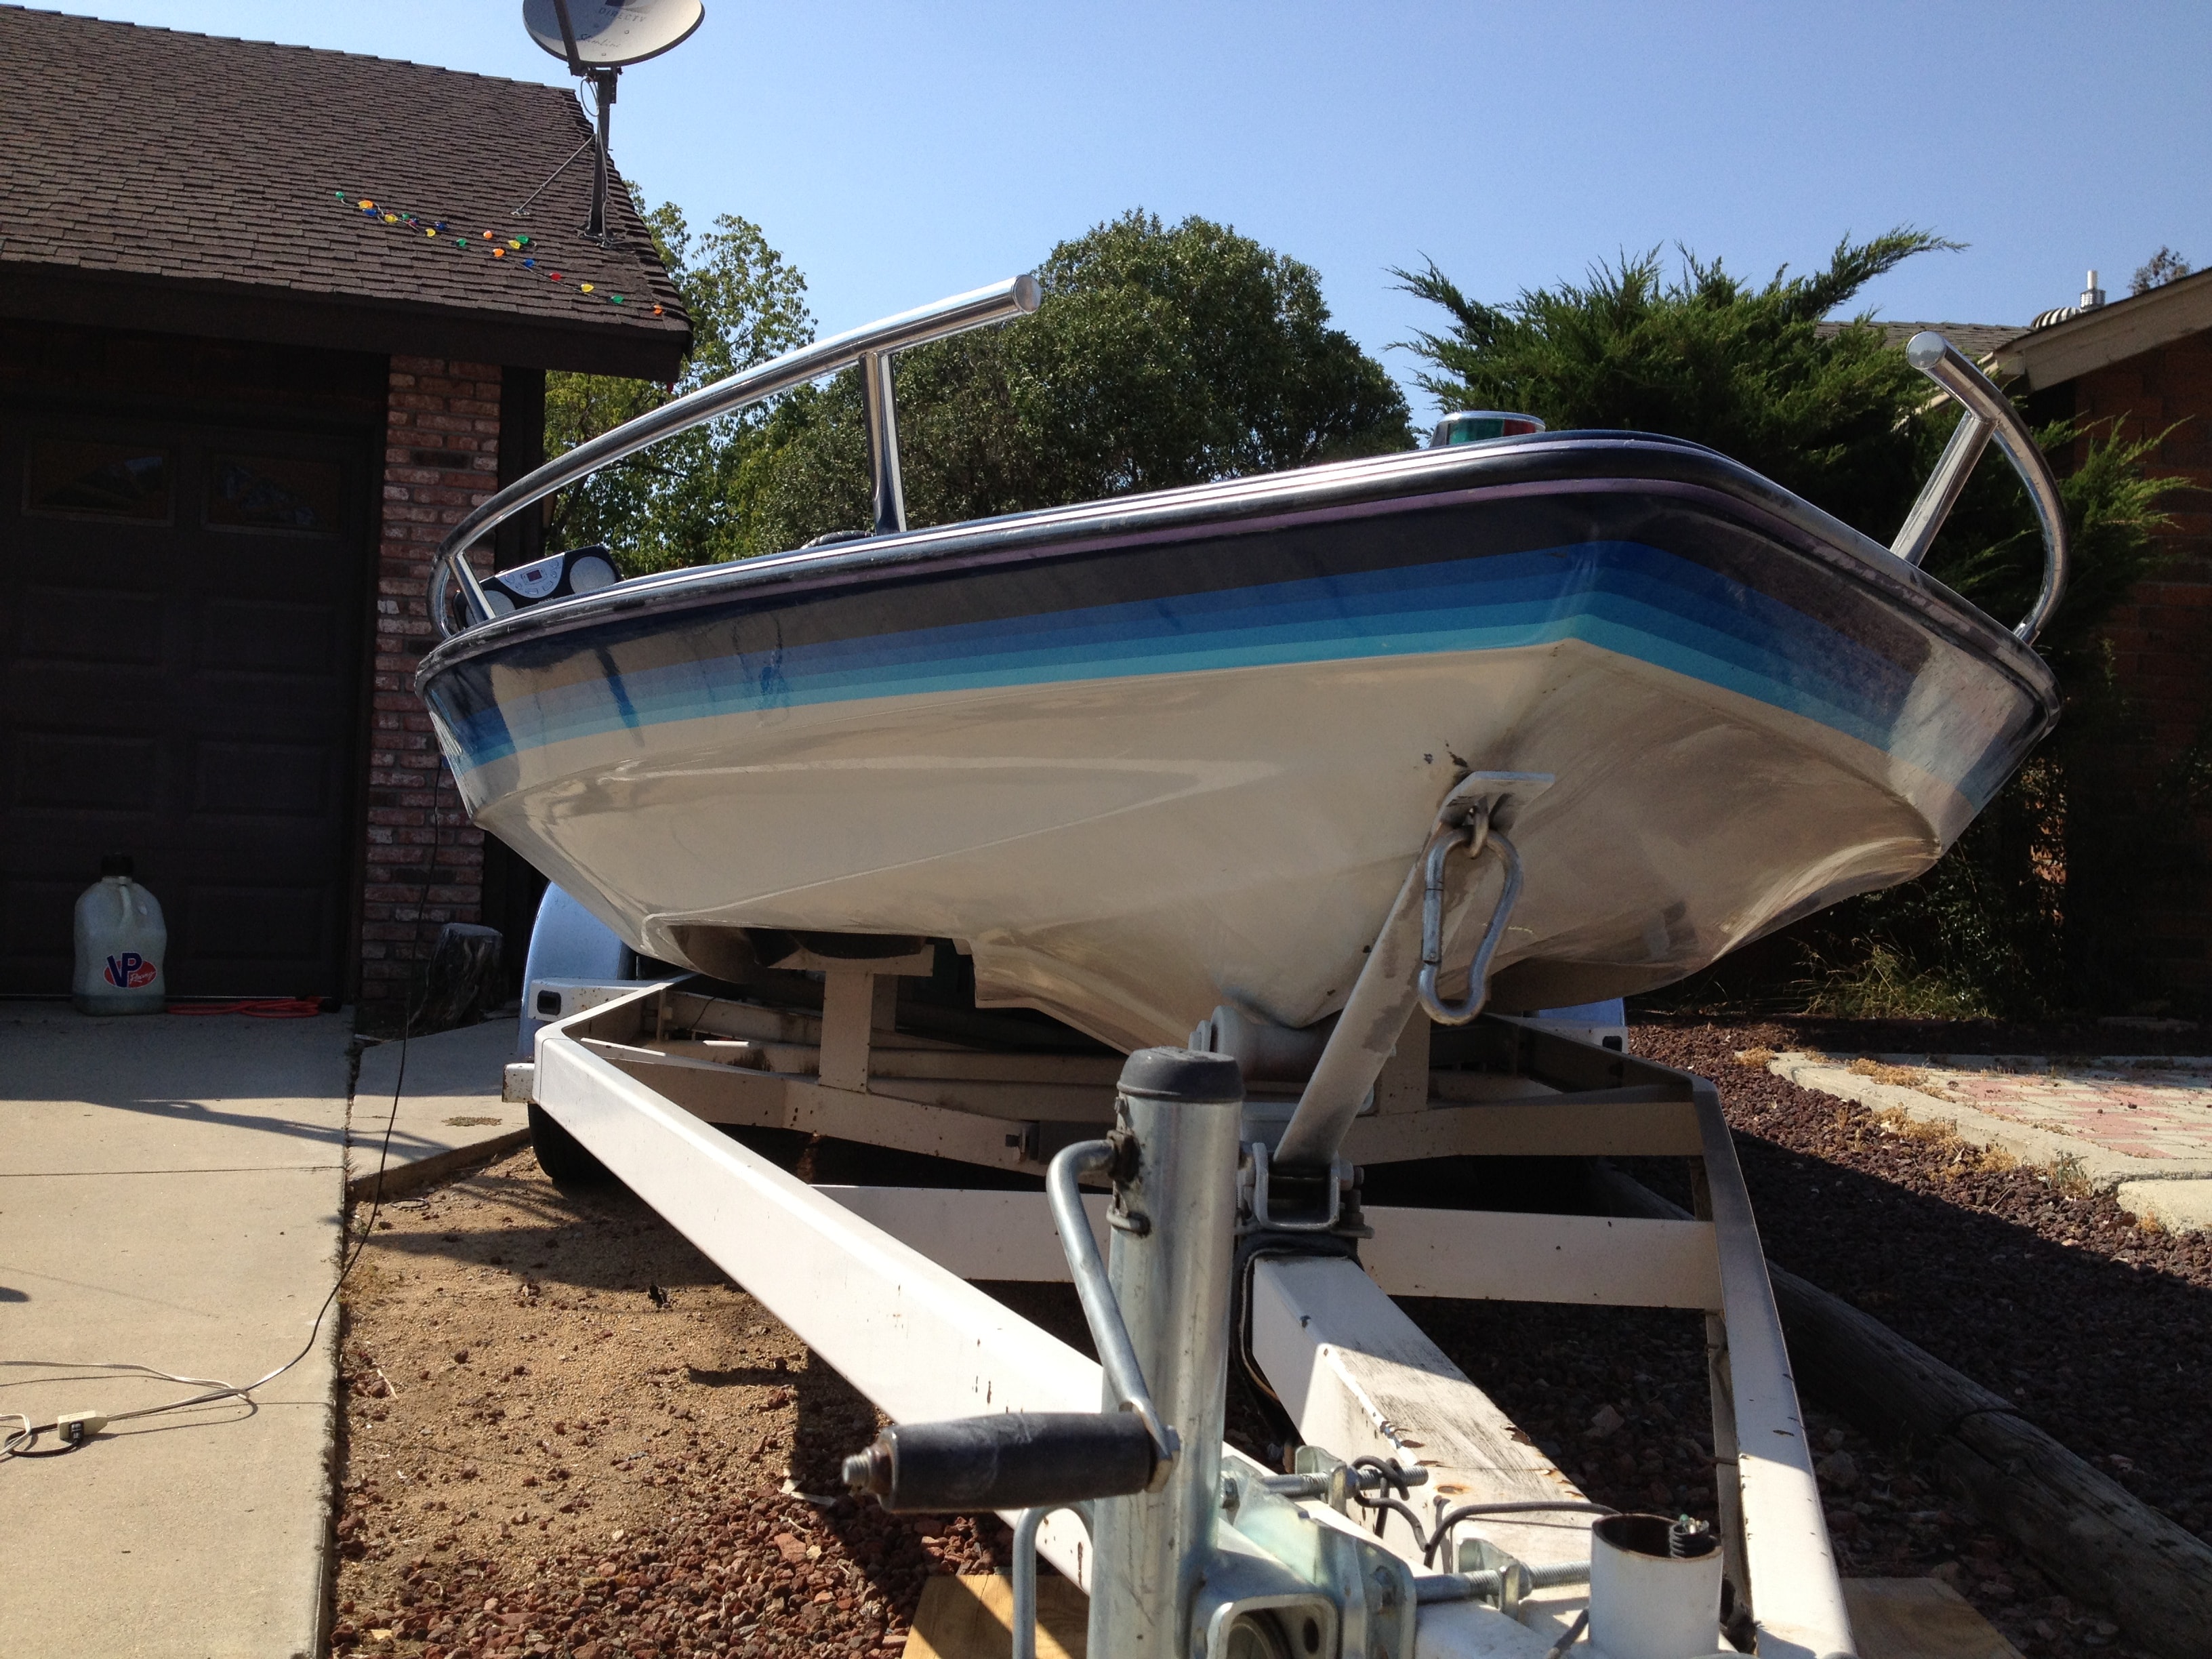
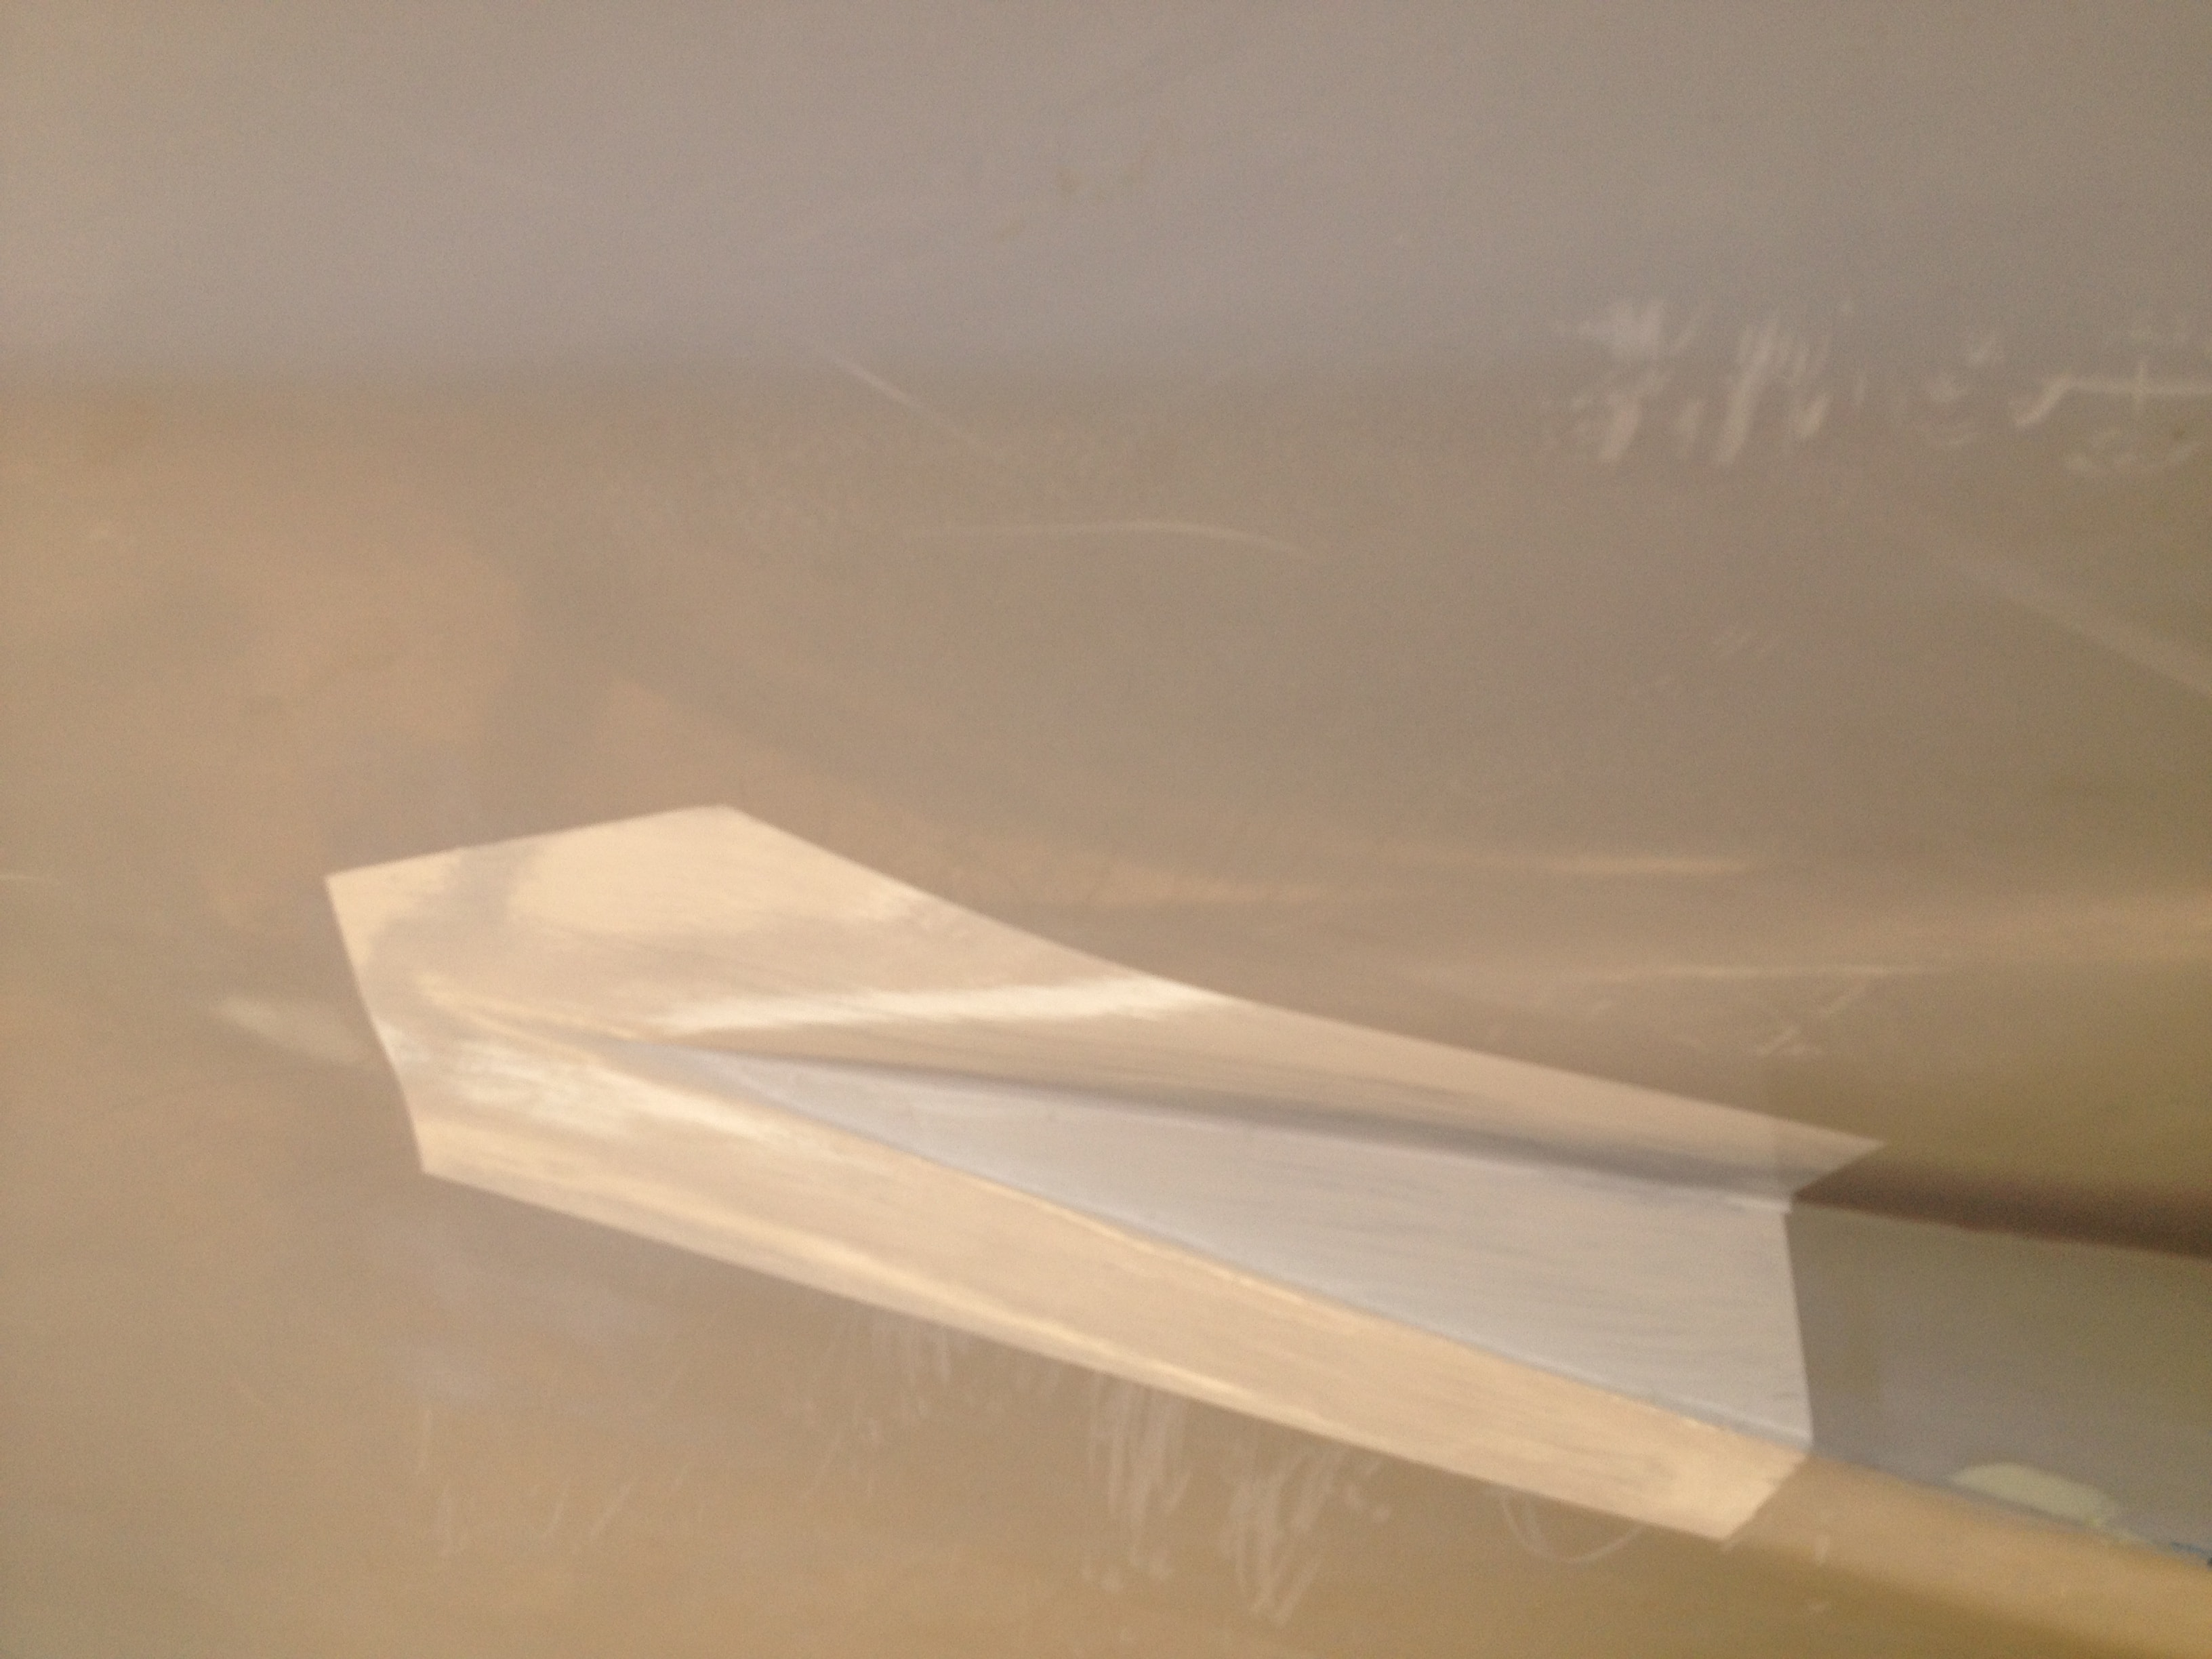
Fiberglass + Gelcoat Hull repair
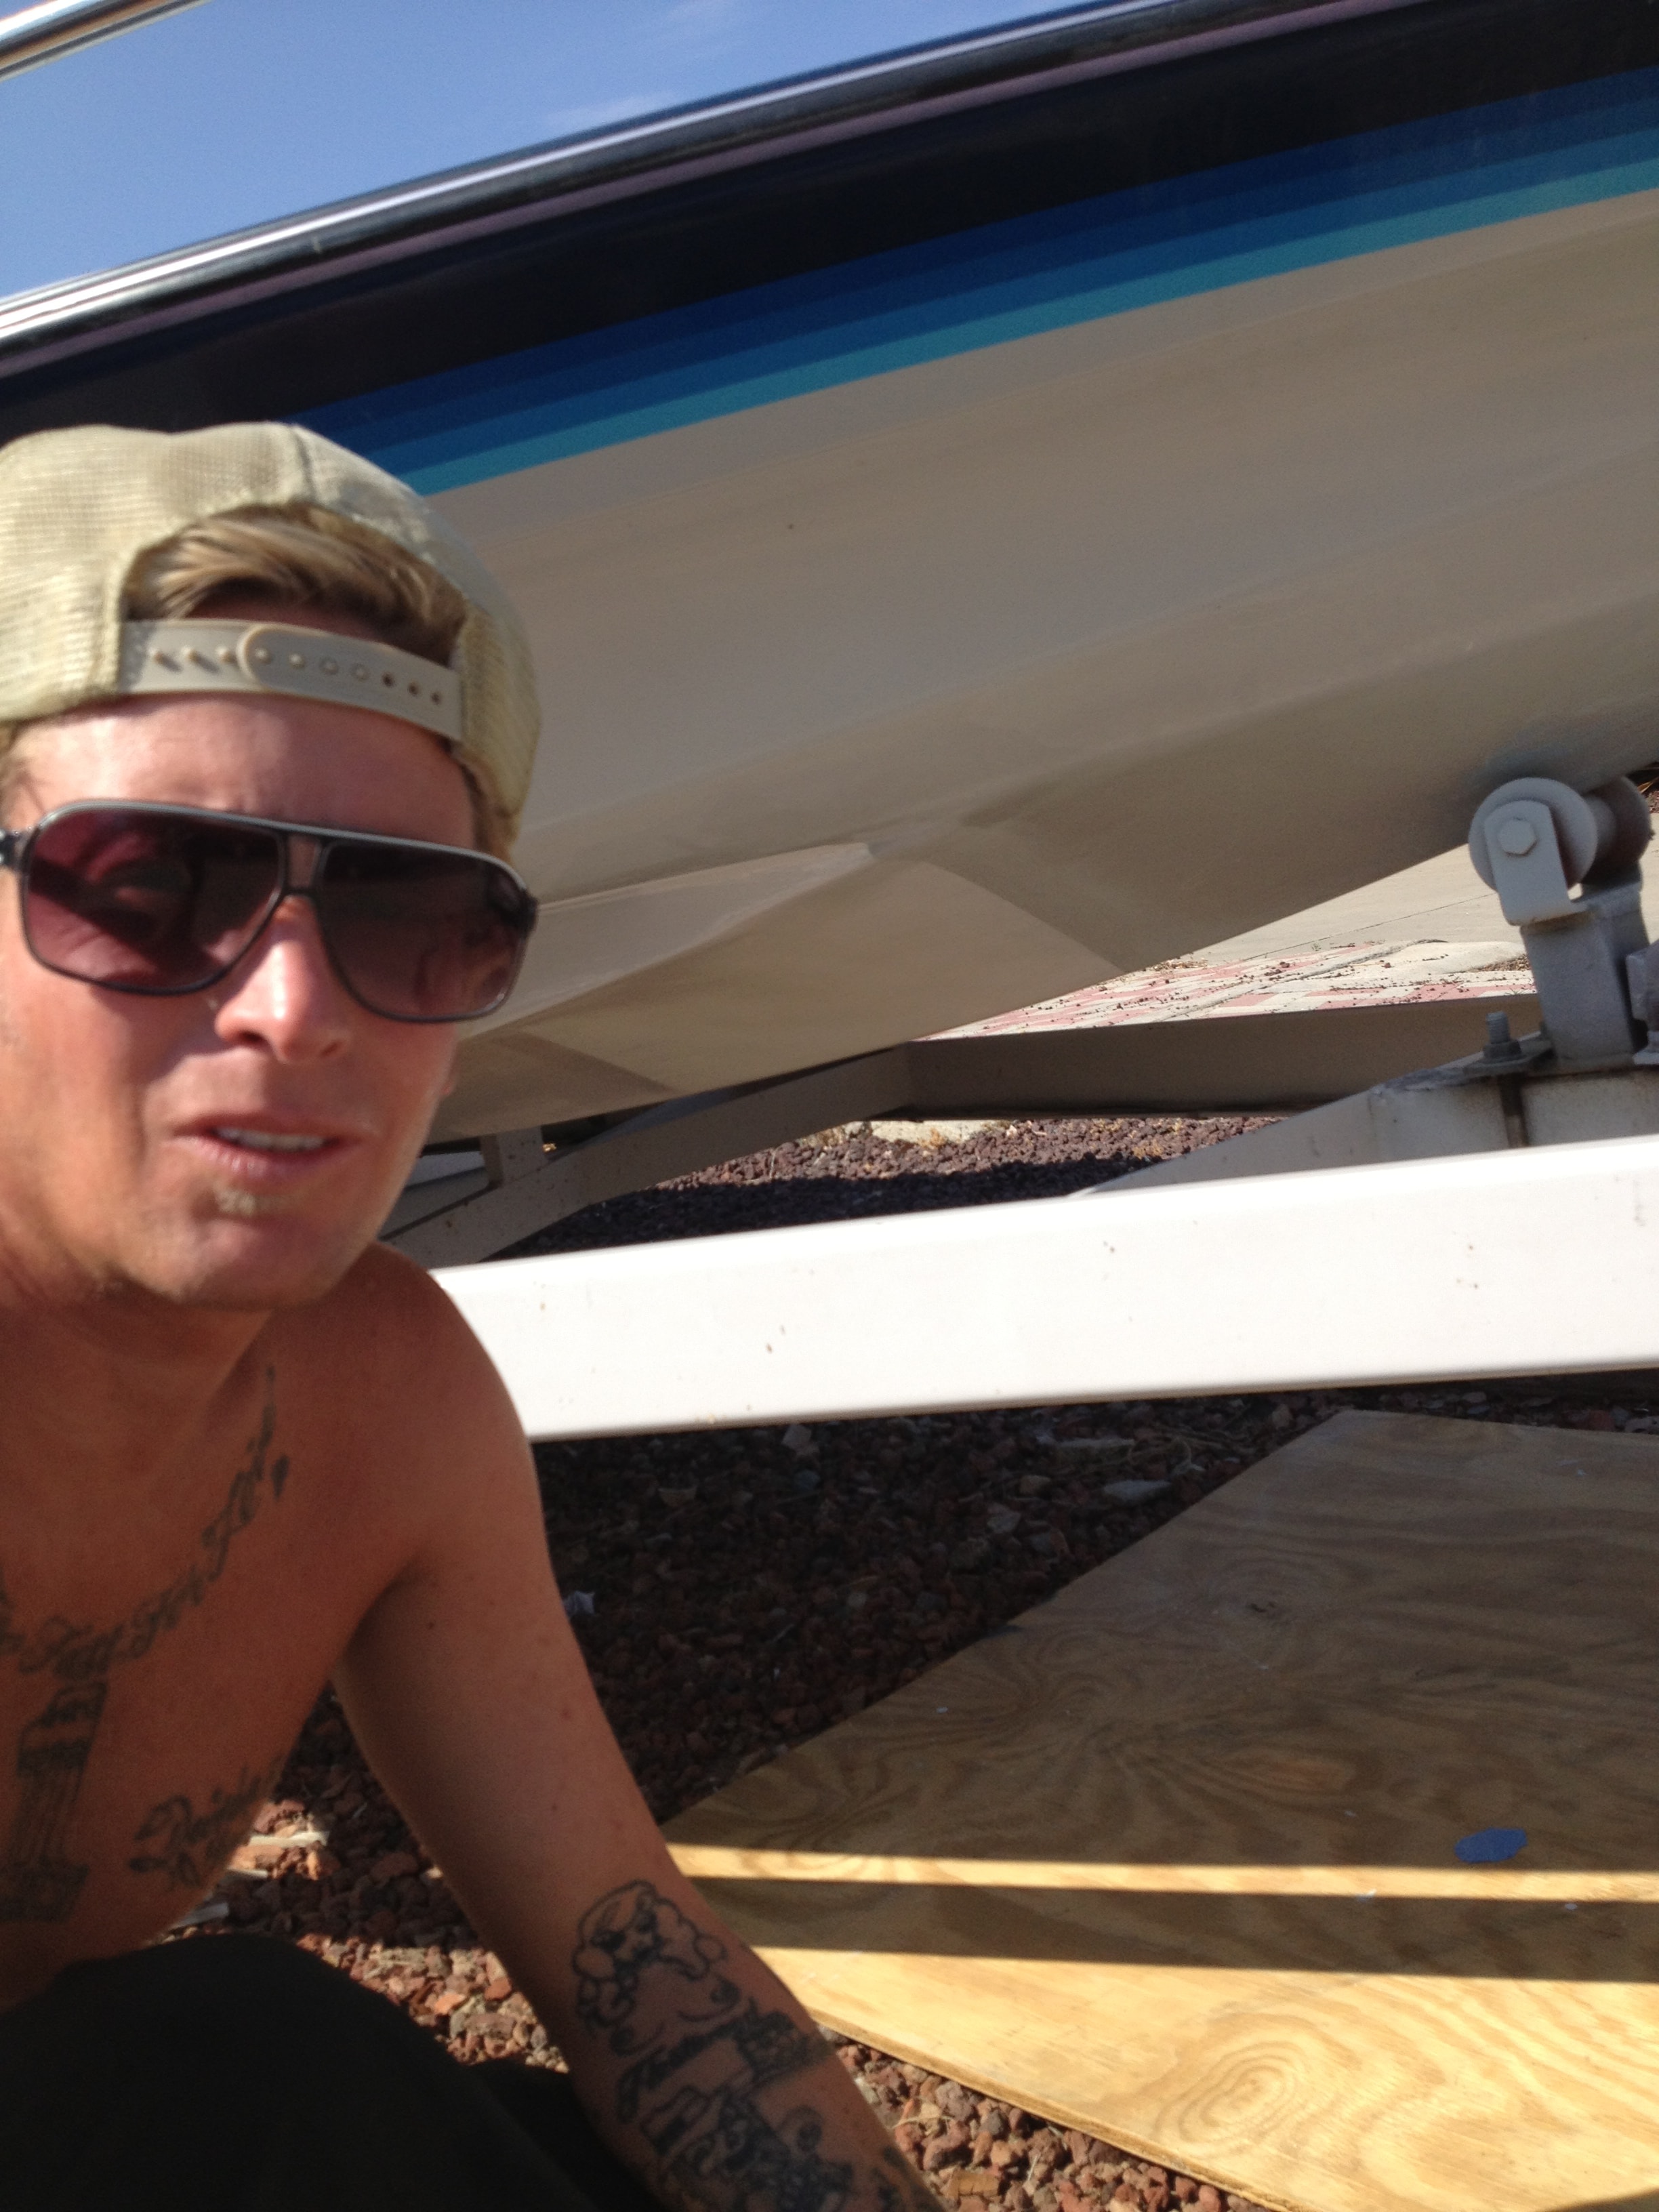
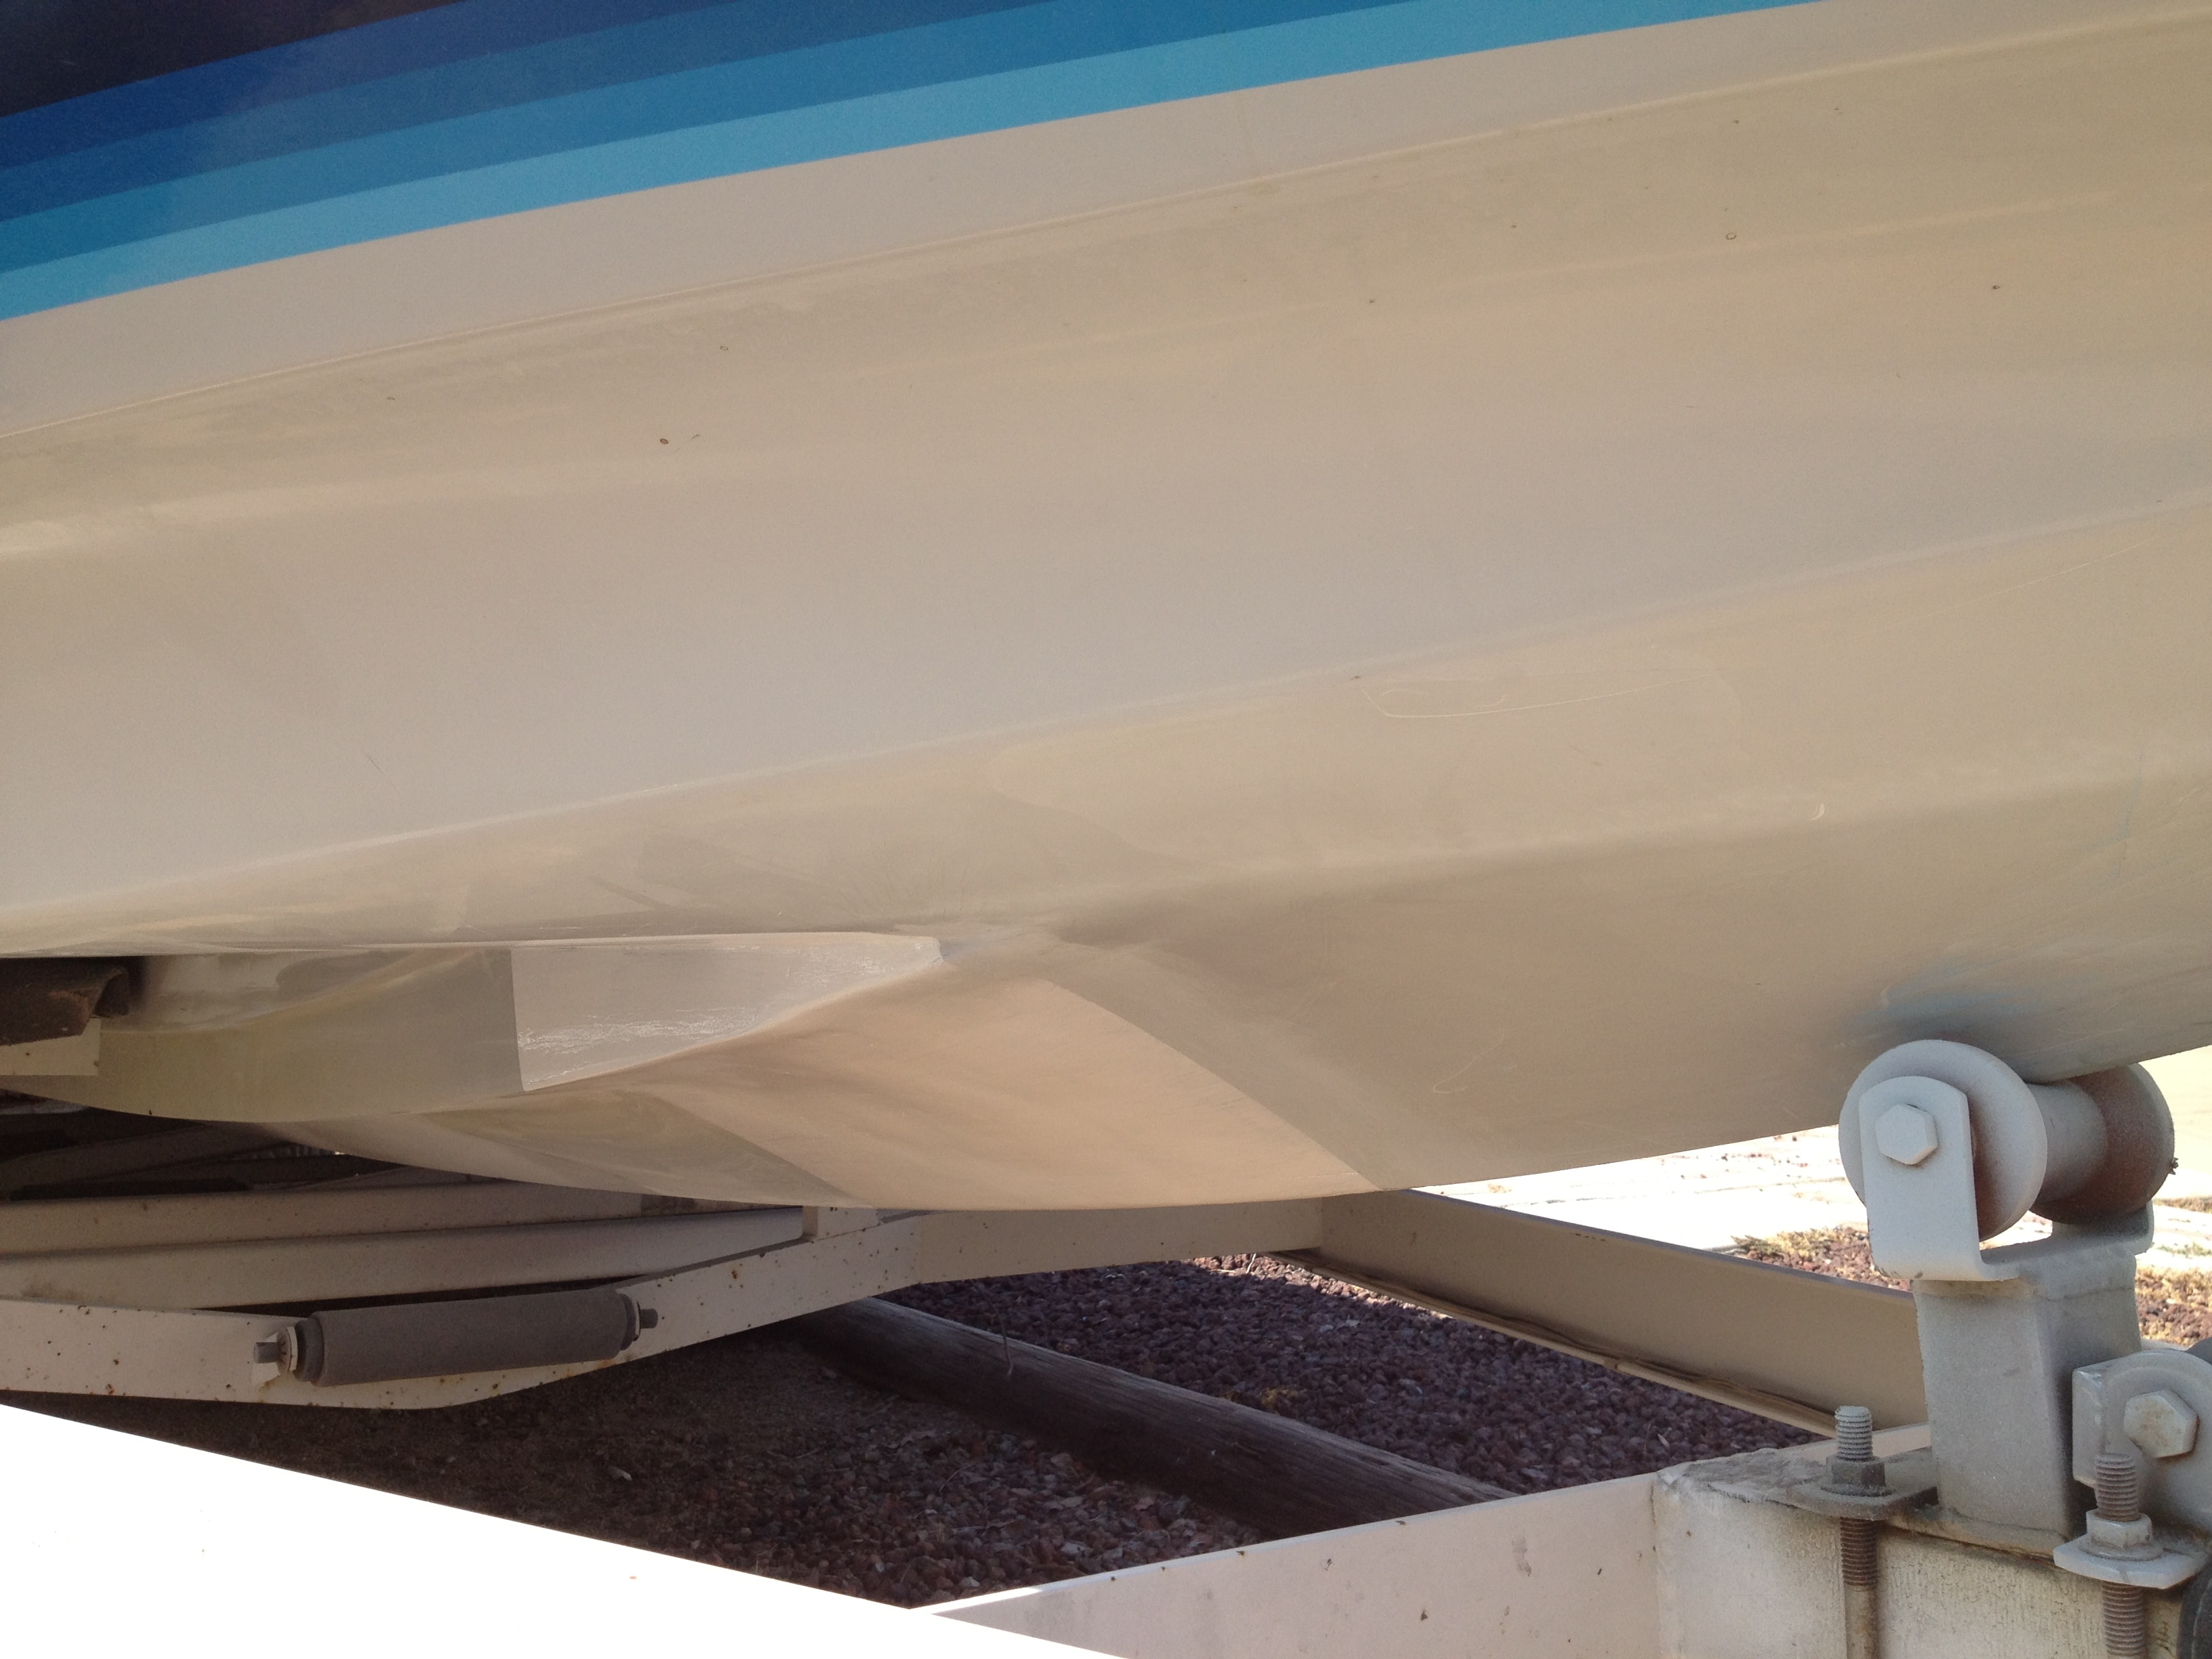
Customer ran aground and put watermelon size hole in hull- repair sequence
Wood Restoration, Varnish & Cetol
Teak and brightwork brought back to life — stripped, sanded, and finished with varnish or Cetol for lasting UV protection and a rich, warm tone.
Teak and brightwork restoration.

Teak and brightwork restoration.

Teak and brightwork restoration.

Teak and brightwork restoration.
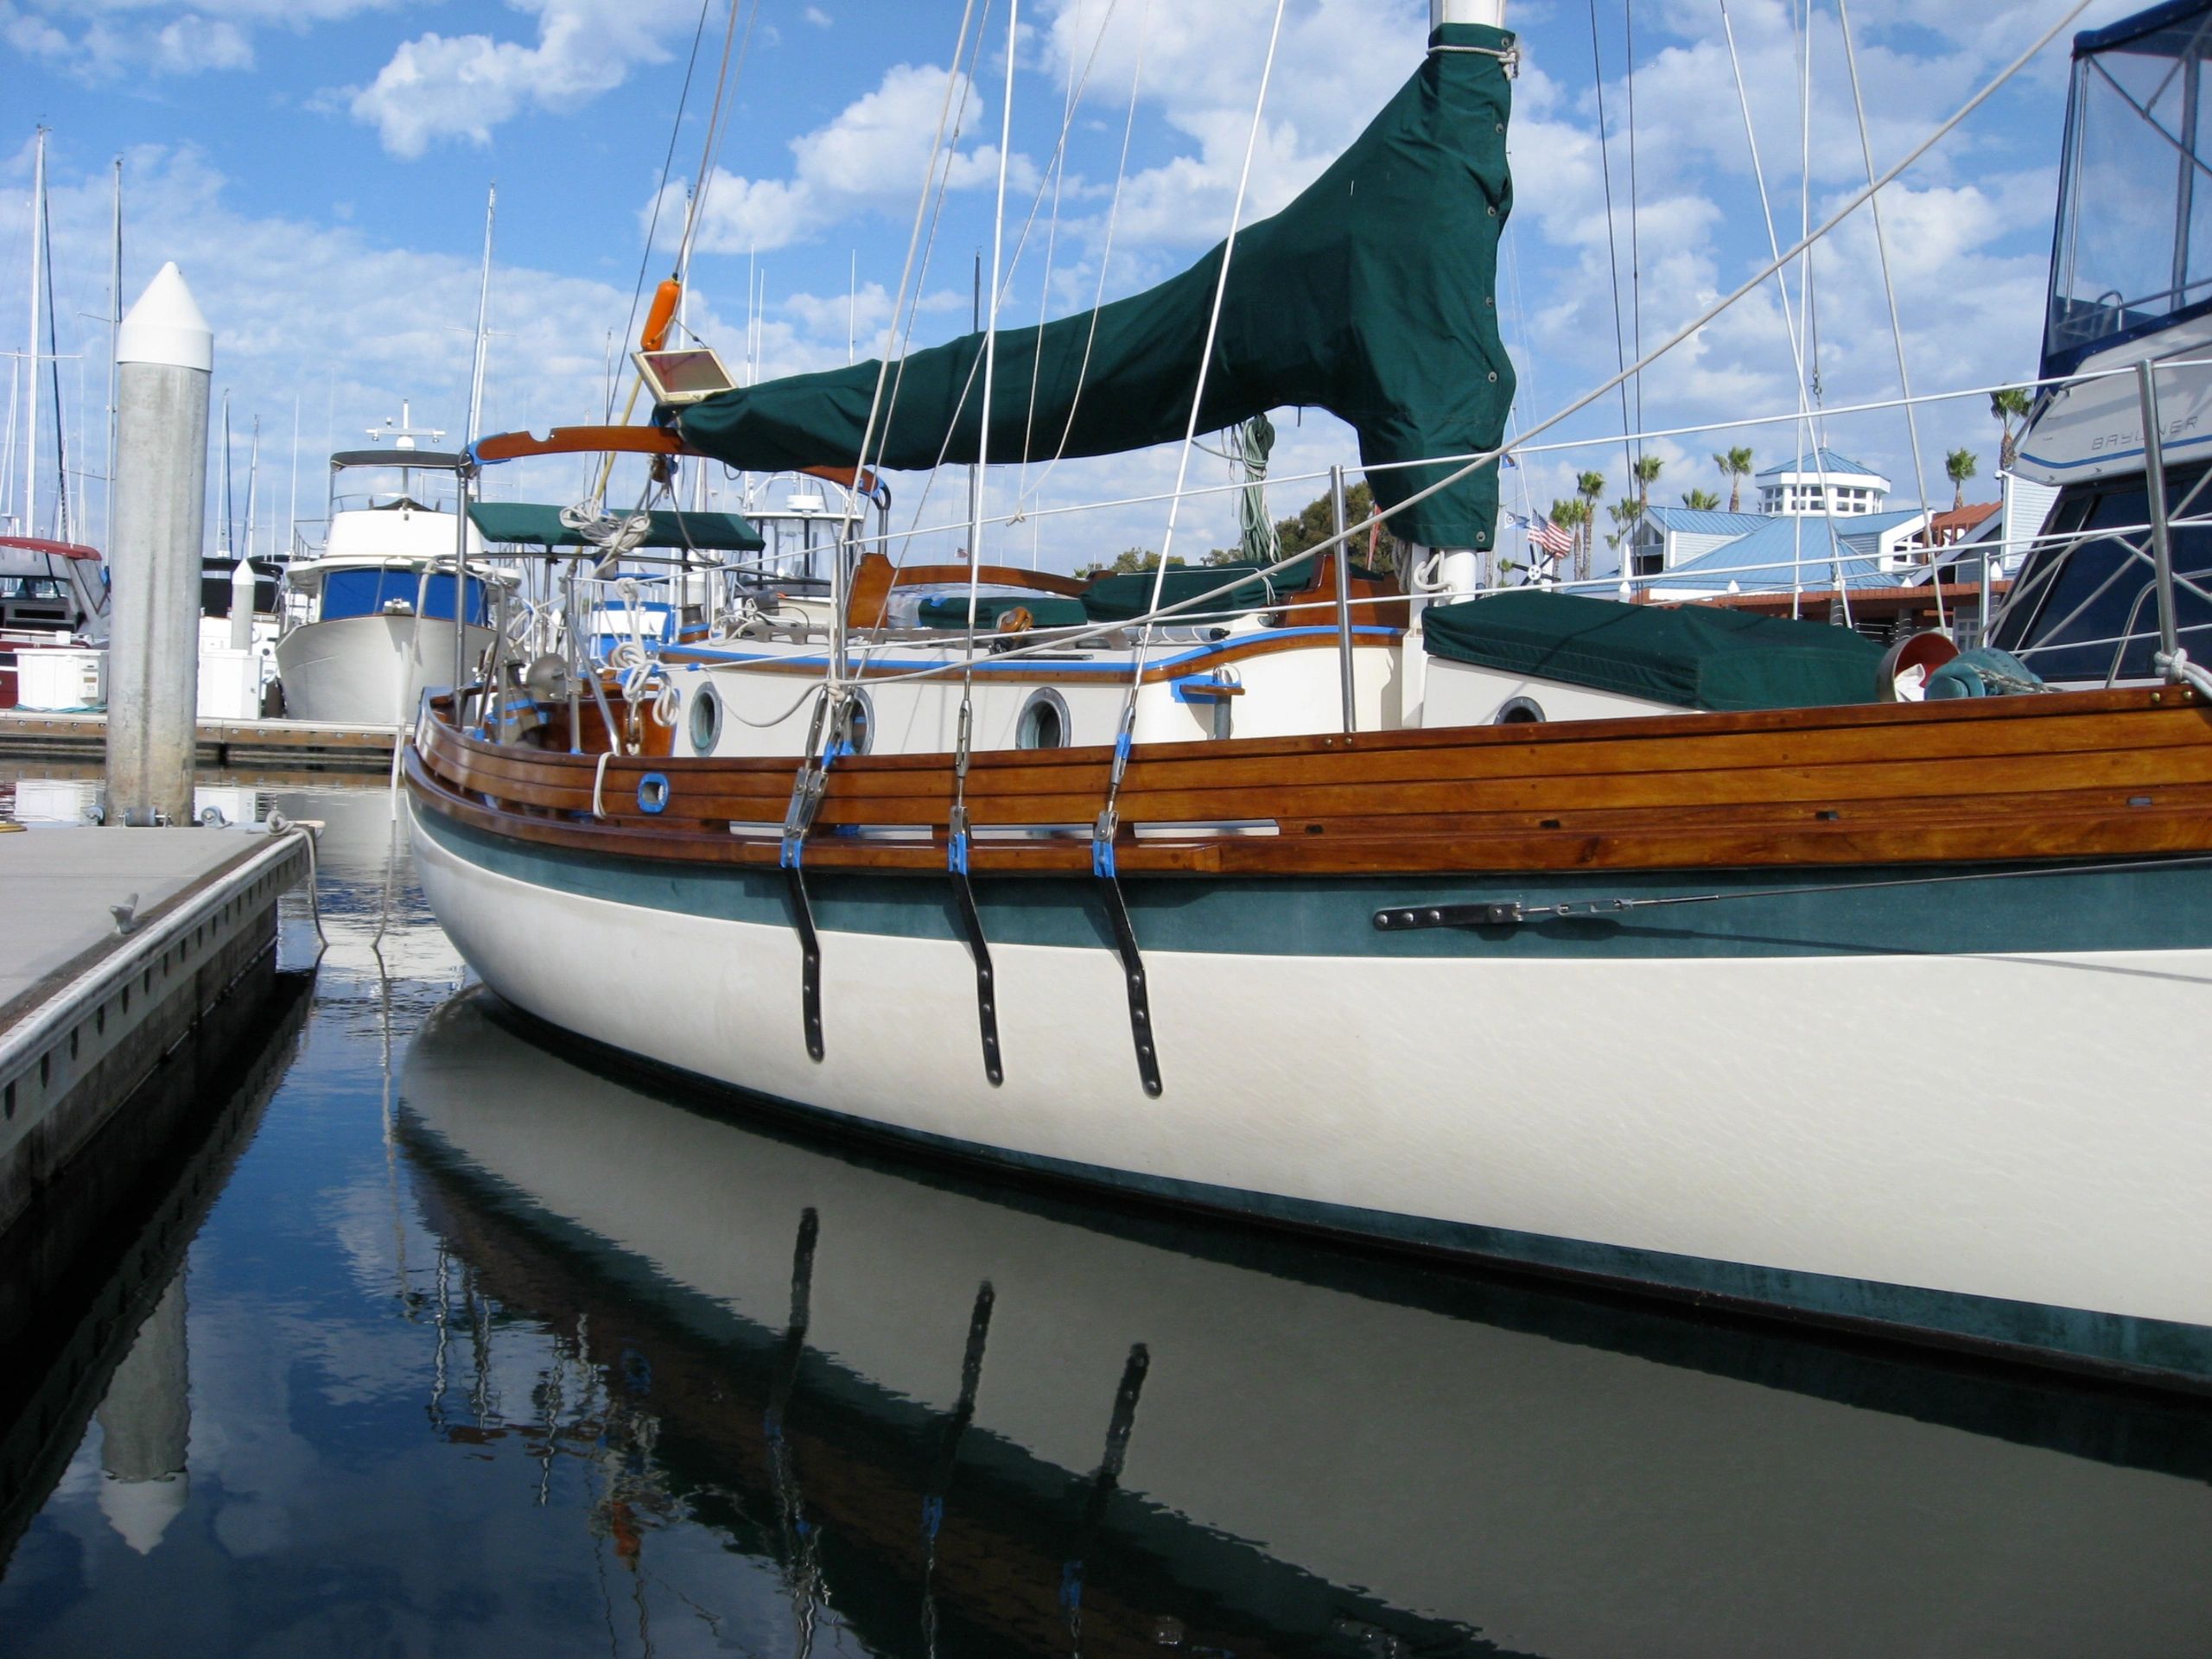
Teak and brightwork restoration.

Teak and brightwork restoration.

Teak and brightwork restoration.
Pretty severe Yamaha PWC starboard and bow crash repair sequence
Full fiberglass + gelcoat repair and color-match — from initial damage assessment through finished result.
Step 1: Fiberglass damage ground out and exposed.
Step 2: Damage fully ground out, ready for fiberglass layup.
Step 3: Secondary damage area identified and prepped.
Step 4: Fiberglass cloth and resin applied to repair area.
Step 5: Fiberglass layup complete with plastic sheeting mask.
Step 6: Repair area masked and fiberglass curing.
Step 7: Fiberglass repair curing — close-up of layup.
Step 8: Repair sanded flush and faired smooth.
Step 9: Secondary repair area masked for gelcoat application.
Step 10: Gelcoat color-matched and applied — finishing stages.
Step 11: Yamaha PWC on trailer — full view before repair.
Step 12: Close-up of hull damage area identified for repair.
Step 13: Hull damage documented alongside registration markings.
Step 14: Bow section damage assessed — full extent of impact area.
Step 15: Underside hull damage exposed and ready for fiberglass repair.
Step 16: Cover removed — full damage area visible for repair prep.
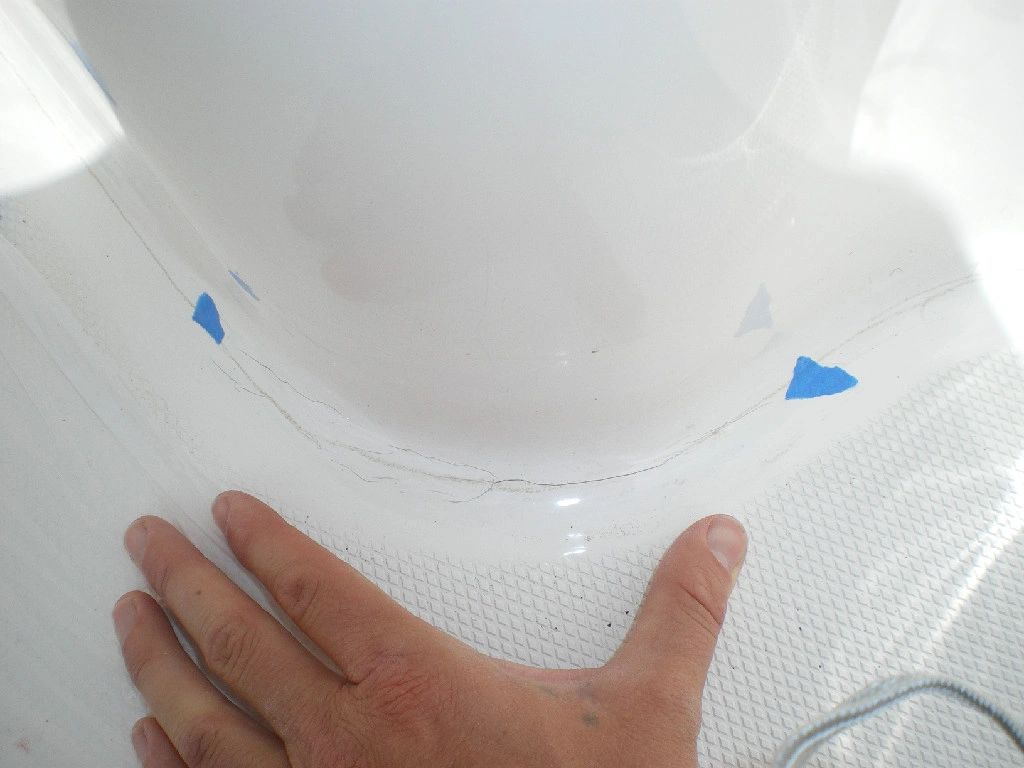
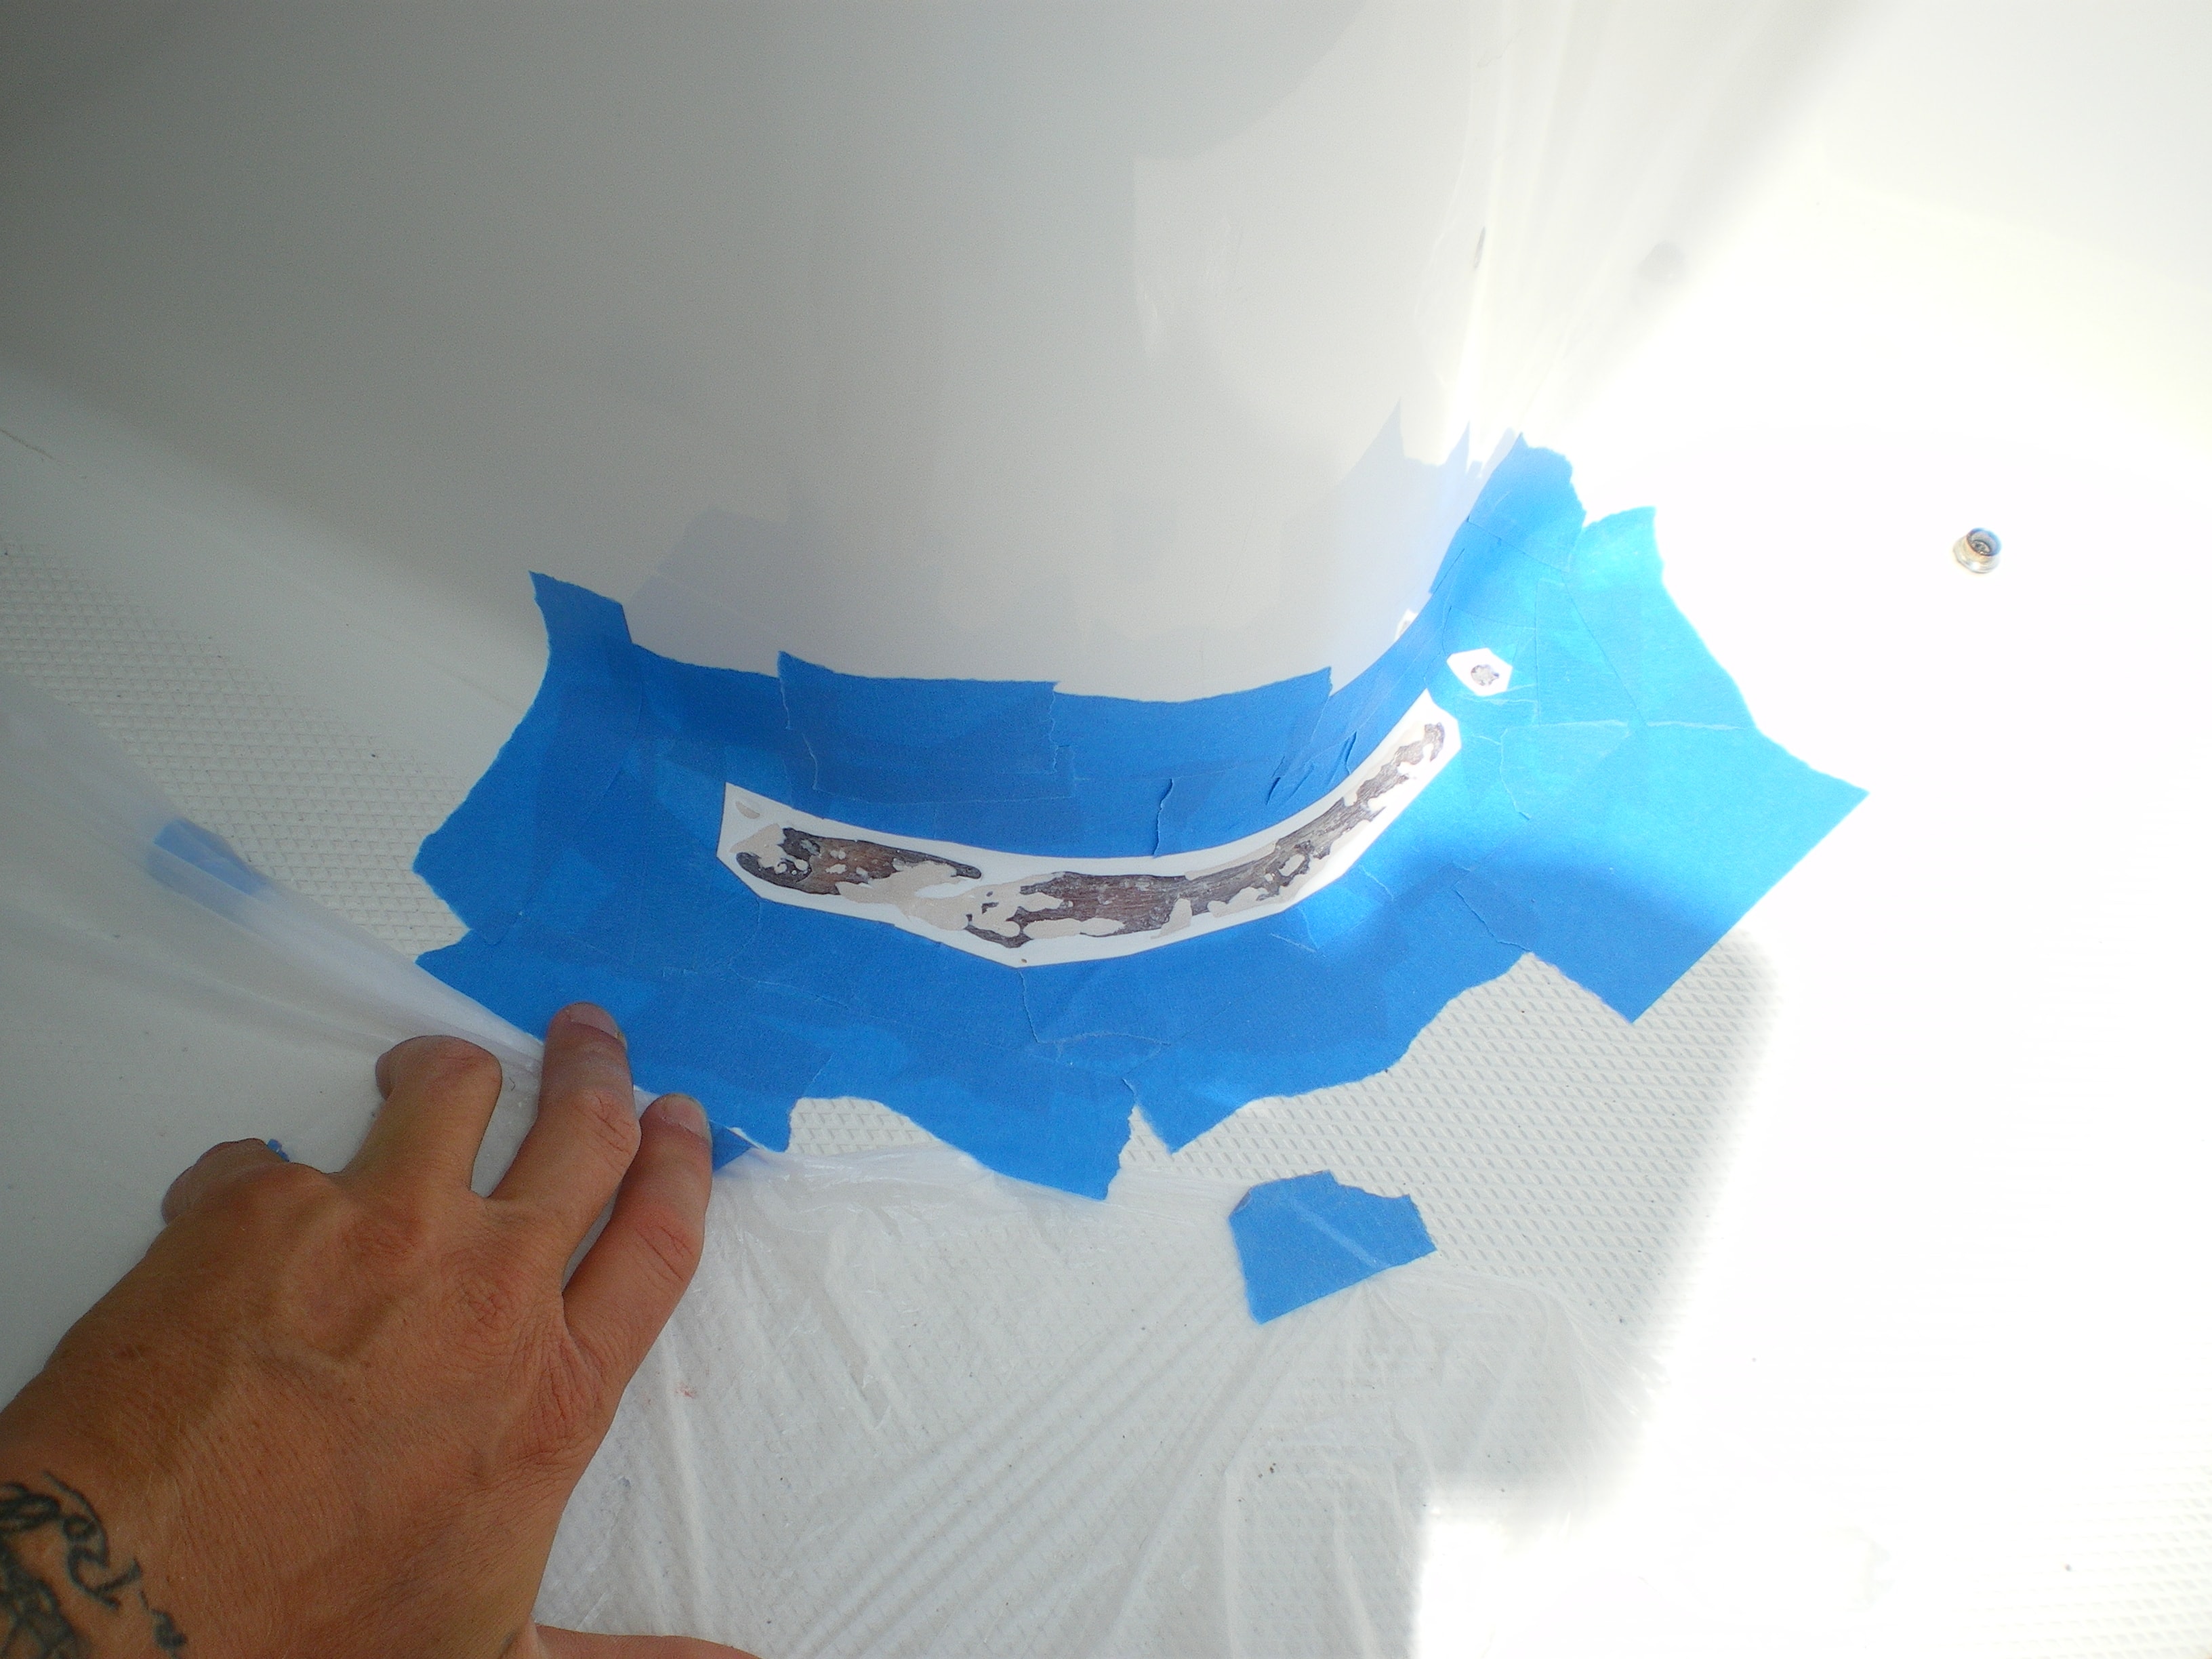
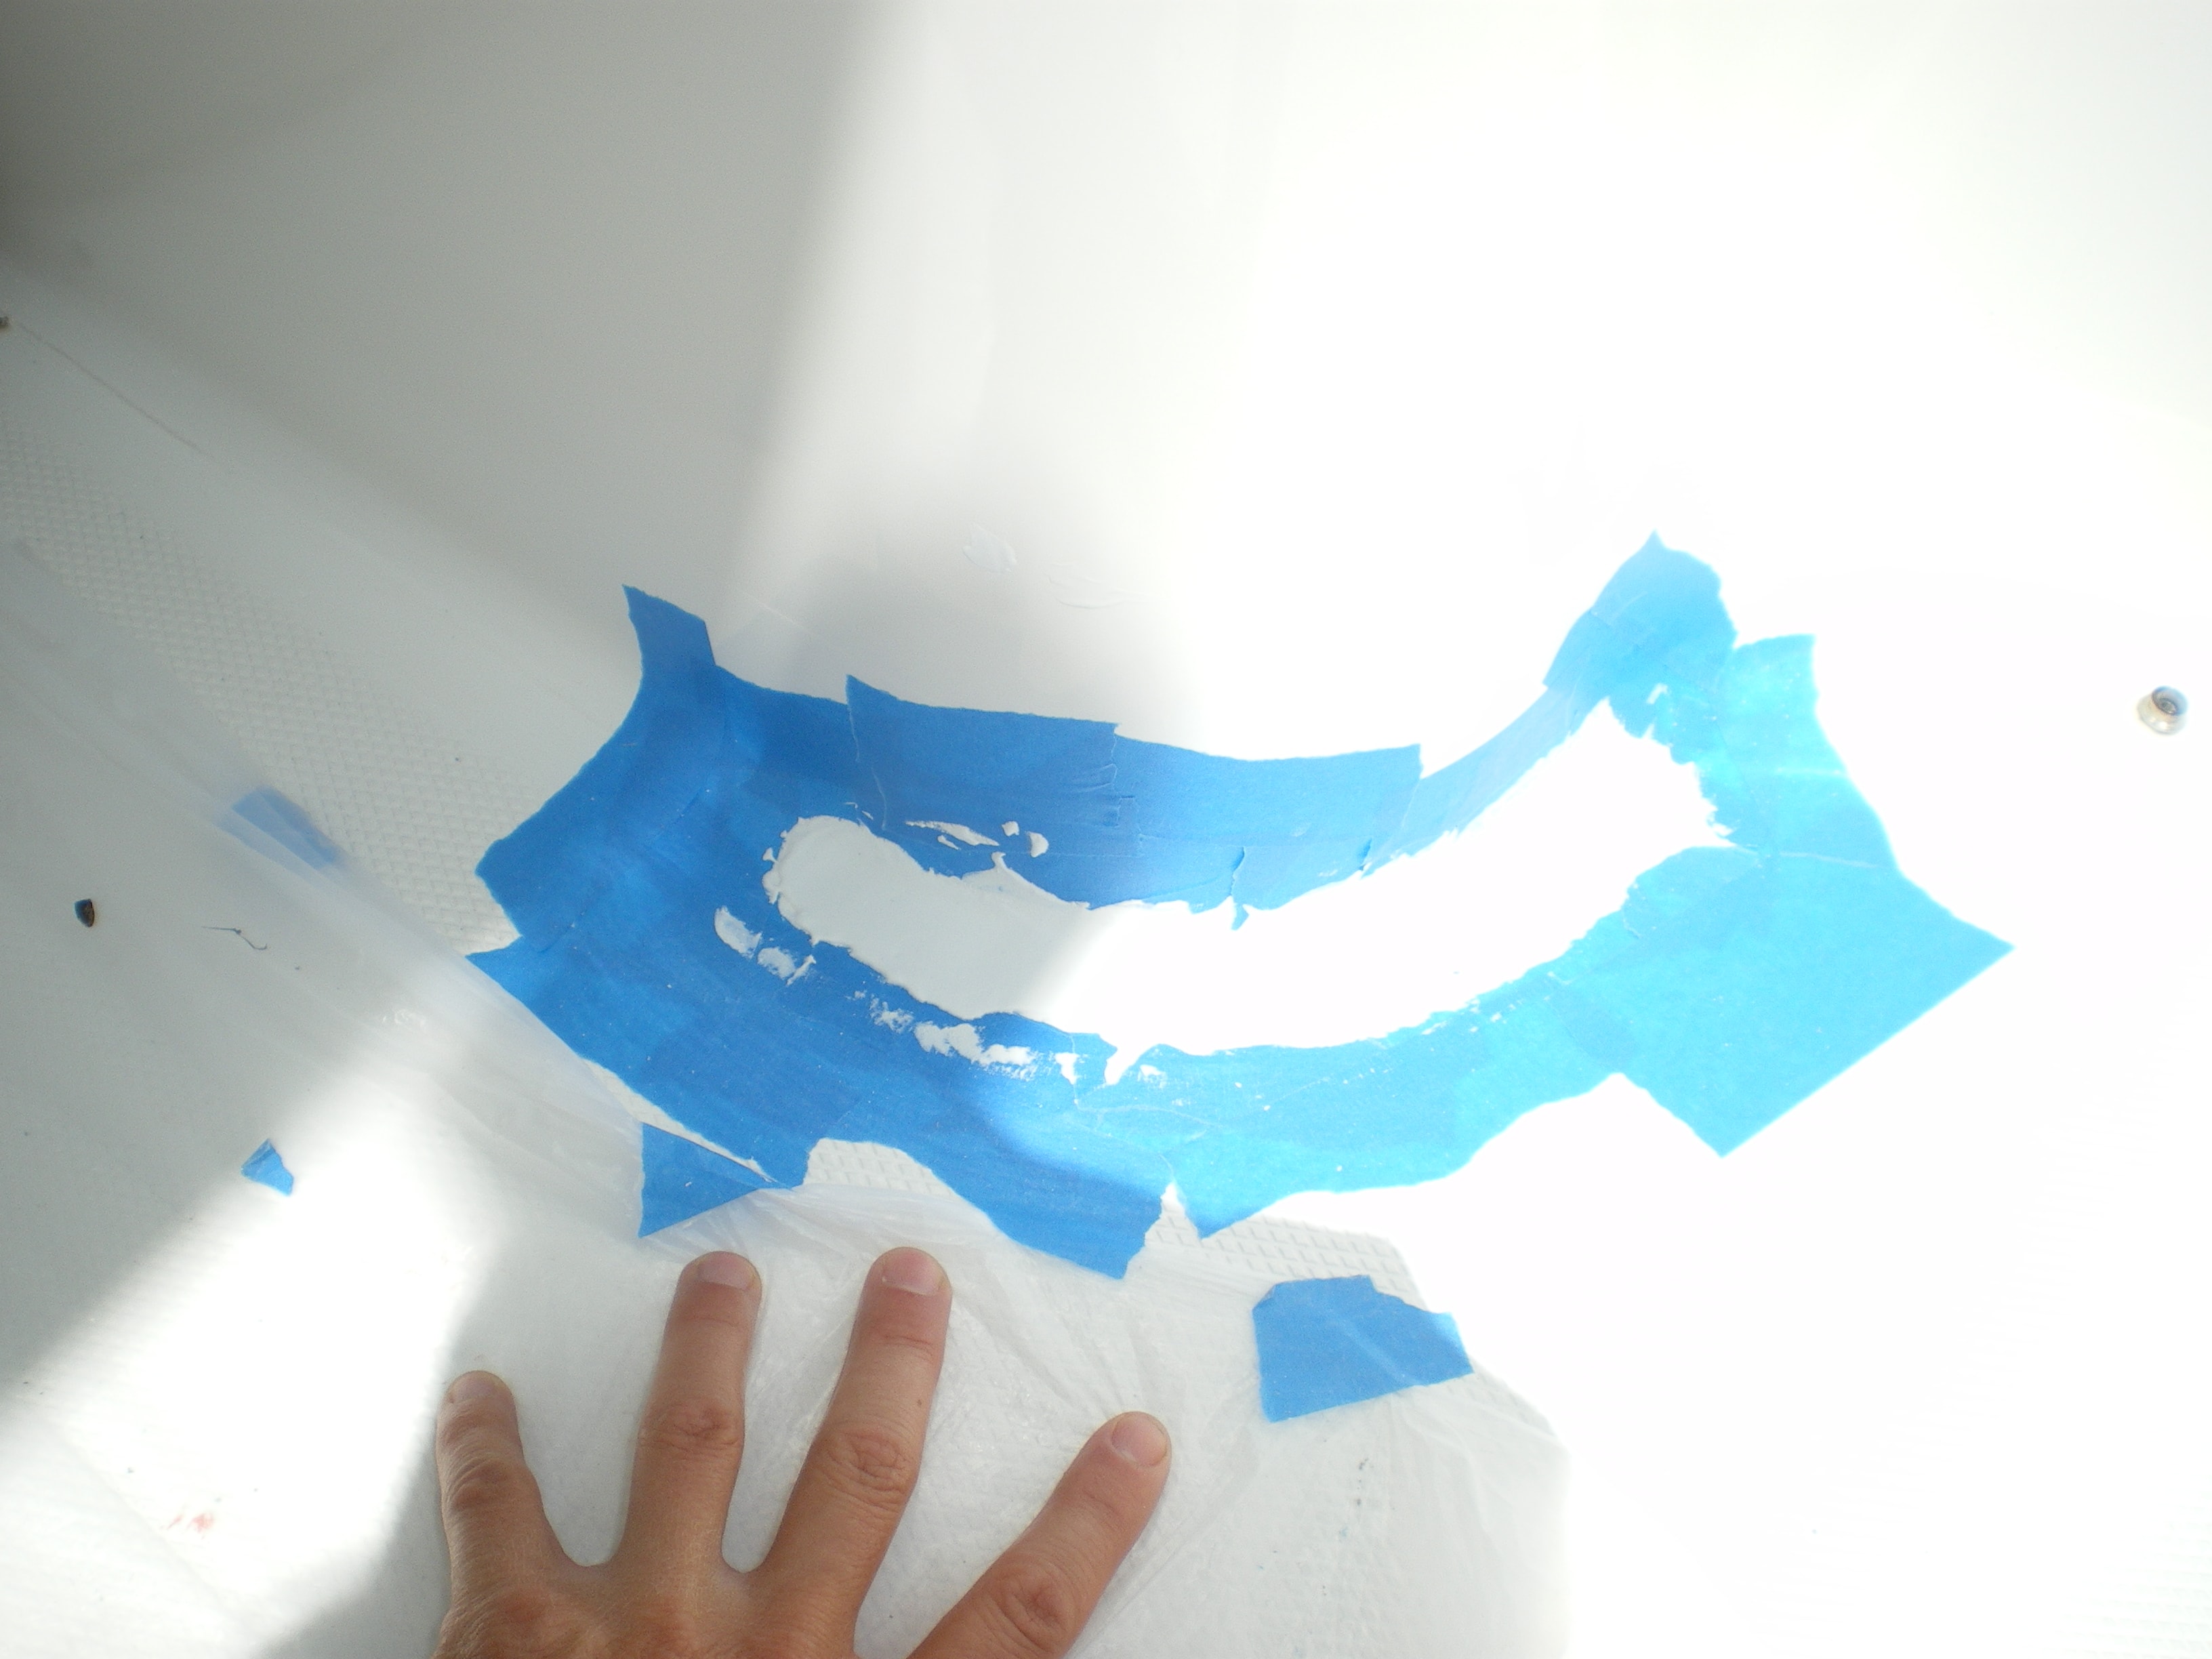
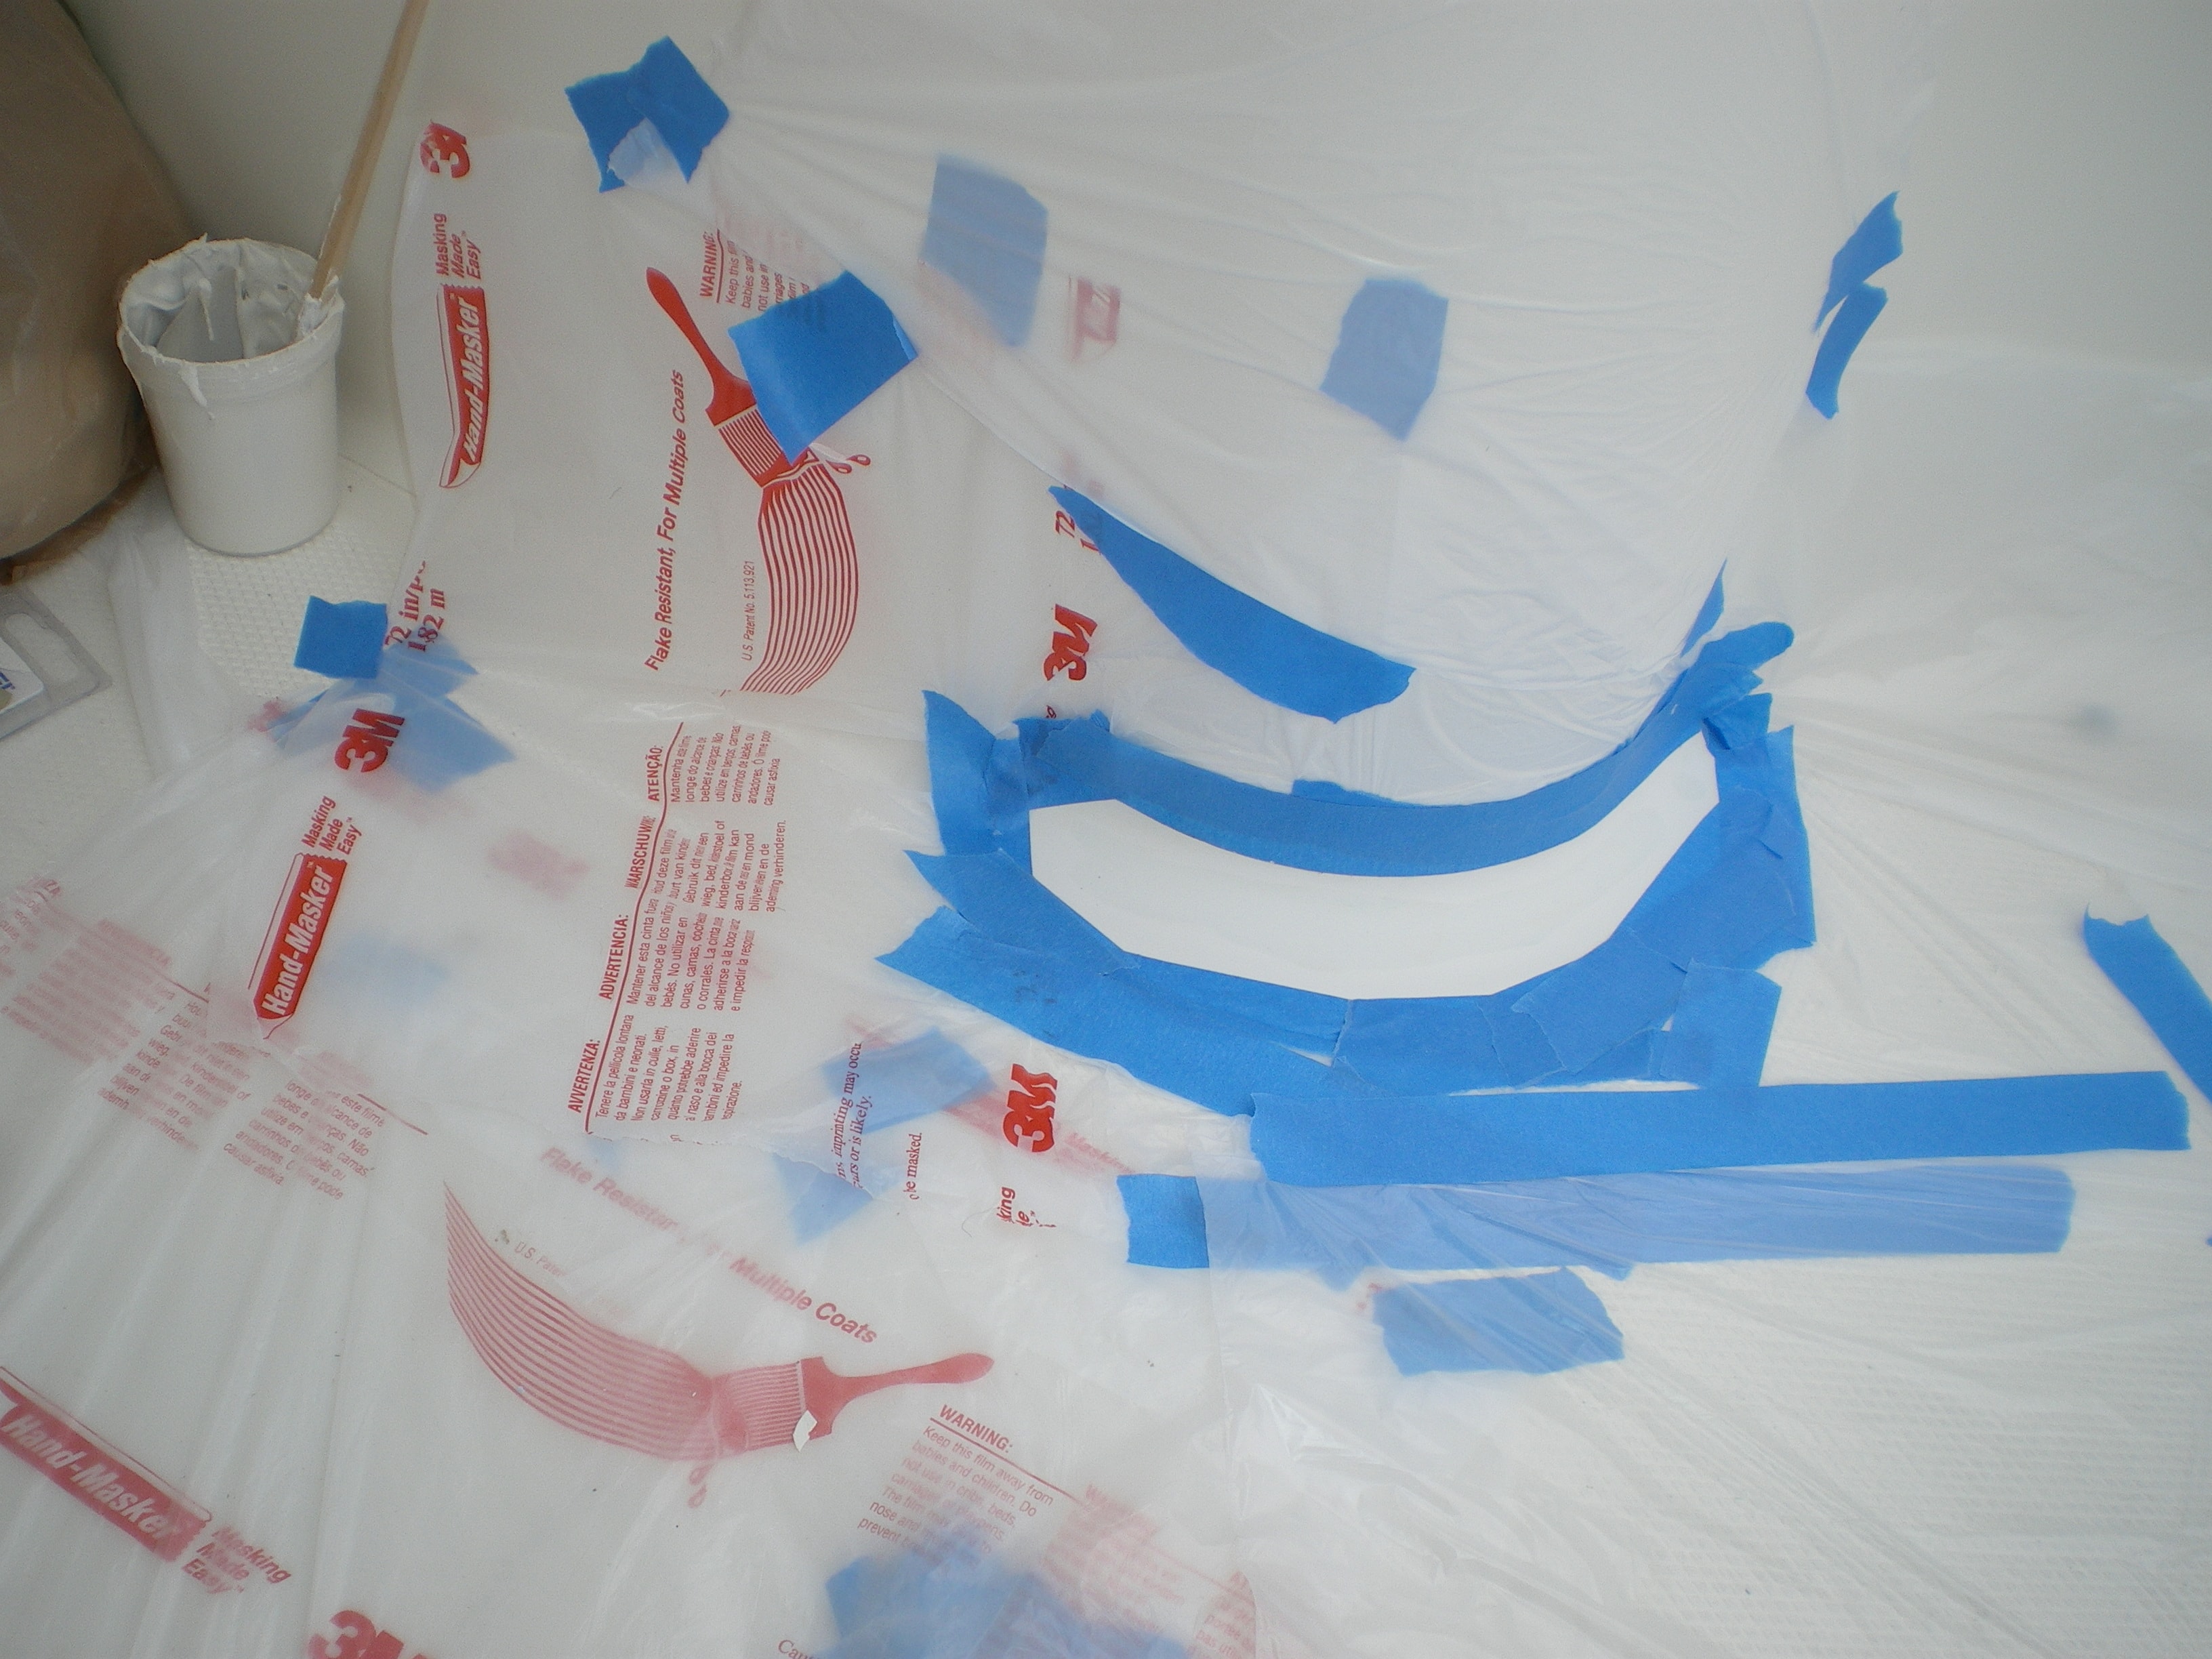
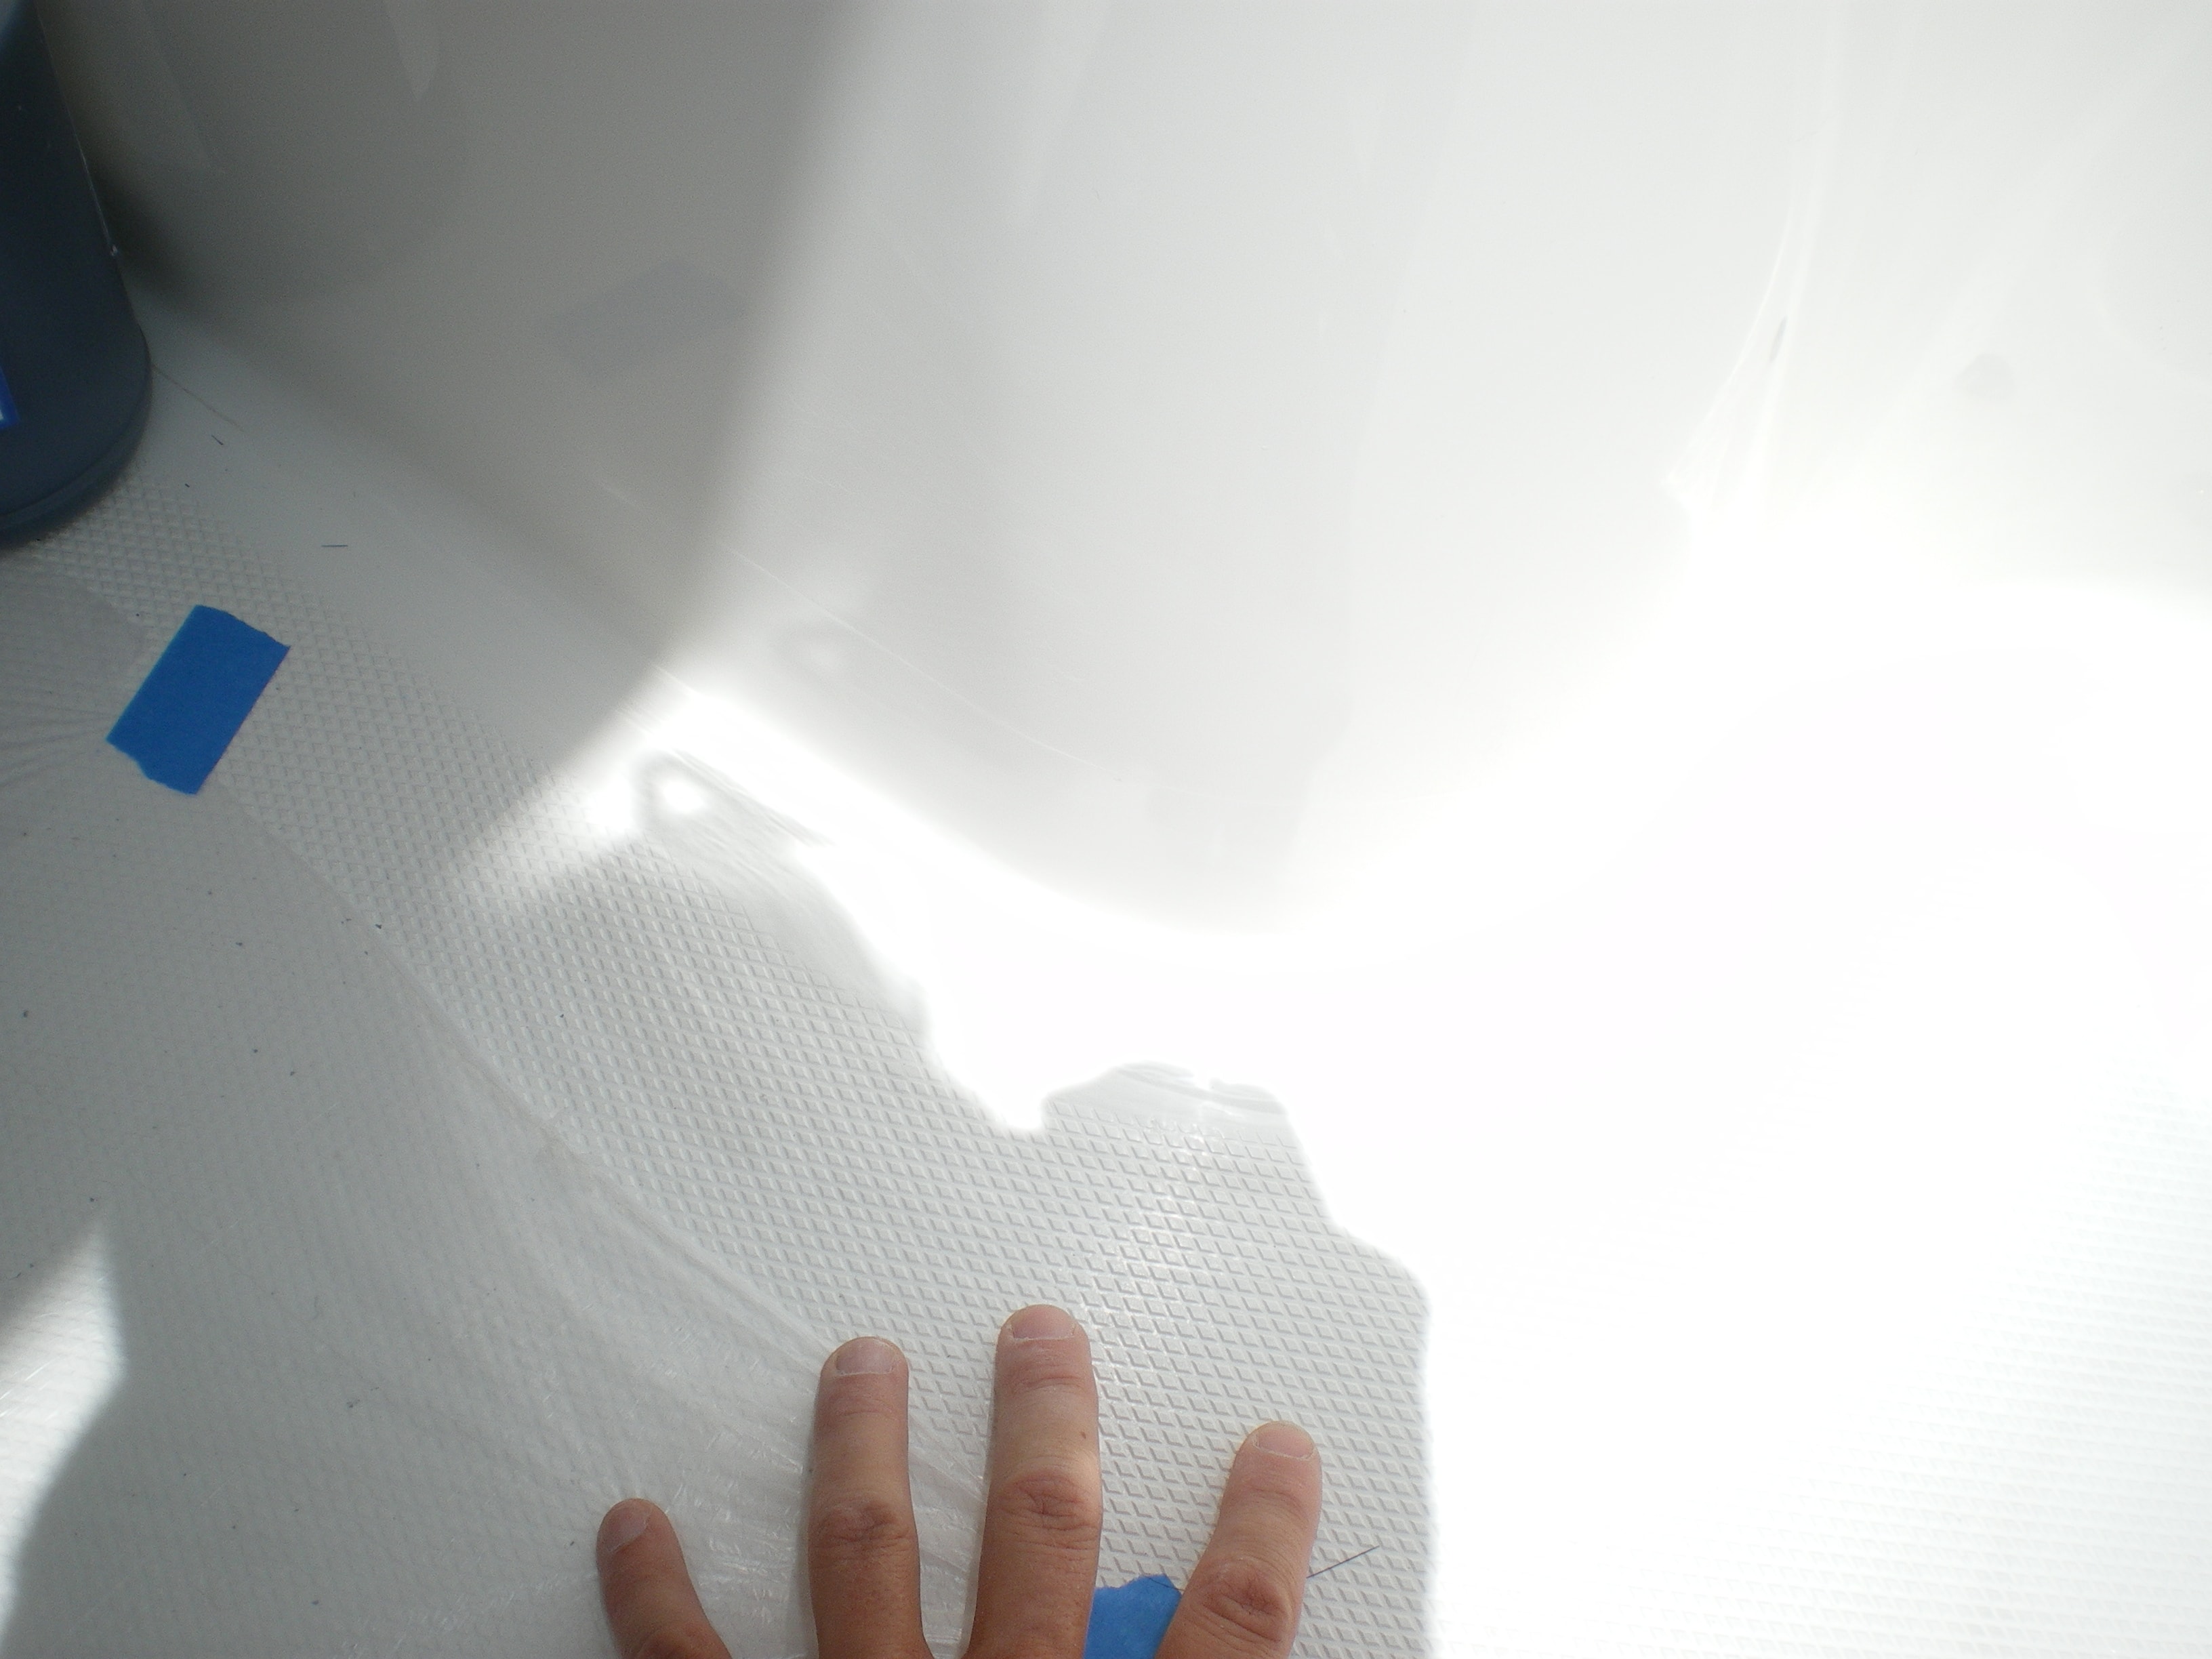
Gelcoat Radius Repair
A 5-step sequence showing how we repair gelcoat on curved radius surfaces — ground out, filled, masked, and finished to a seamless color-matched result.
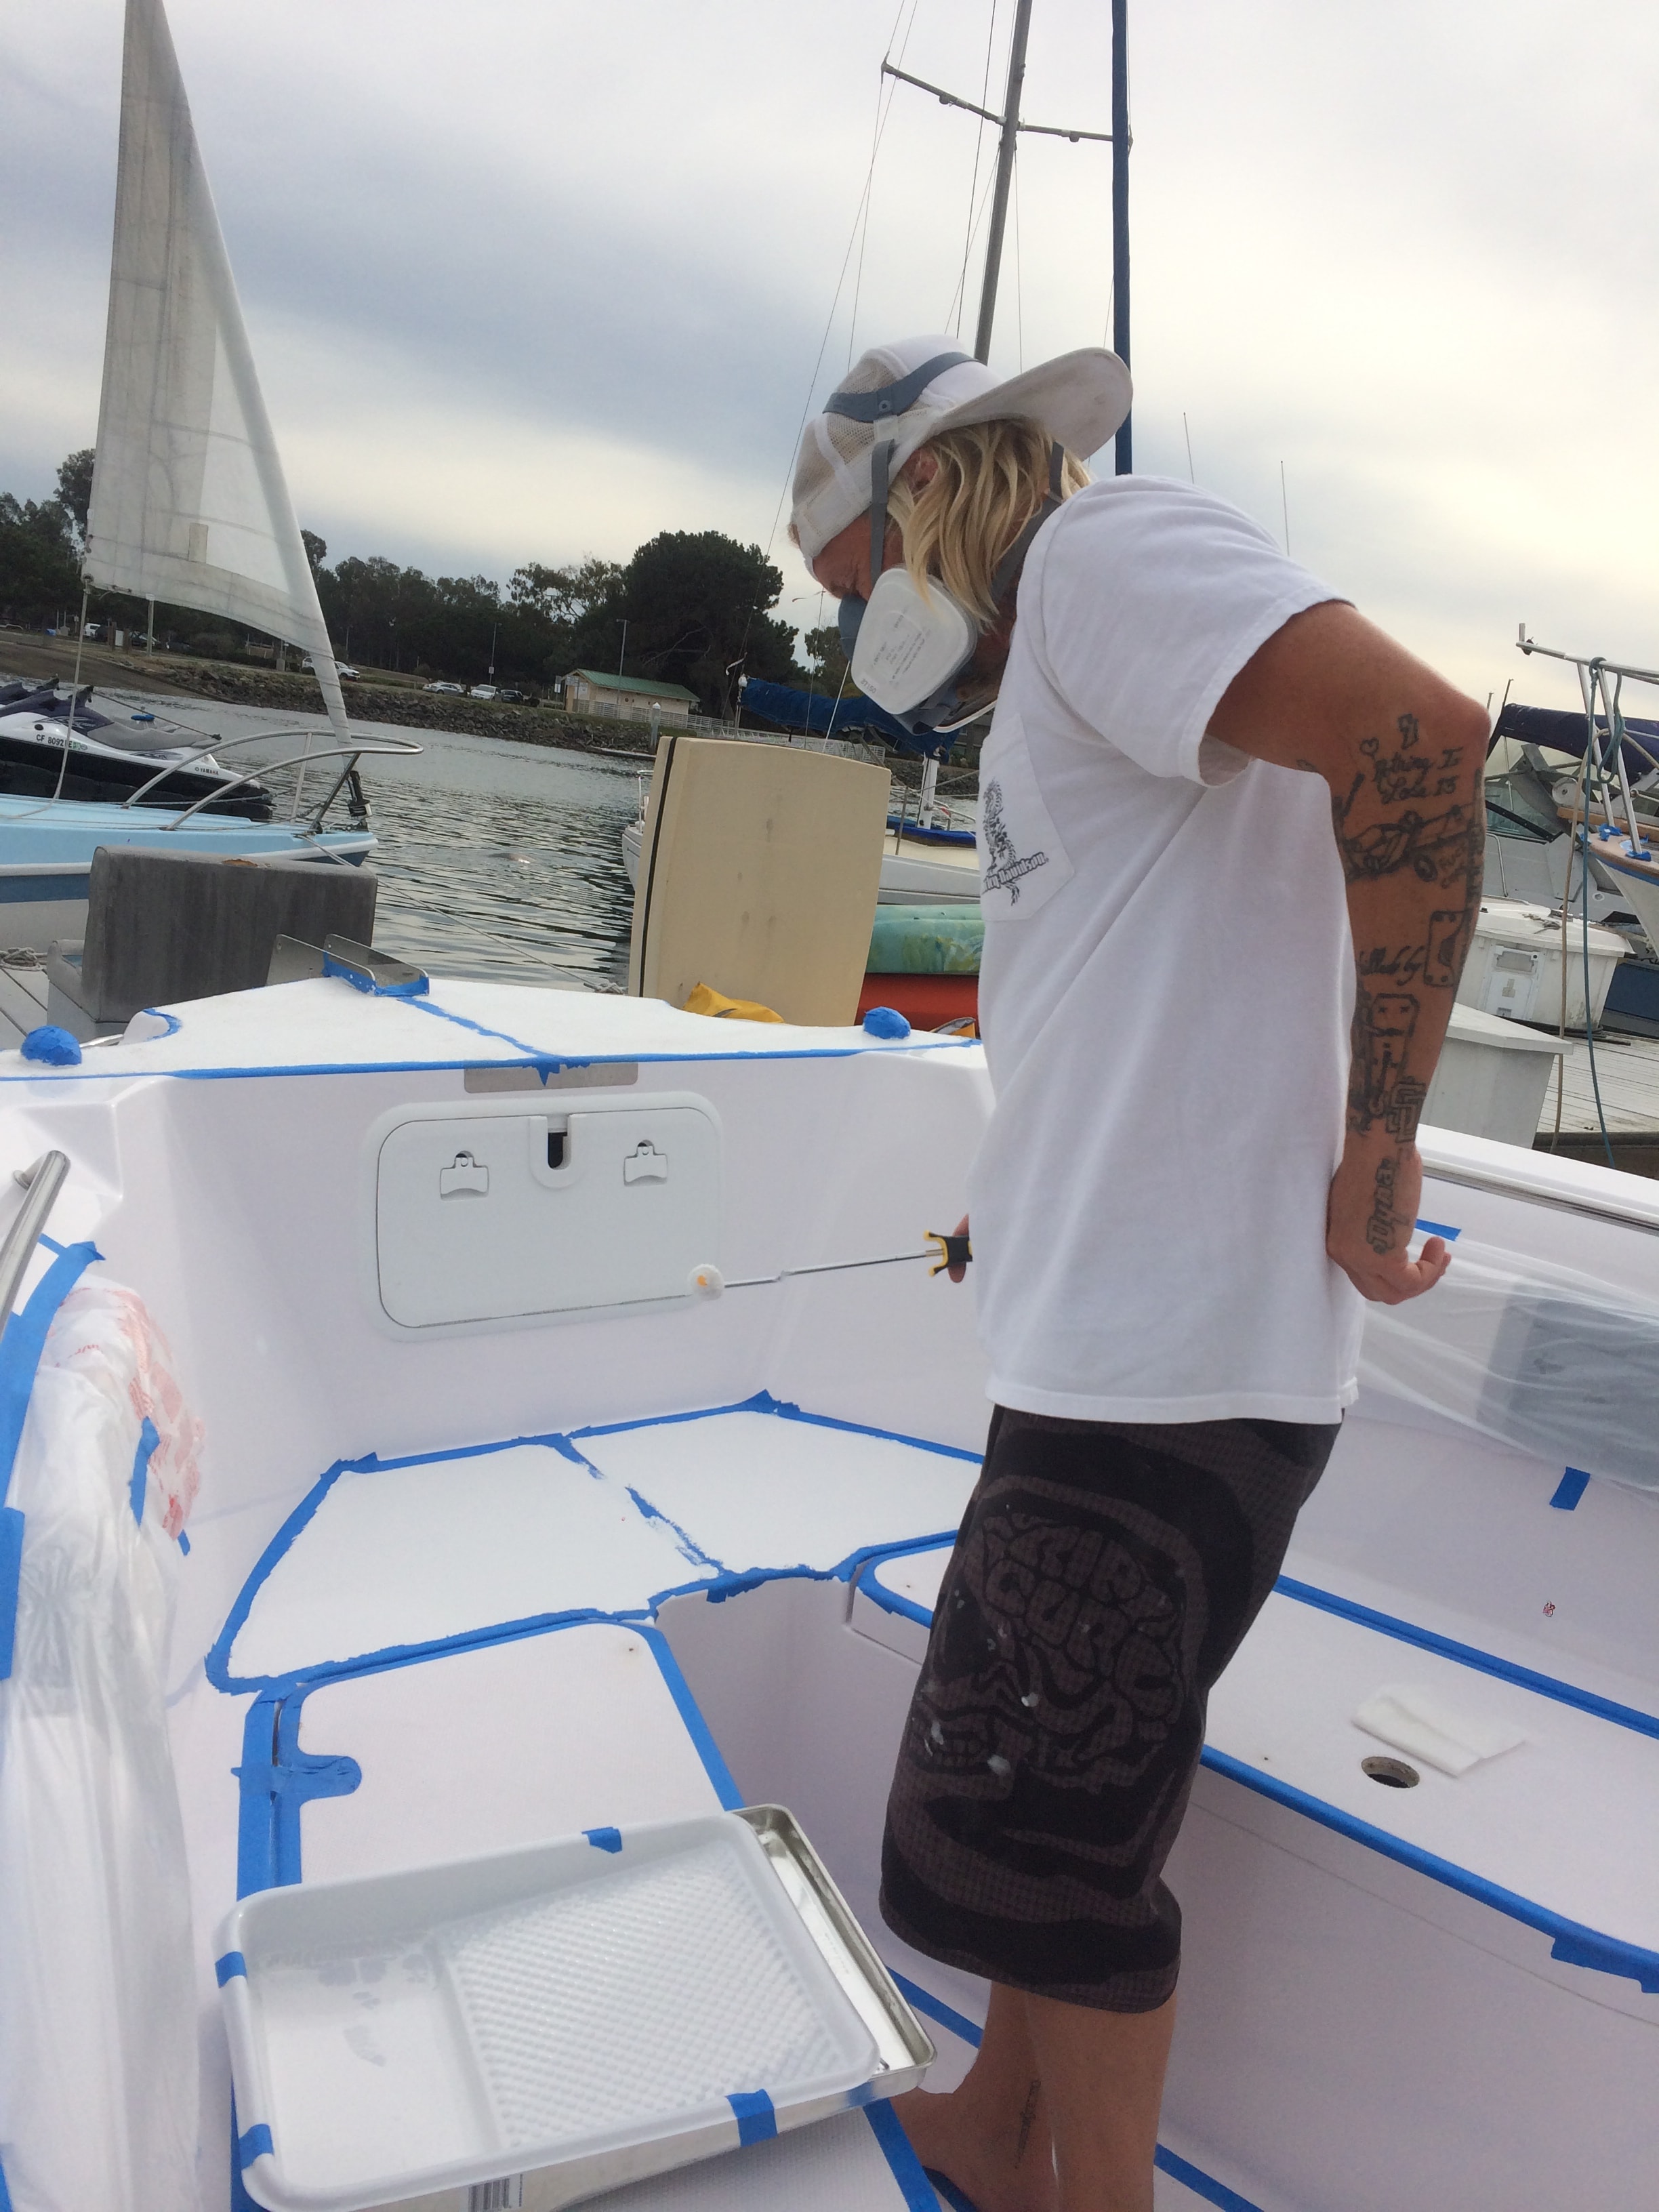
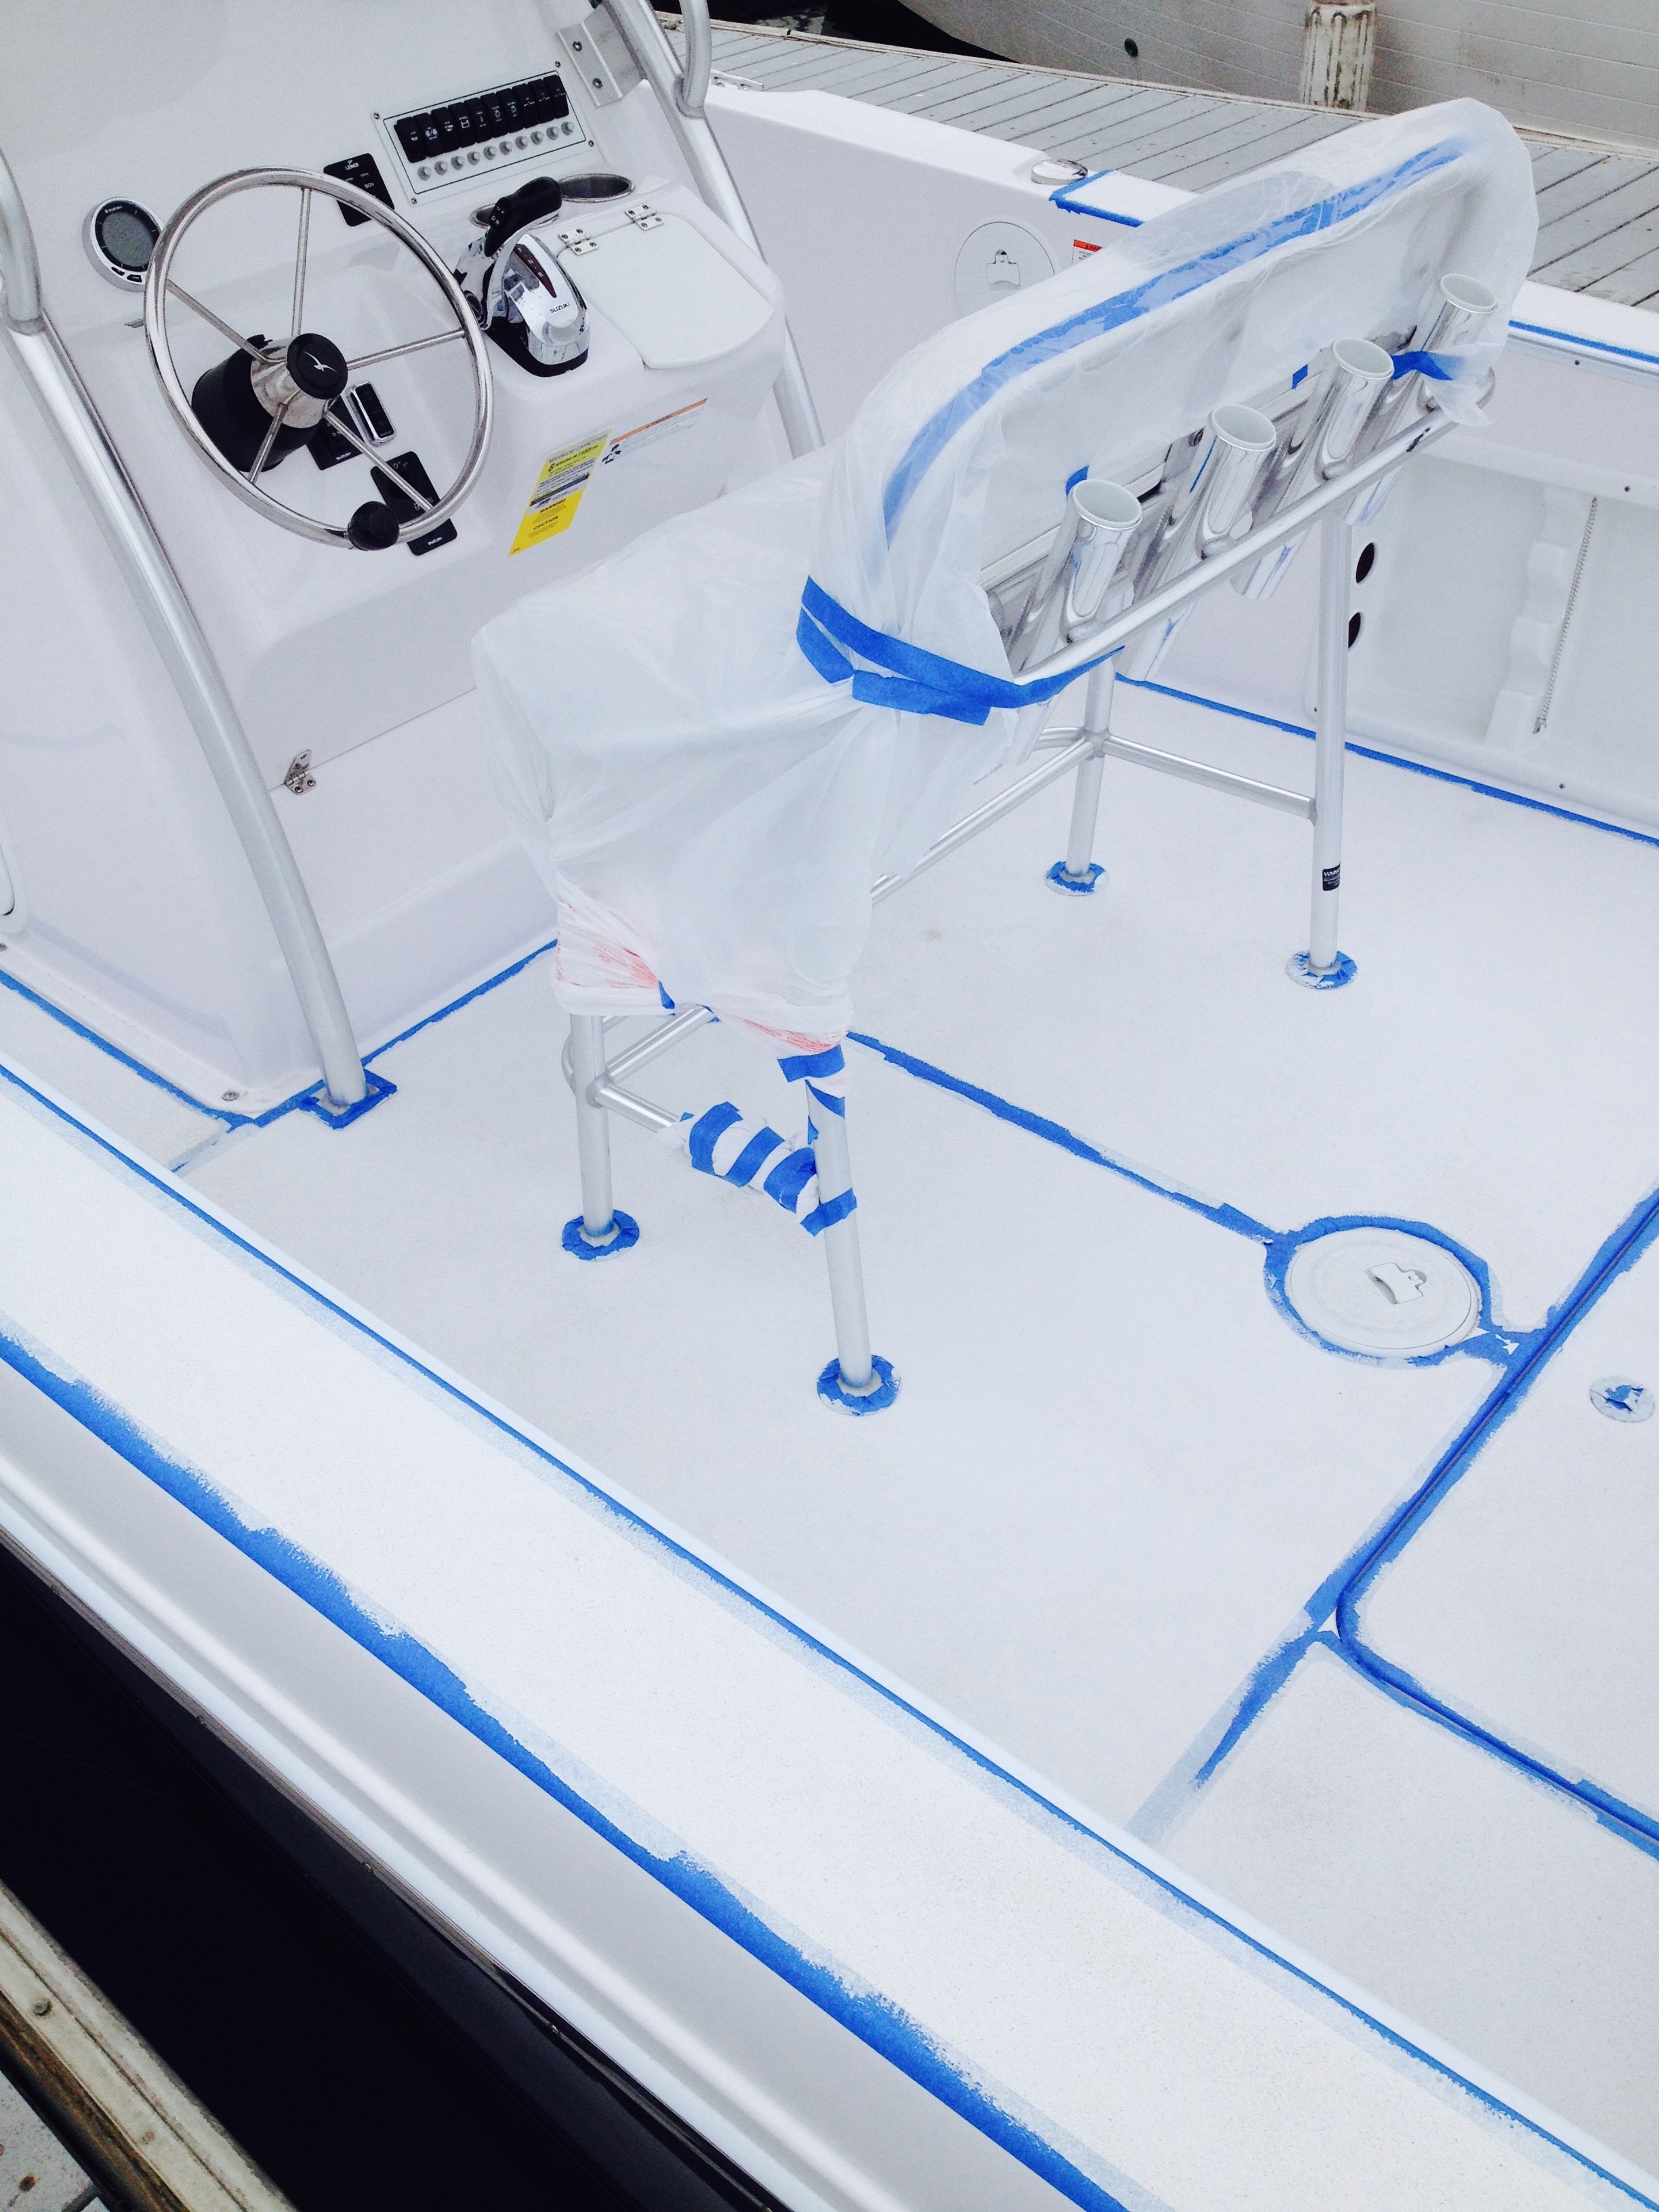
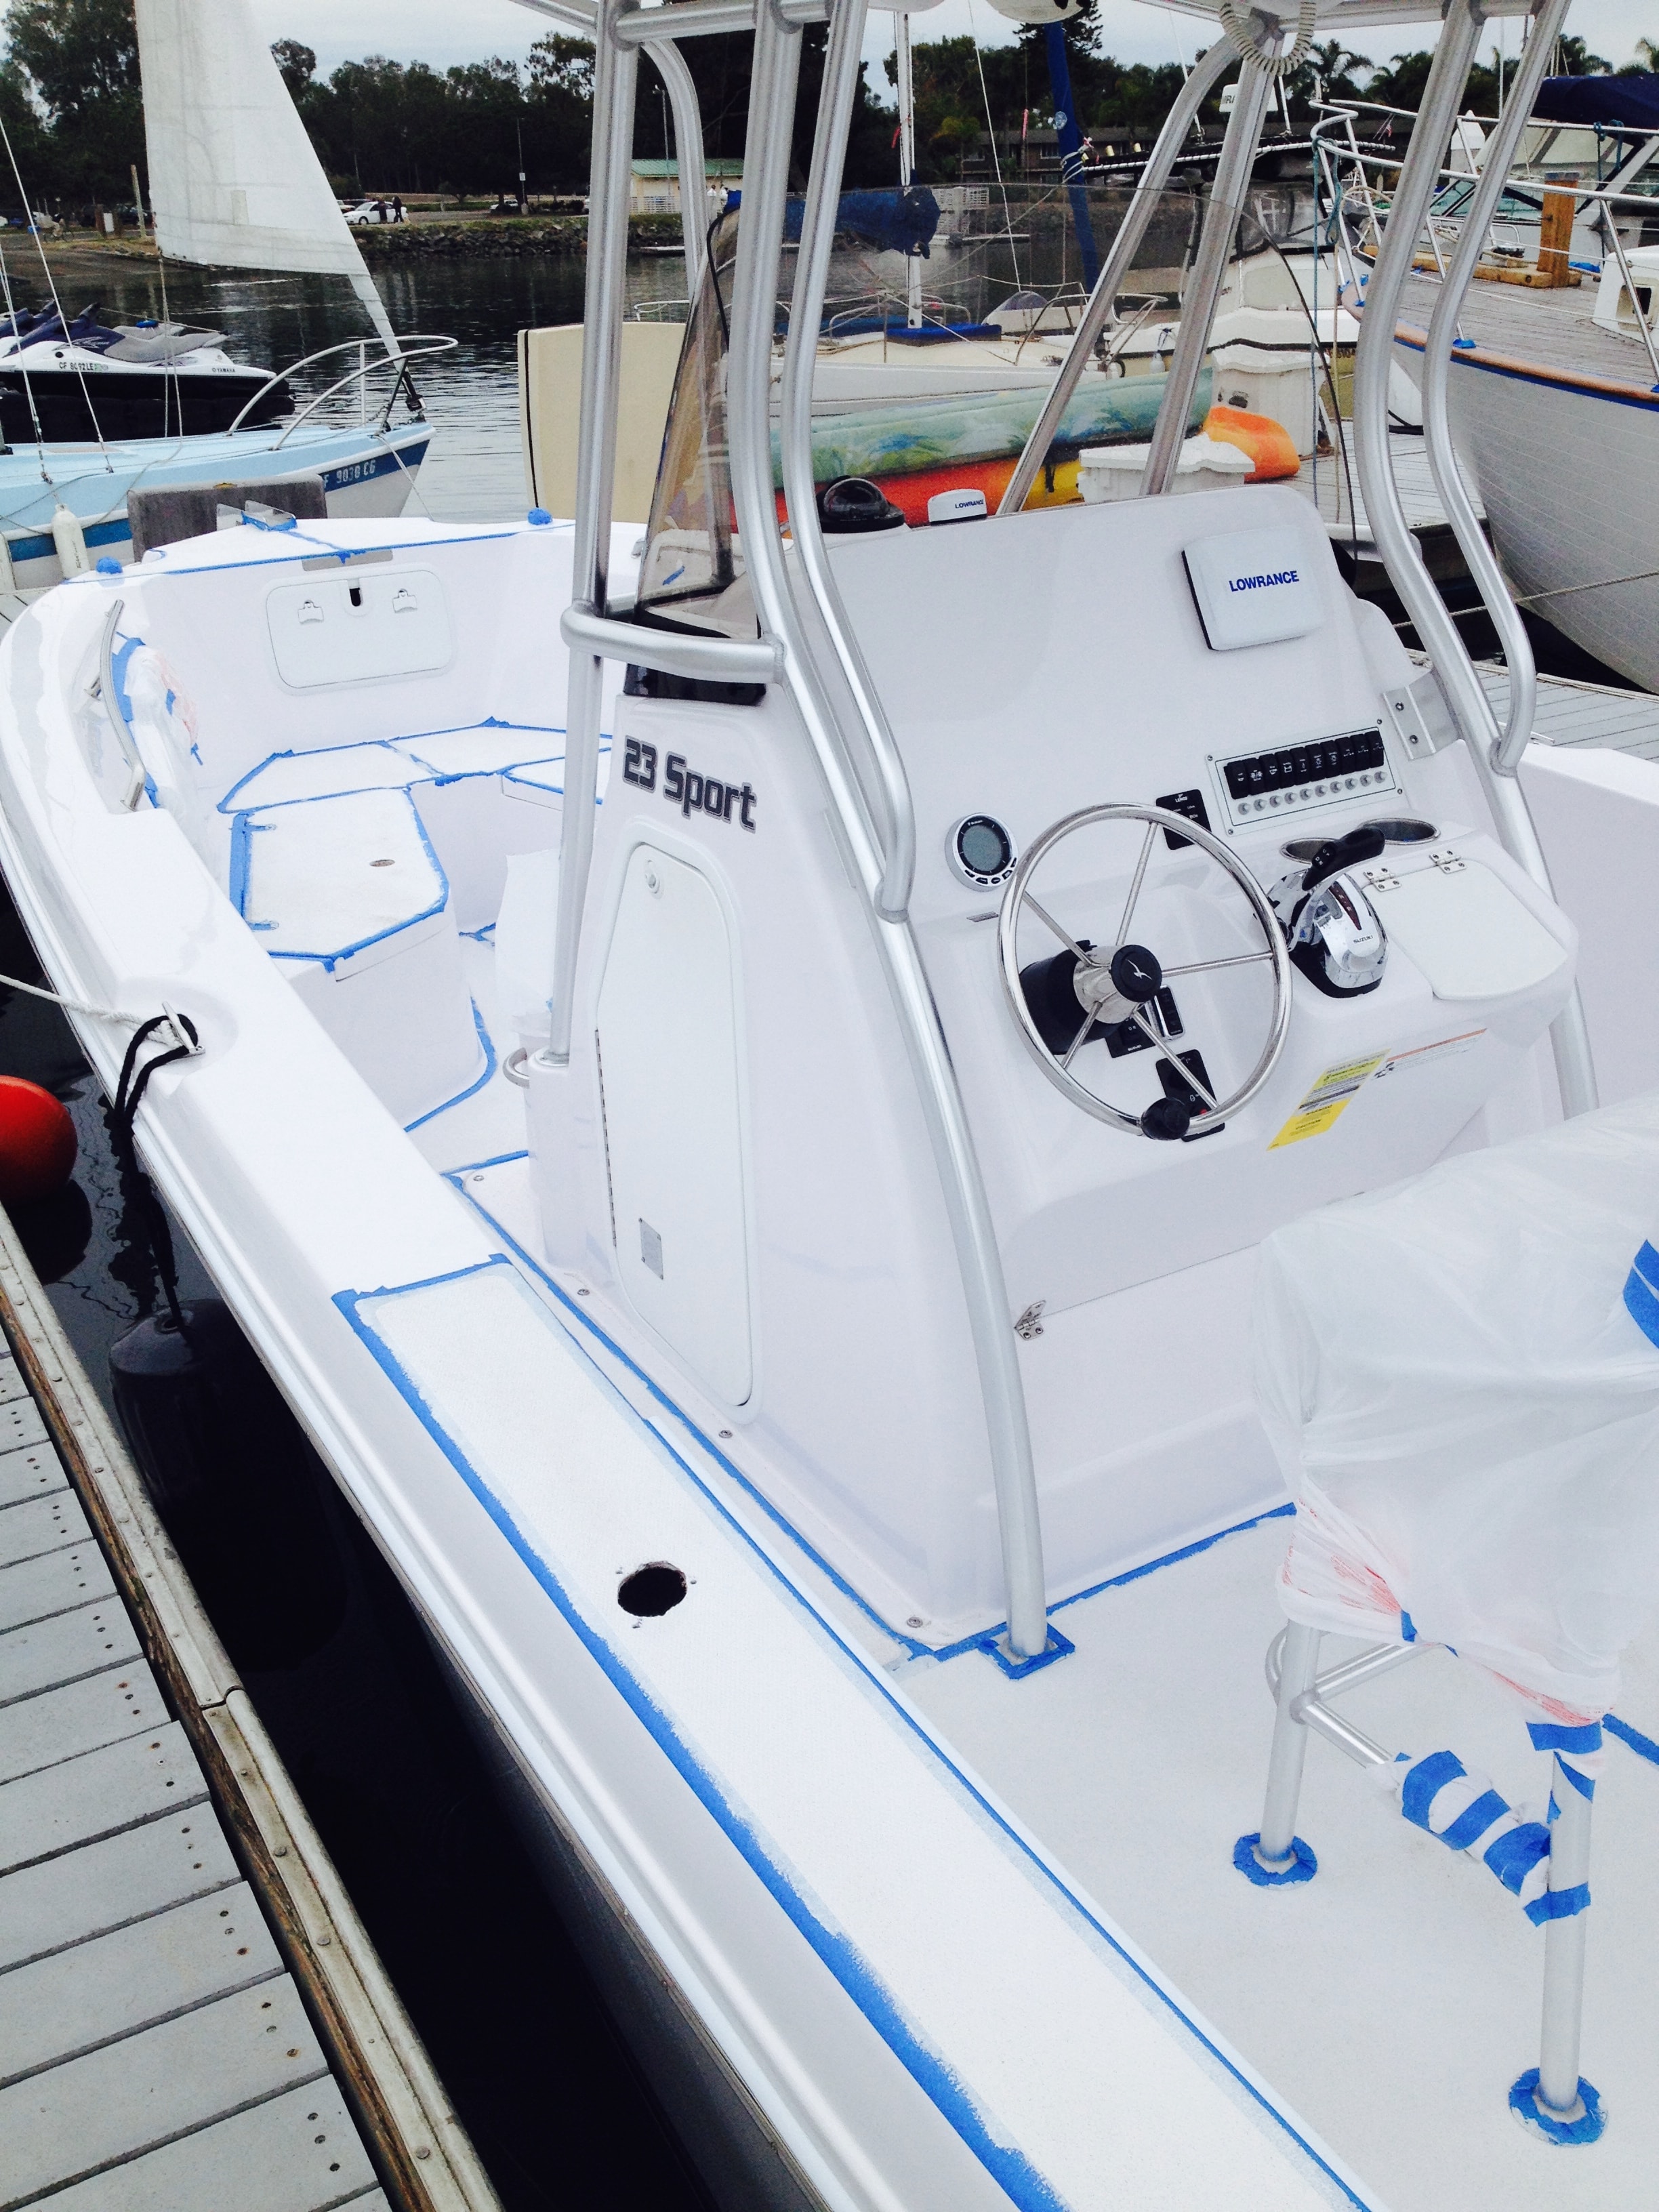
New Non-Skid on Decks
Want Results Like These?
Call or text for a free quote. Every job is handled personally by the owner.